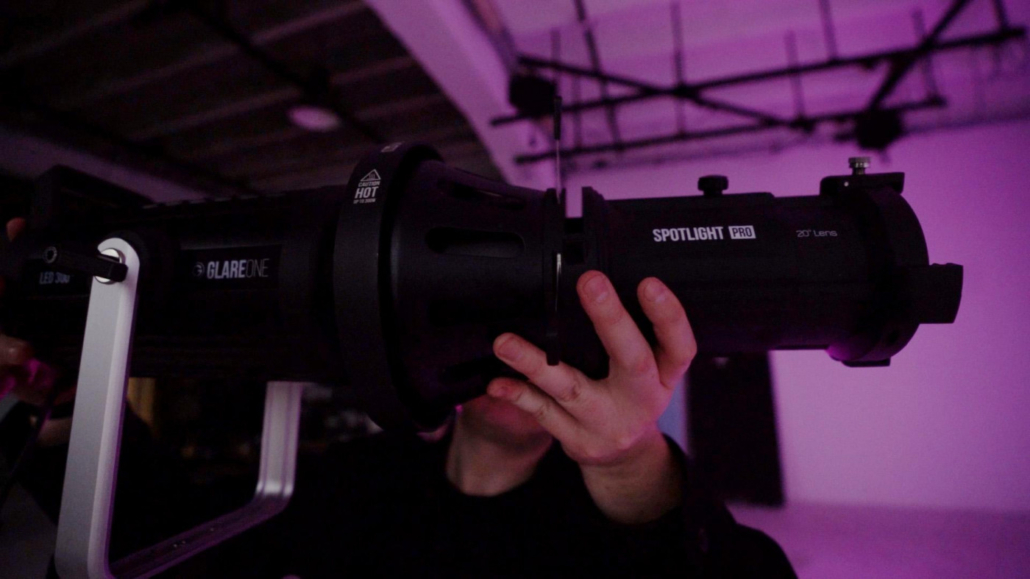
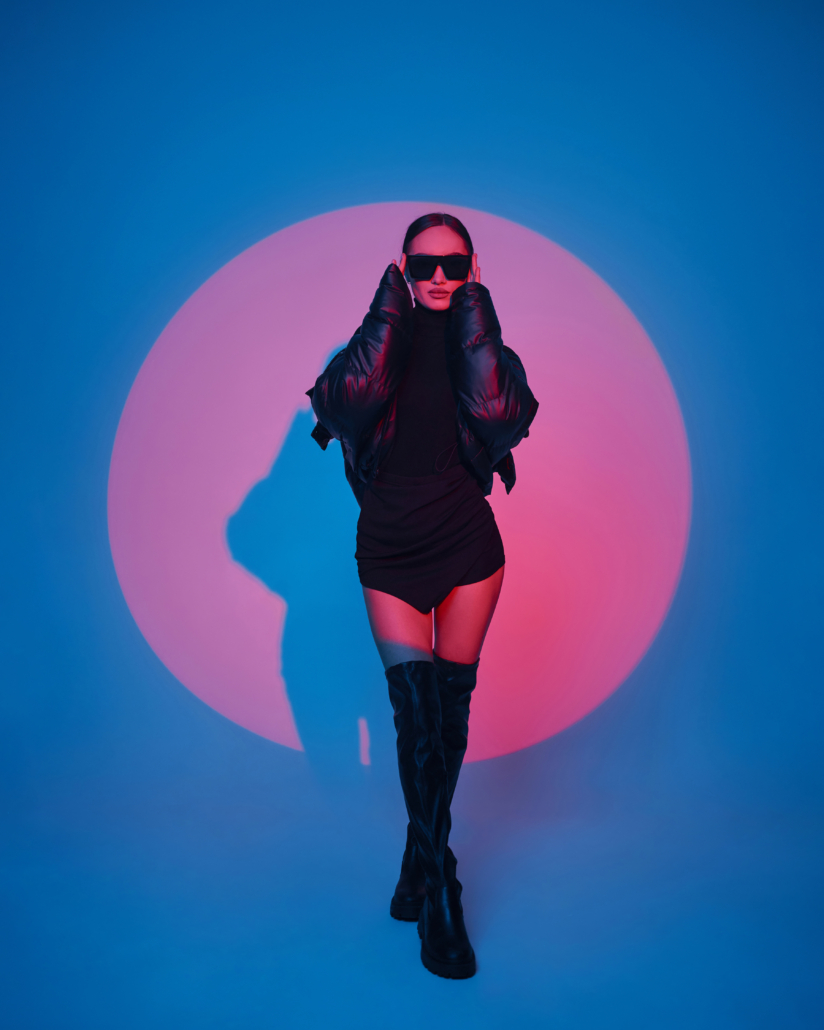
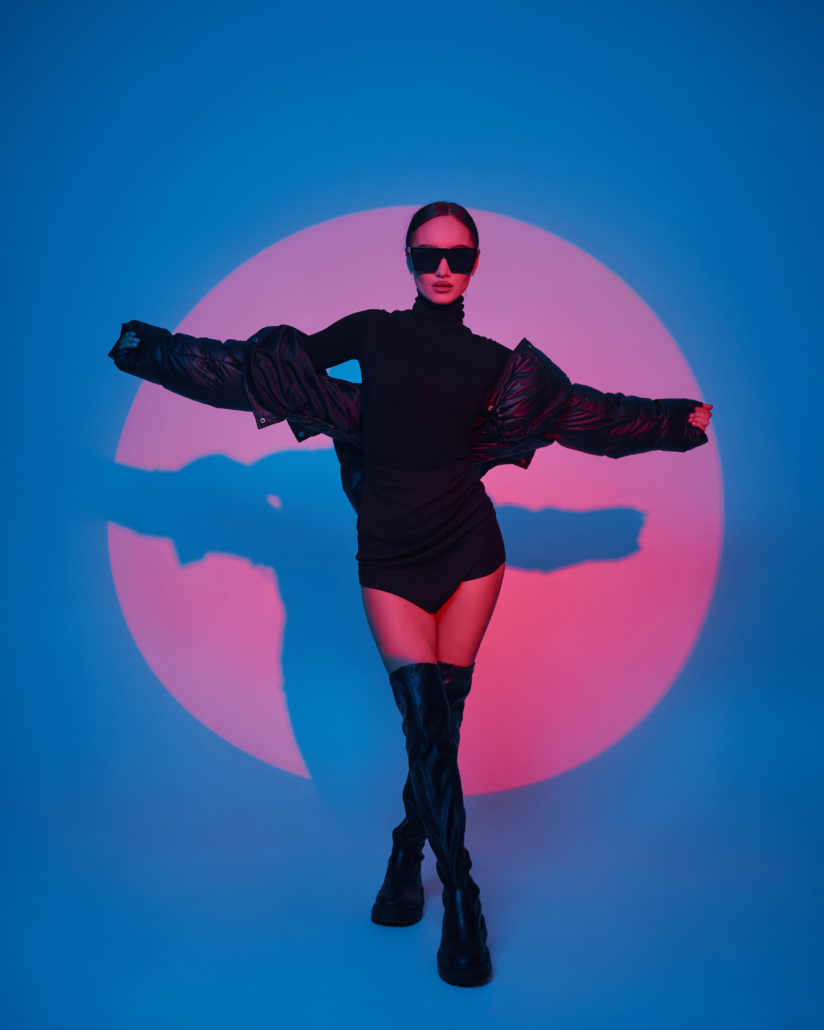
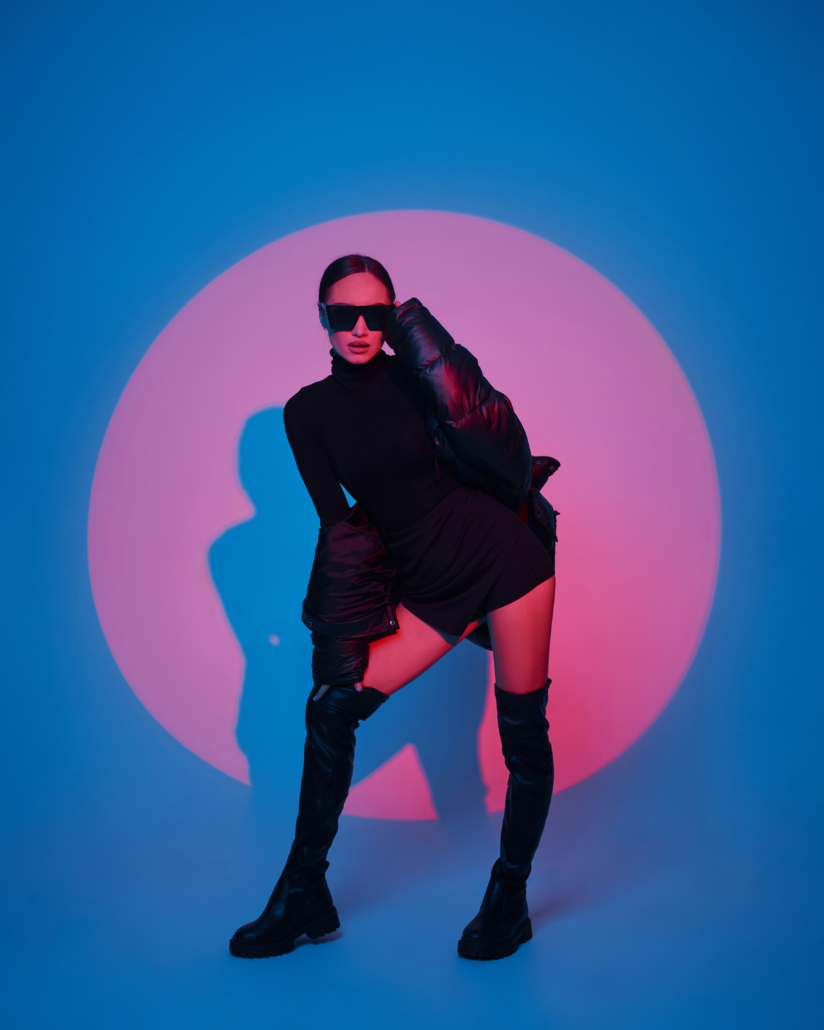
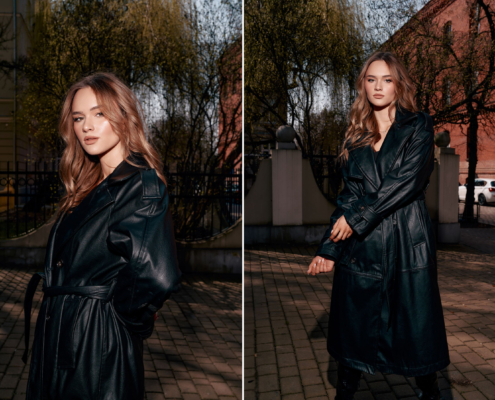
The growing popularity of harsh light in portrait photography prompted me to explore a solution that had long been on my mind, a snoot. Fortunately, GlareOne recently released two new models, the Spotlight 20° and 40°, which I had the pleasure of testing, and in this article, I would like to describe to you a few applications of such modifiers in portrait photography.
In both cases, the light passes through the lens, which gives us the possibility to sharpen the beam of light. We can experiment in many different ways, using regular snoots, adding grids to them, or cutting out circles and patterns from cardboard, but our edges will never be as sharp as those from light projected through the lens.
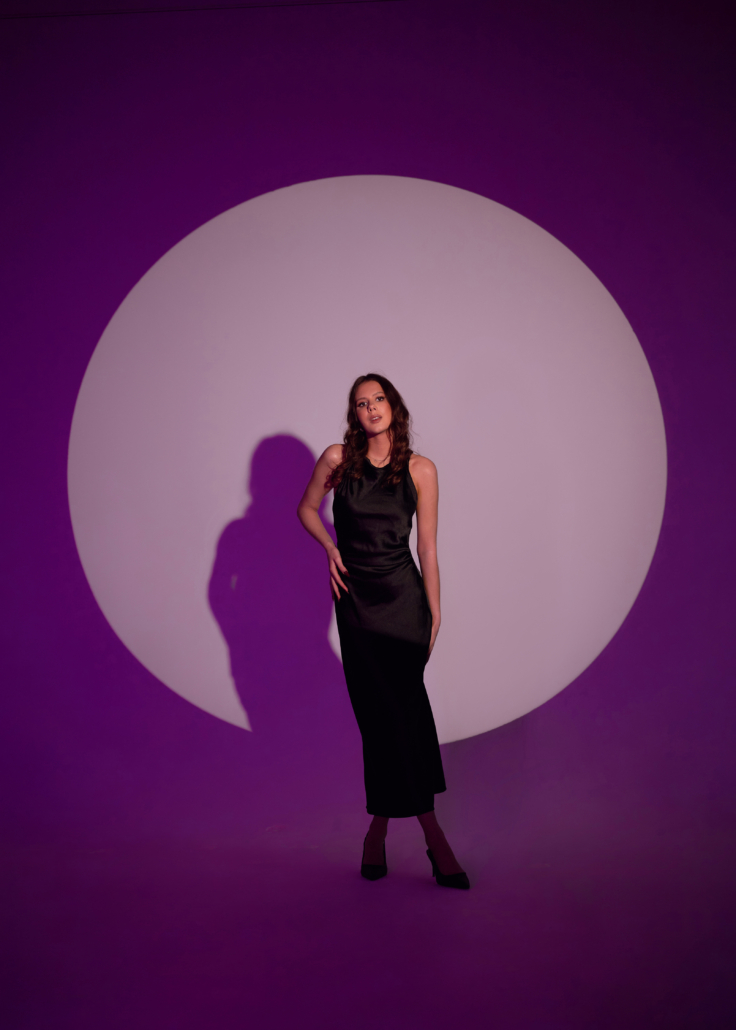
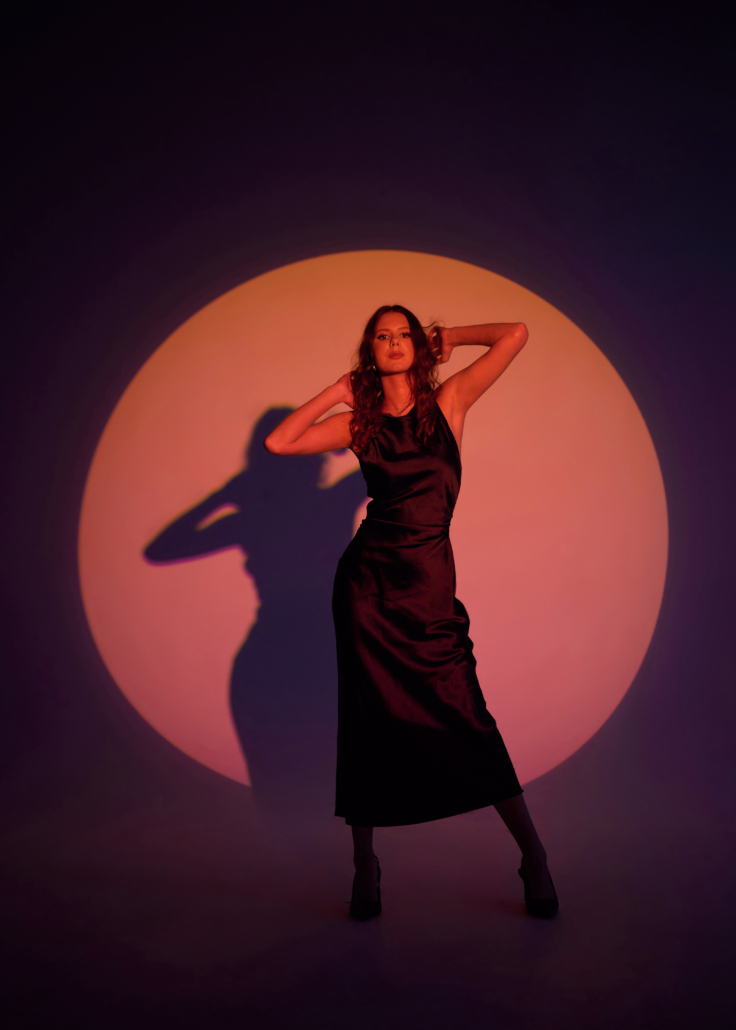
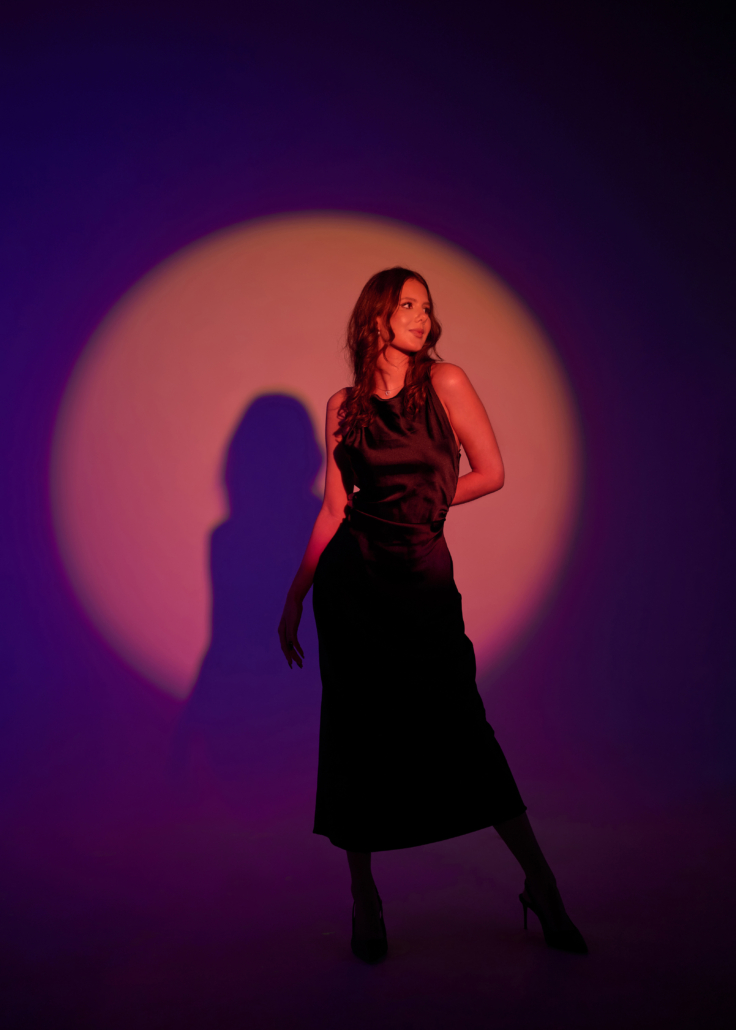
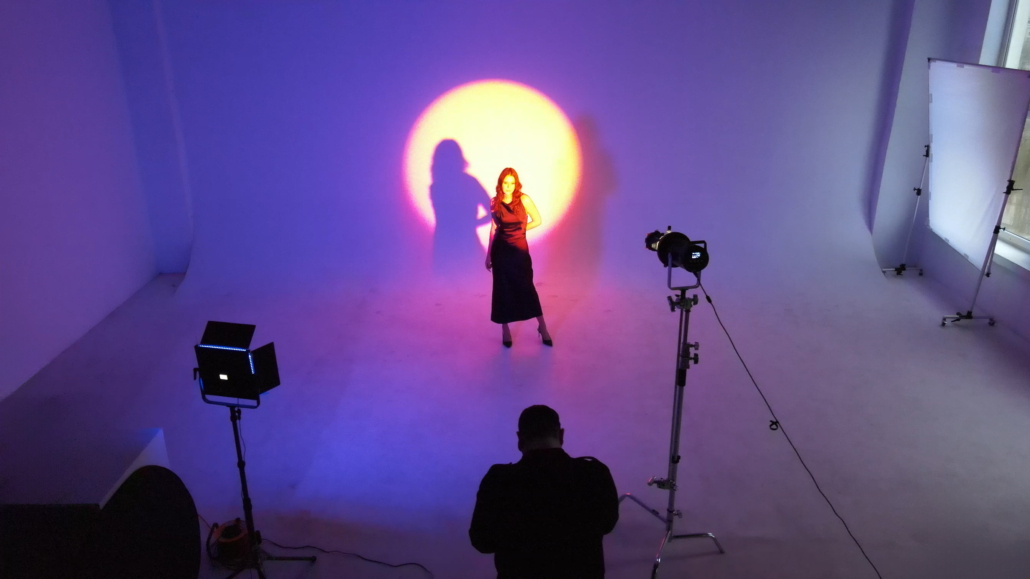
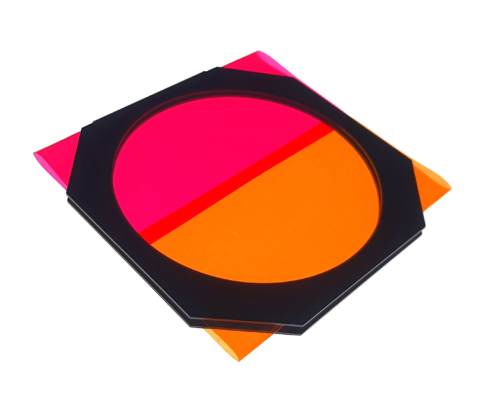
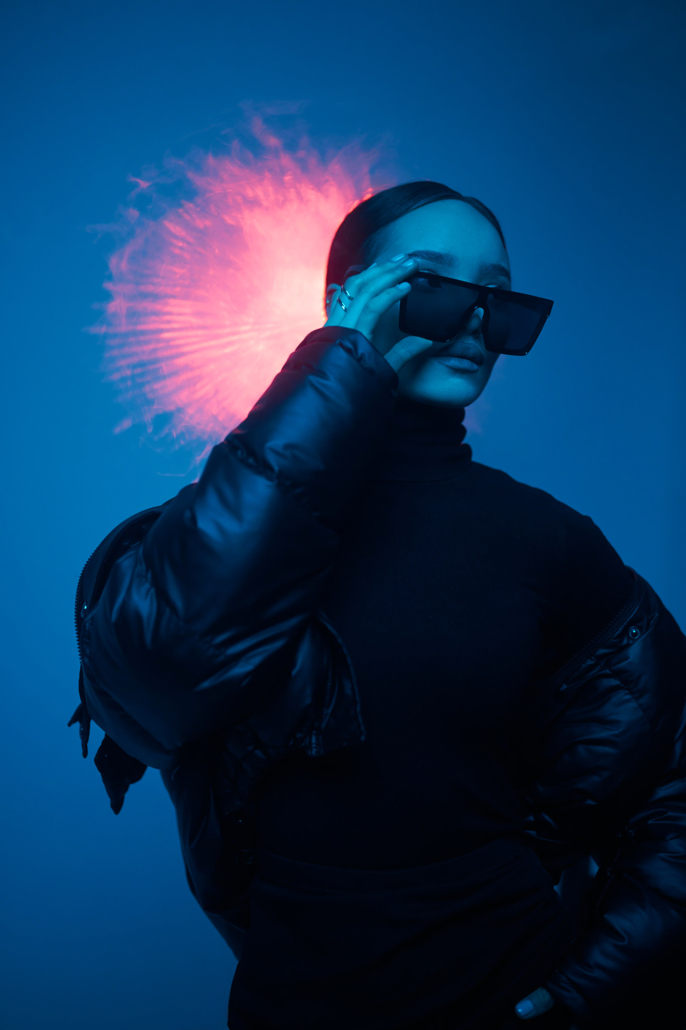
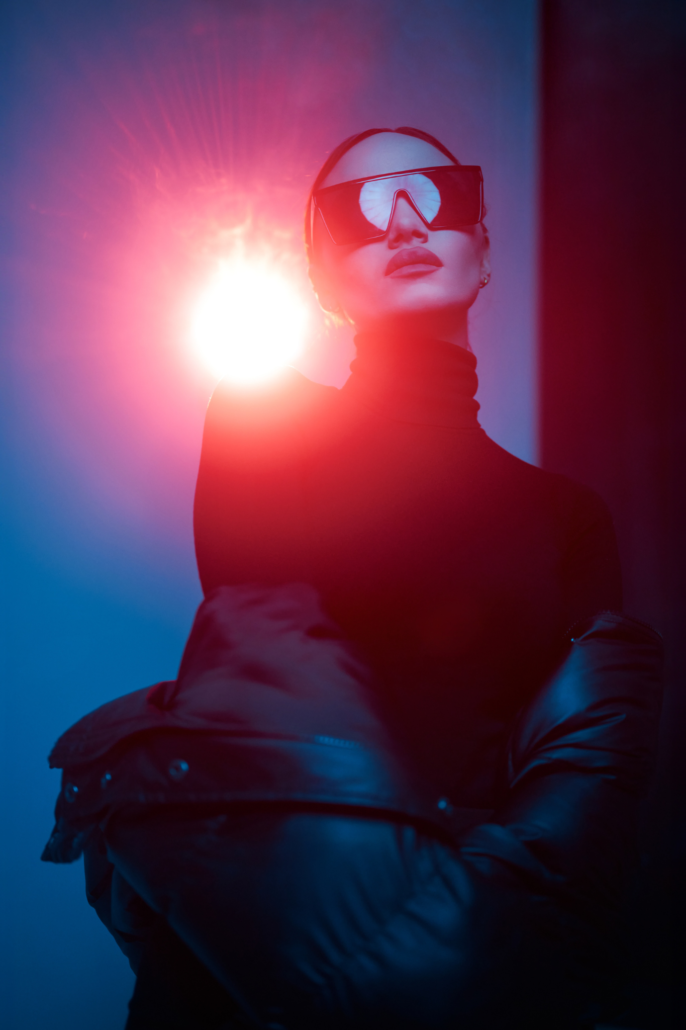
Simply set up an additional colored light source that fills as much of our frame with color as possible so that any shadows in the photo capture the desired hue. Additionally, we can of course also use the gels and holder included in the set to colorize our main light. Personally, I really like combining two colors overlapping halfway, creating a nice gradient with a gentle transition in the middle, simulating a sunset.
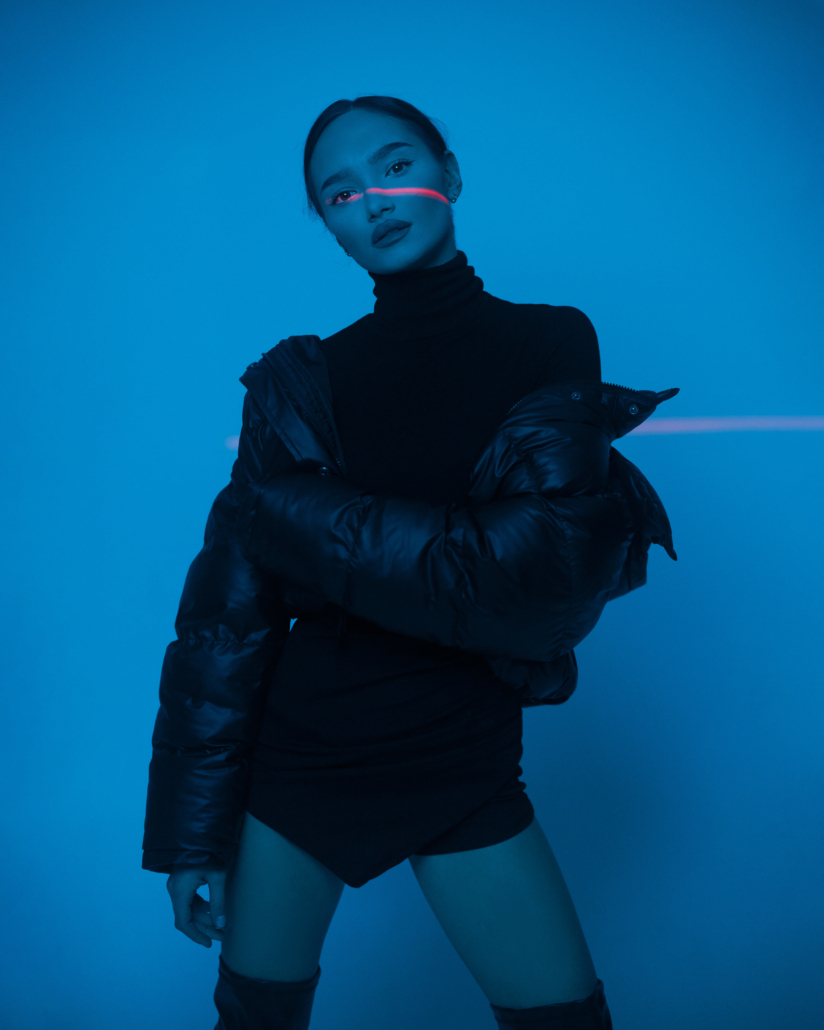
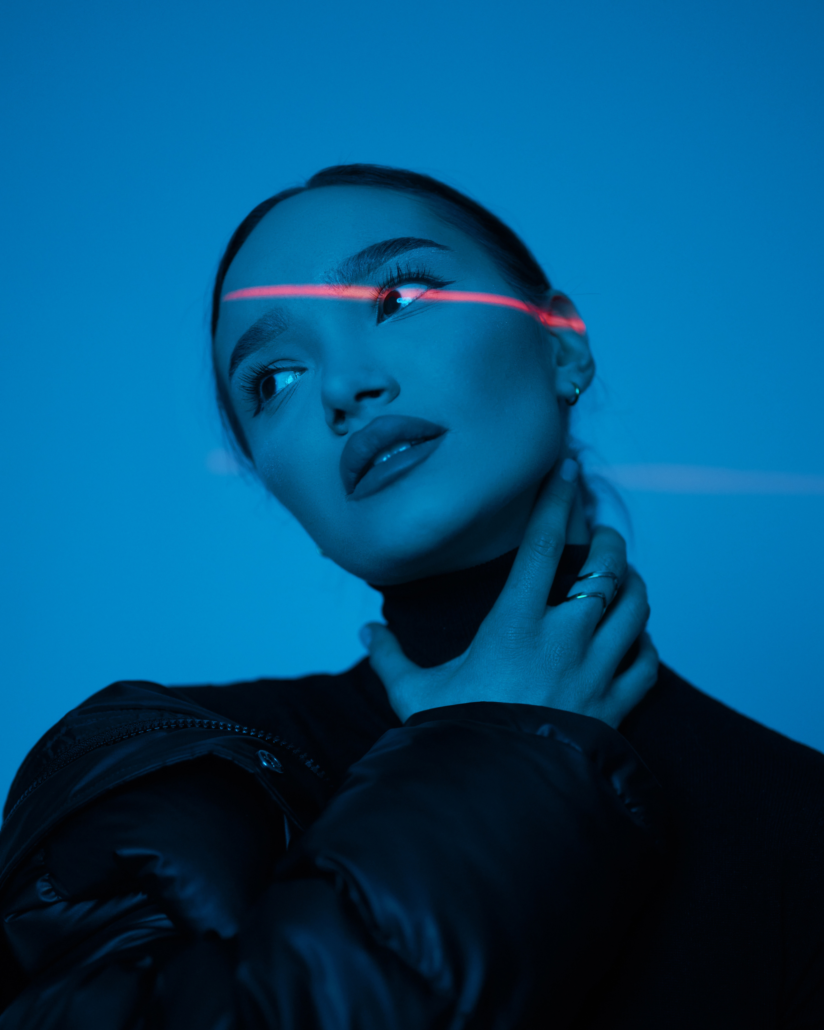
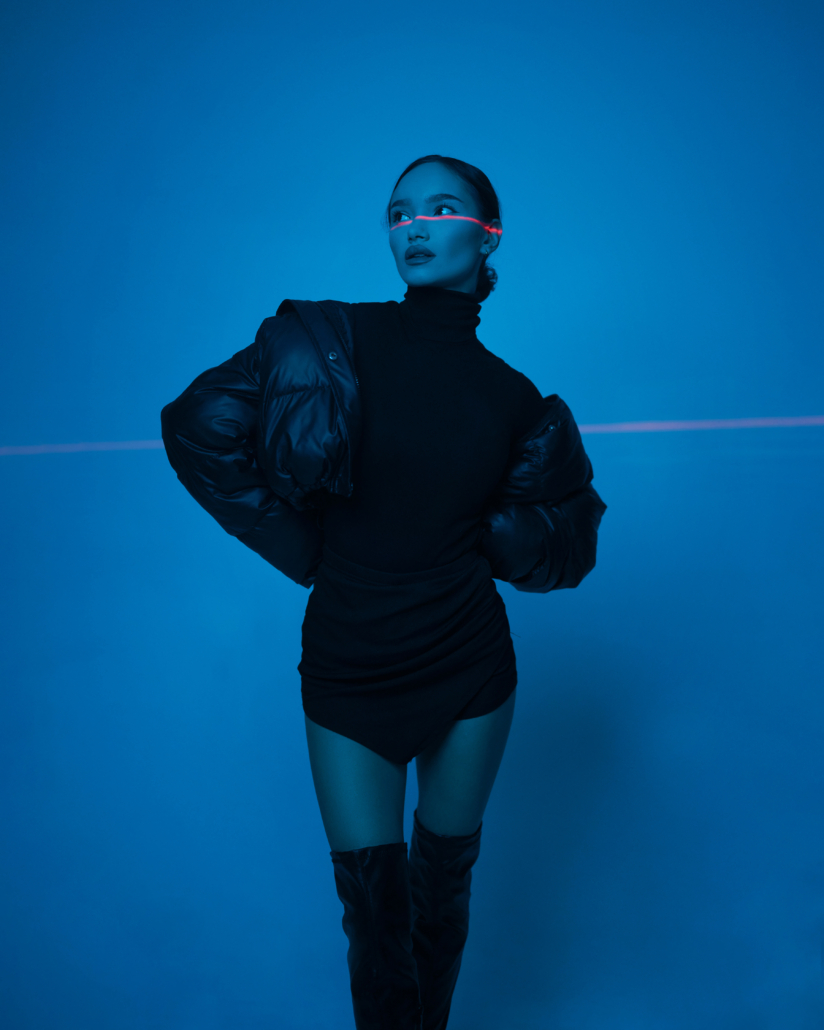
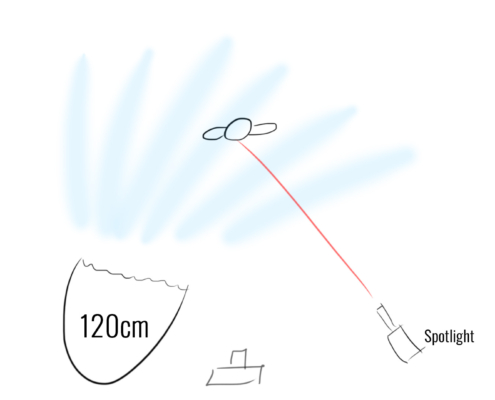
The entire frame was filled with blue light from an RGB lamp shining into a 120 cm parabolic modifier with a reverse mounting. Presumably, any larger softbox providing soft light would work just as well here. The most important thing for me was to achieve a colorful base and leave enough “space” in the exposure for this key “laser.” Thanks to the blades and the lens, I could set this slit very narrowly and play with the sharpness of the light beam, seeking the most natural effect.
It was quite difficult to aim the “laser” obtained in this way so that it was on the model’s face while ensuring her freedom to pose. It was so problematic that ultimately, I took the lamp with the snoot in hand and aimed the “laser” at the model’s face, while her sister took hold of the camera and took the photos for me. I could also have placed the camera on a tripod and triggered it remotely, but with the help of my new assistant, whom I could instruct regarding framing, the whole session was more organic.
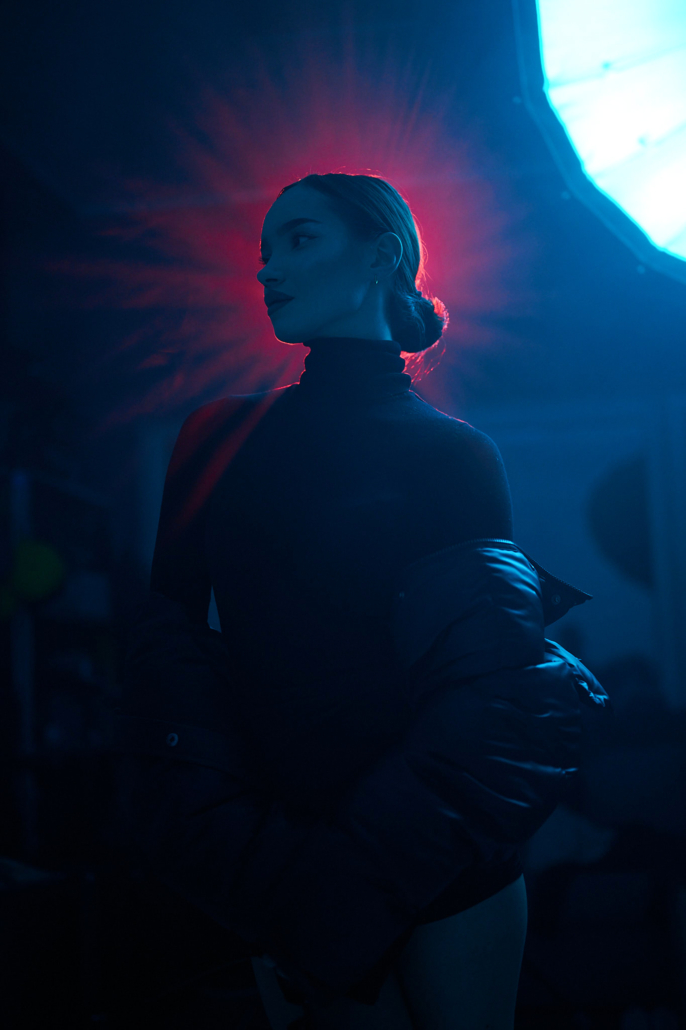
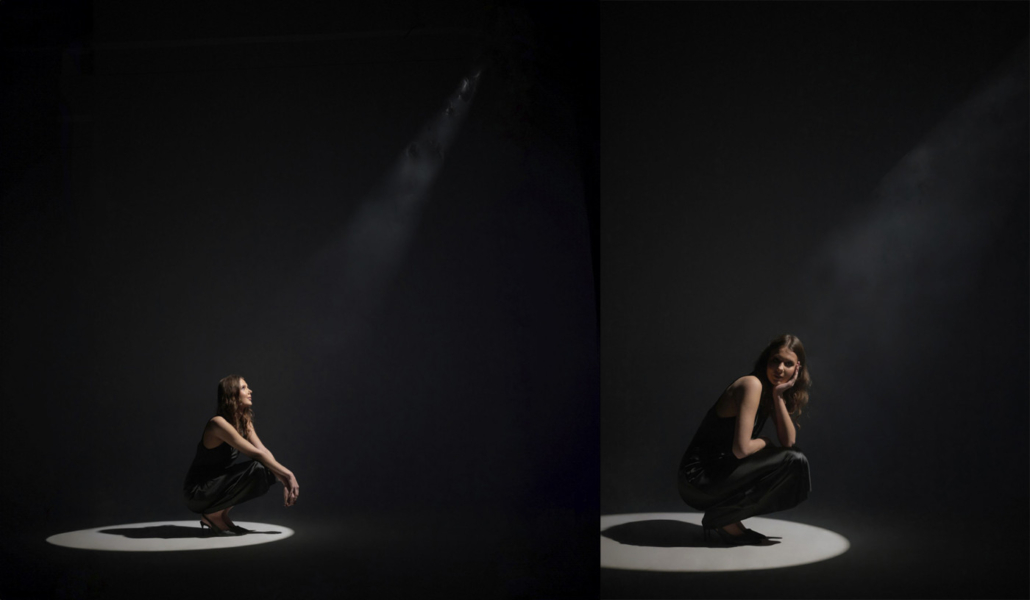
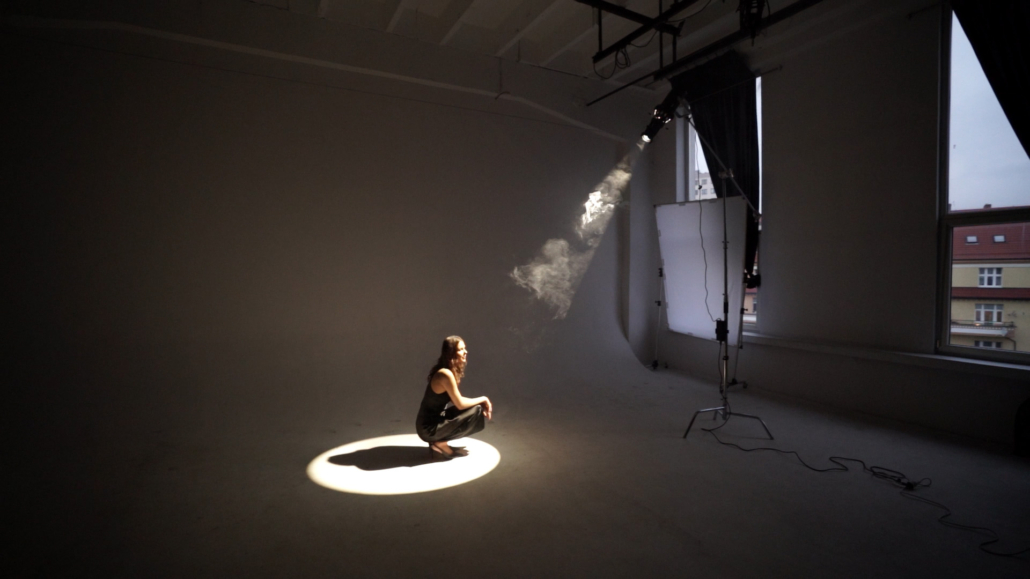
Being on the topic of unconventional positioning of the spotlight and adding smoke, during the first session using the snoot, I also wanted to try to create a typically stage-like lighting with a visible beam of light. Here again, the problem of space arose, but not too small, but too large. Unfortunately, in the studio where we were shooting, it was not possible to generate a sufficient amount of smoke from a small handheld smoke machine to significantly outline the shape of the light beam in the final image. A large smoke machine would definitely have been useful, but the final frame turned out to be very satisfying nonetheless, and the planned effect was achieved.
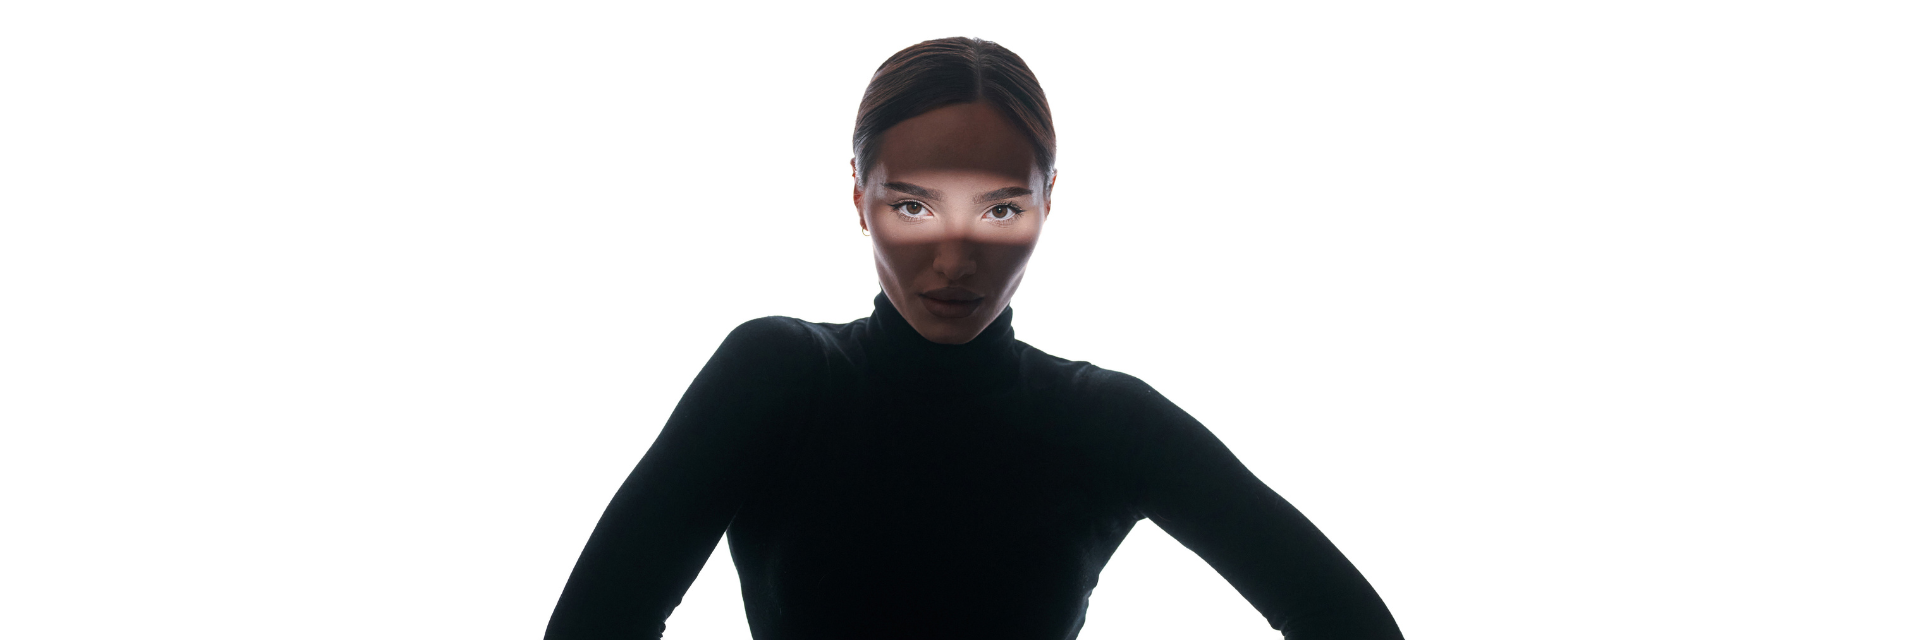
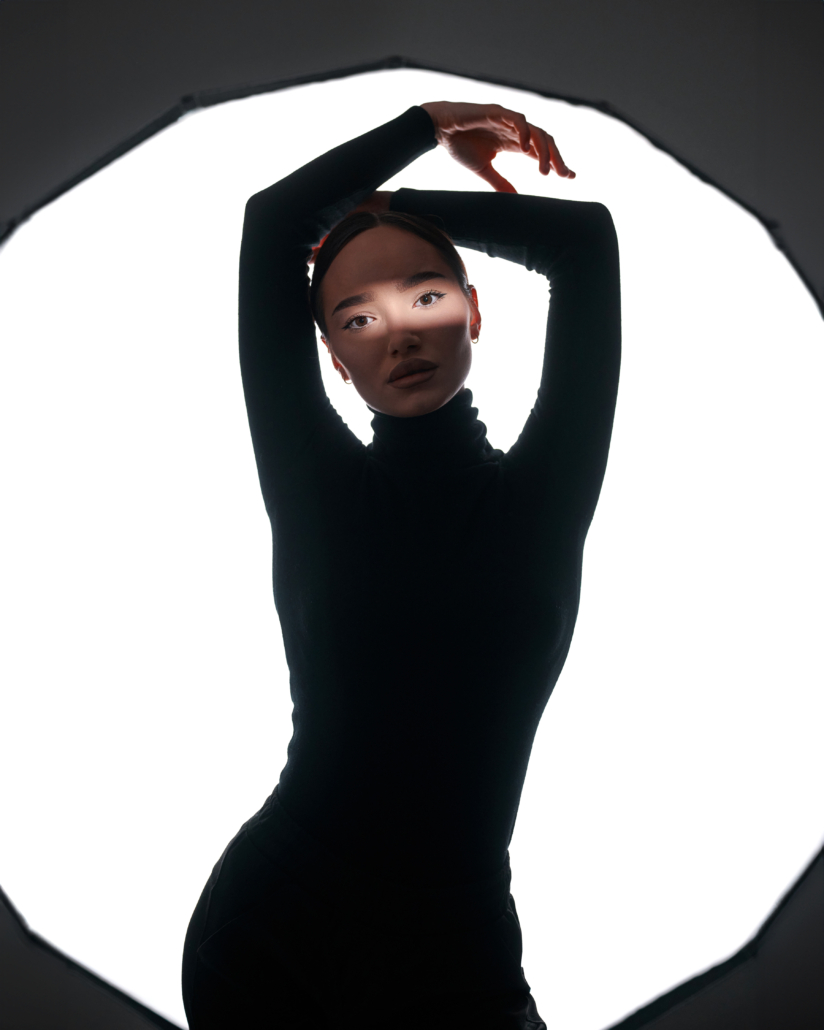
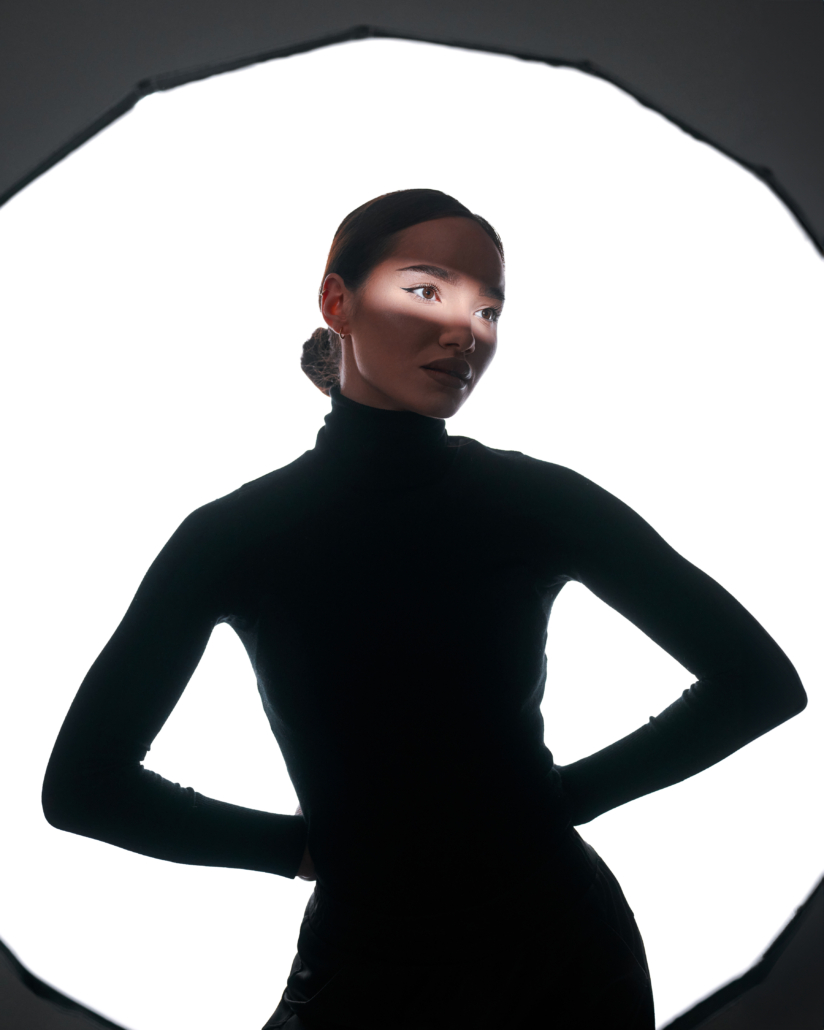
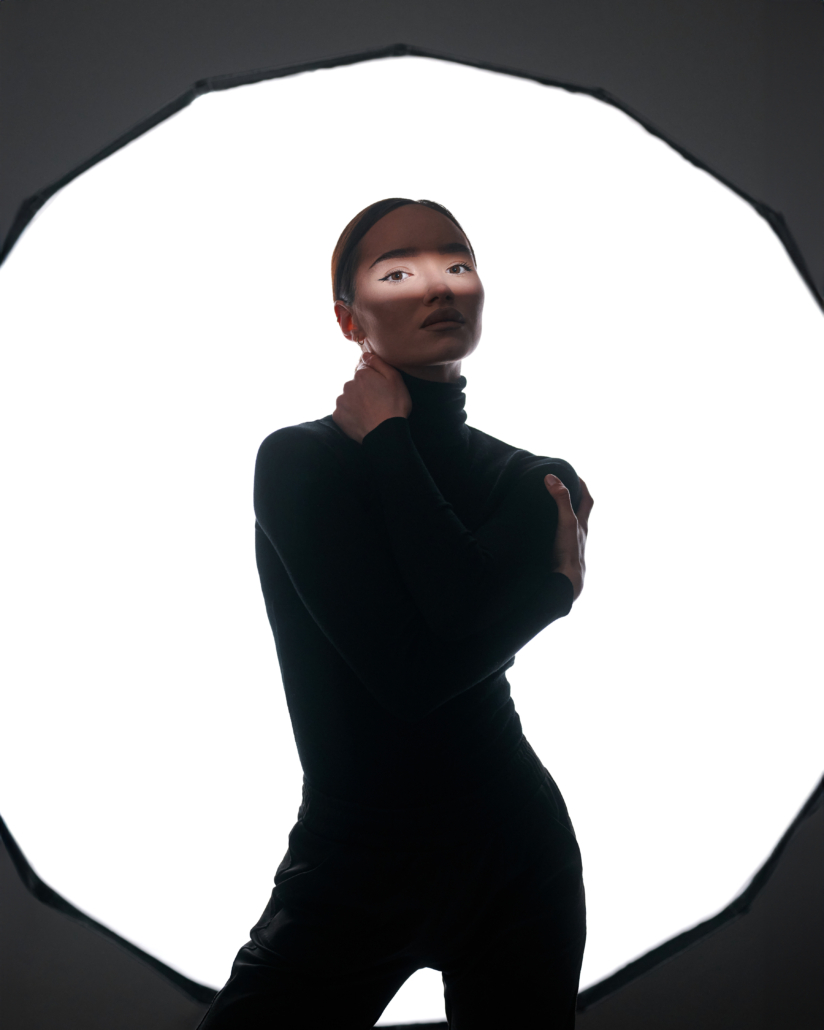
While searching for inspiration for the laser session, I found an image online of a model on a white background, where the entire figure remained in shadow except for the facial details illuminated by such a snoot. We decided to replicate this effect using a 150 cm octa as a background and illuminating it with white light. Once again, we used the snoot with a slit to illuminate only the model’s eyes. Here, too, I manually aimed the light at the model’s eyes and adjusted the lamp as needed, as changing the angle of the already set slit isn’t easy and would require constant adjustment of the barn doors. Sometimes, it’s just easier to hold the lamp when dealing with precise lighting of moving objects.
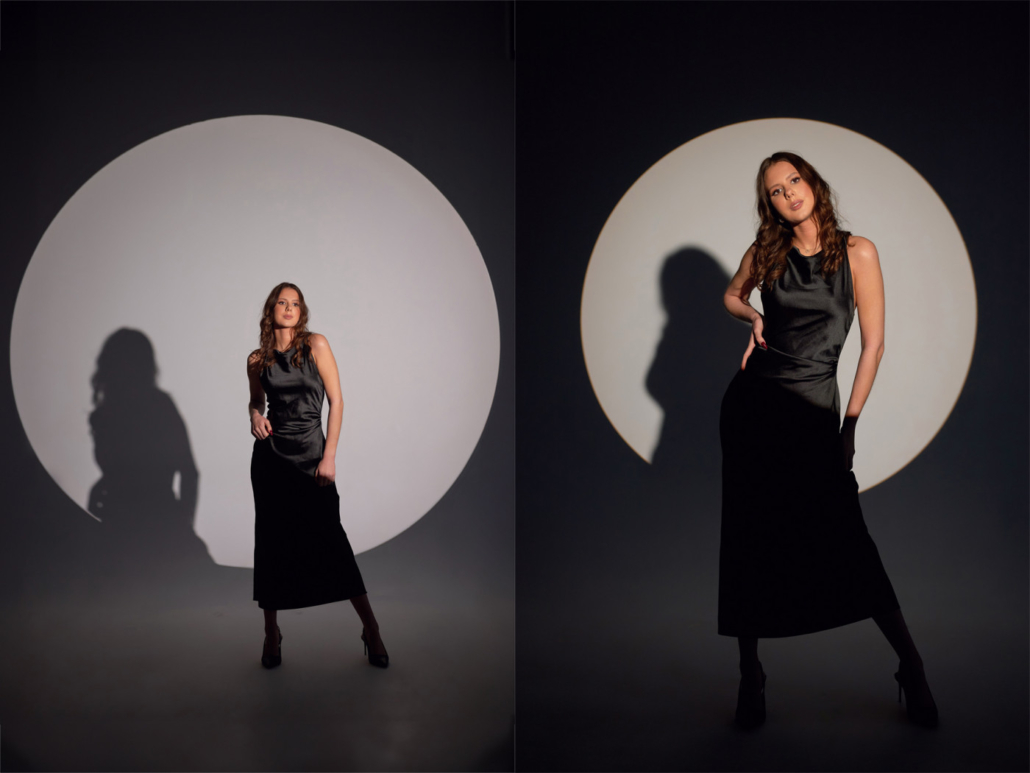
So far, I’ve mainly used the GlareOne Spotlight to create classic circles in various variations and to modify the light with barn doors. I’ve only used a gobo once to try creating light rays. I haven’t yet attempted to create patterns with light, and that’s my next goal to accomplish. The snoot itself has been a source of several cool lighting inspirations and has helped me create some of my new favorite photos. I’ll be happy to return to it, and I hope my article serves as a little inspiration for you to experiment with modifiers like snoots as well. With them, you can achieve unusual effects or replicate various light phenomena found in nature that are not easy to capture.
Where to buy GlareOne snoots?
GlareOne optical snoots are available at reputable photography stores, and you can find a list of them on the “Where to Buy?” page.
You can find more information about GlareOne on Instagram, Facebook, and the GlareOneTV channel on YouTube. Feel free to visit my channel JacekWPhoto, where I test and showcase various interesting solutions.
Jacek Woźniak – profile
Portrait and commercial photographer. He deals with all kinds of photography that require additional lighting, and in his spare time, he runs an educational YouTube channel with over 300 videos about retouching and photography. In between raising two sons, working full-time, running his business, and filming YouTube videos, he also paints photographic backdrops under the brand Kuyavia Backdrops.
