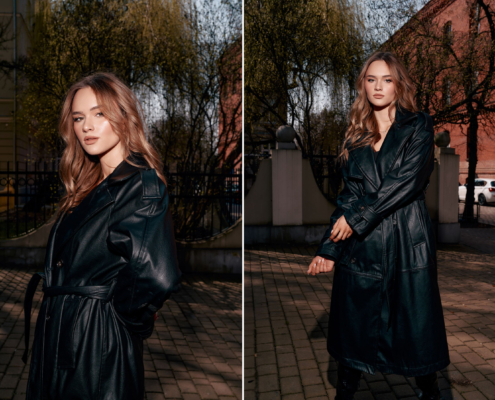
Beauty photography is demanding on one hand, yet on the other, it doesn’t require a ton of equipment or a huge studio. Personally, I enjoy shooting beauty photos because within a few hours, our model can undergo several transformations, transitioning from a delicate Spring Lady to a fierce warrior. It’s also a great opportunity to learn about lighting setup because beauty photos definitely don’t forgive mistakes – if we misplace a lamp, it will immediately show in the photo. It’s a type of photography that quickly exposes flaws in makeup and other elements, which is why I recommend this type of photography to anyone who wants to master their camera and lighting skills, rather than rely on fixing underexposed photos in Lightroom. For our session, I used the new GlareOne Vega 400 lights and accessories from the same company. The Vega 400 is a newcomer to GlareOne’s lineup – let’s see how they perform in practice!
Preparations
For these types of sessions, teamwork is essential – having just a photographer and a model who watched a couple of makeup tutorials on YouTube won’t cut it. We need a professional makeup artist, and a hairstylist is also highly recommended – in our case, Daria Kwaśniewska, who primarily focuses on makeup, also took care of Amelia’s hair, even though it was not the main focus in the planned photos. Makeup is incredibly important – after all, we’ll be scrutinizing it in close-up shots. Importantly, it should cover not only the face but also the neck and décolletage. It’s common to see photos where the face looks flawless but significantly differs from the rest of the body.
Before the meeting, we need to discuss with the team what kind of photos we want to take – let’s prepare a mood board, have discussions – the makeup should match specific images. The choice of the model is also significant. She should fit into the atmosphere we’ve chosen.
As for styling, in beauty shots, we rarely deal with anything complicated, and I’m a fan of bare shoulders and décolletage. Here, crop tops come in handy – narrow pieces of fabric covering the bust – they cost next to nothing and are a much better solution than bras that may protrude. It’s also a good idea to advise the model not to wear a bra with straps before the session, as they will definitely leave marks on the shoulders for a long time. These are details, but they make the further work much easier.
Equipment
We’ve got our ideas, Daria is working wonders on Amelia’s face, so let’s set up the equipment for the first shots. My main camera is the Olympus OM-D E-M1 Mark III with a 60mm f/2.8 Macro lens. In this type of photography, longer focal lengths are definitely welcome – they don’t introduce distortions, compress backgrounds nicely, and thanks to the macro function, allow for very close-up shots of selected parts of the face. You can also choose lenses like the 12-100mm f/4 or 24-105mm f/4 and similar ones. I opted for the 60mm f/2.8 Macro because of its compact size and excellent quality, although for this session, I could have easily used the mentioned 12-100mm f/4. The camera itself isn’t as crucial in this type of photography – we’re working at low ISO anyway, and the model isn’t moving too quickly, so features like advanced weather sealing, high burst rates, or the fastest AF system on the market aren’t necessary. The lens will be much more critical, although I believe that even with a cheap ultrazoom lens like the 14-150mm or 28-300mm, we’ll still manage – after all, we’re shooting at a closed aperture.
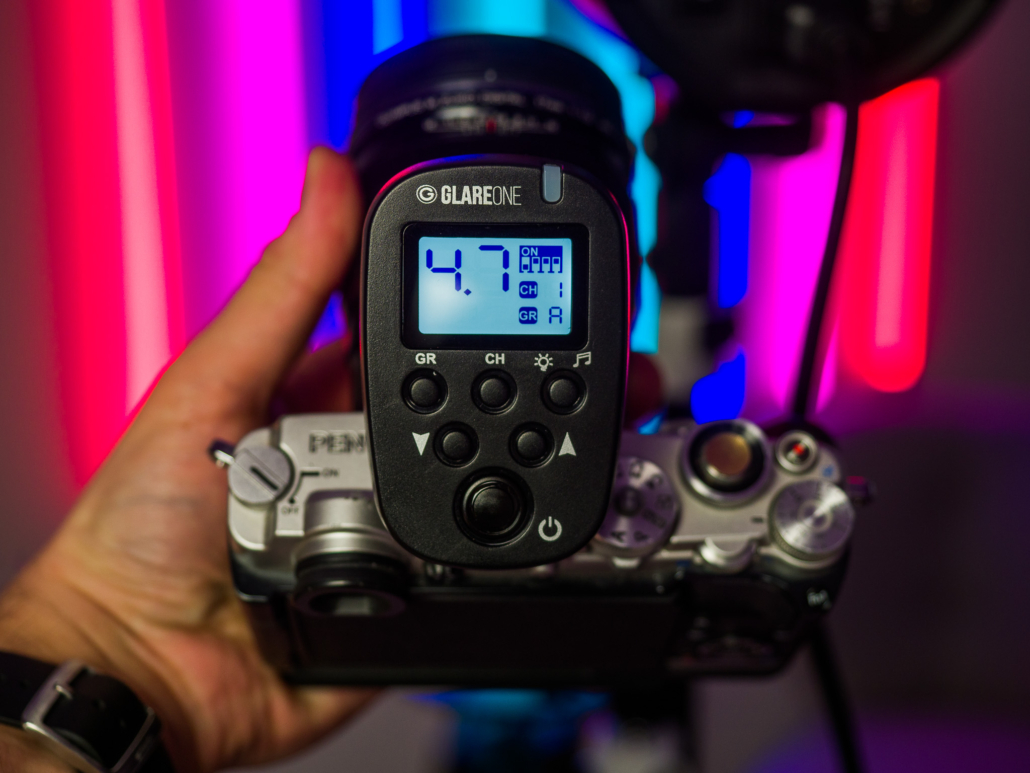
It’s worth considering purchasing the dedicated Flash RC trigger for the VEGA 400 lamp. When taking photos behind the scenes, I used my Olympus PEN-F.
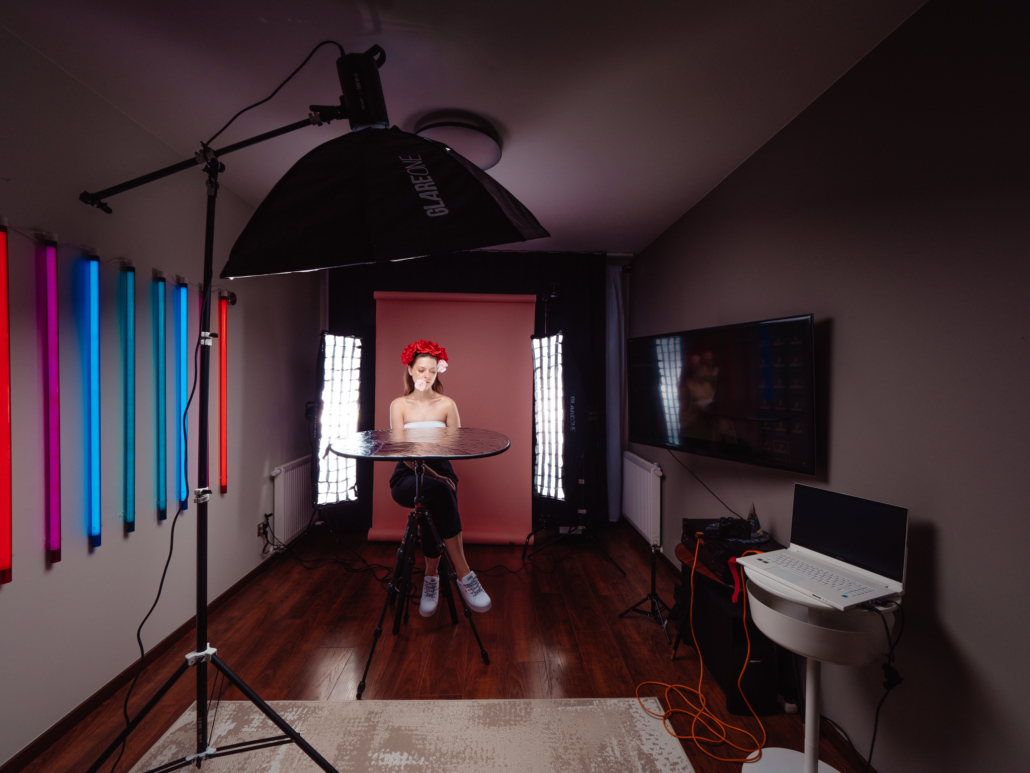
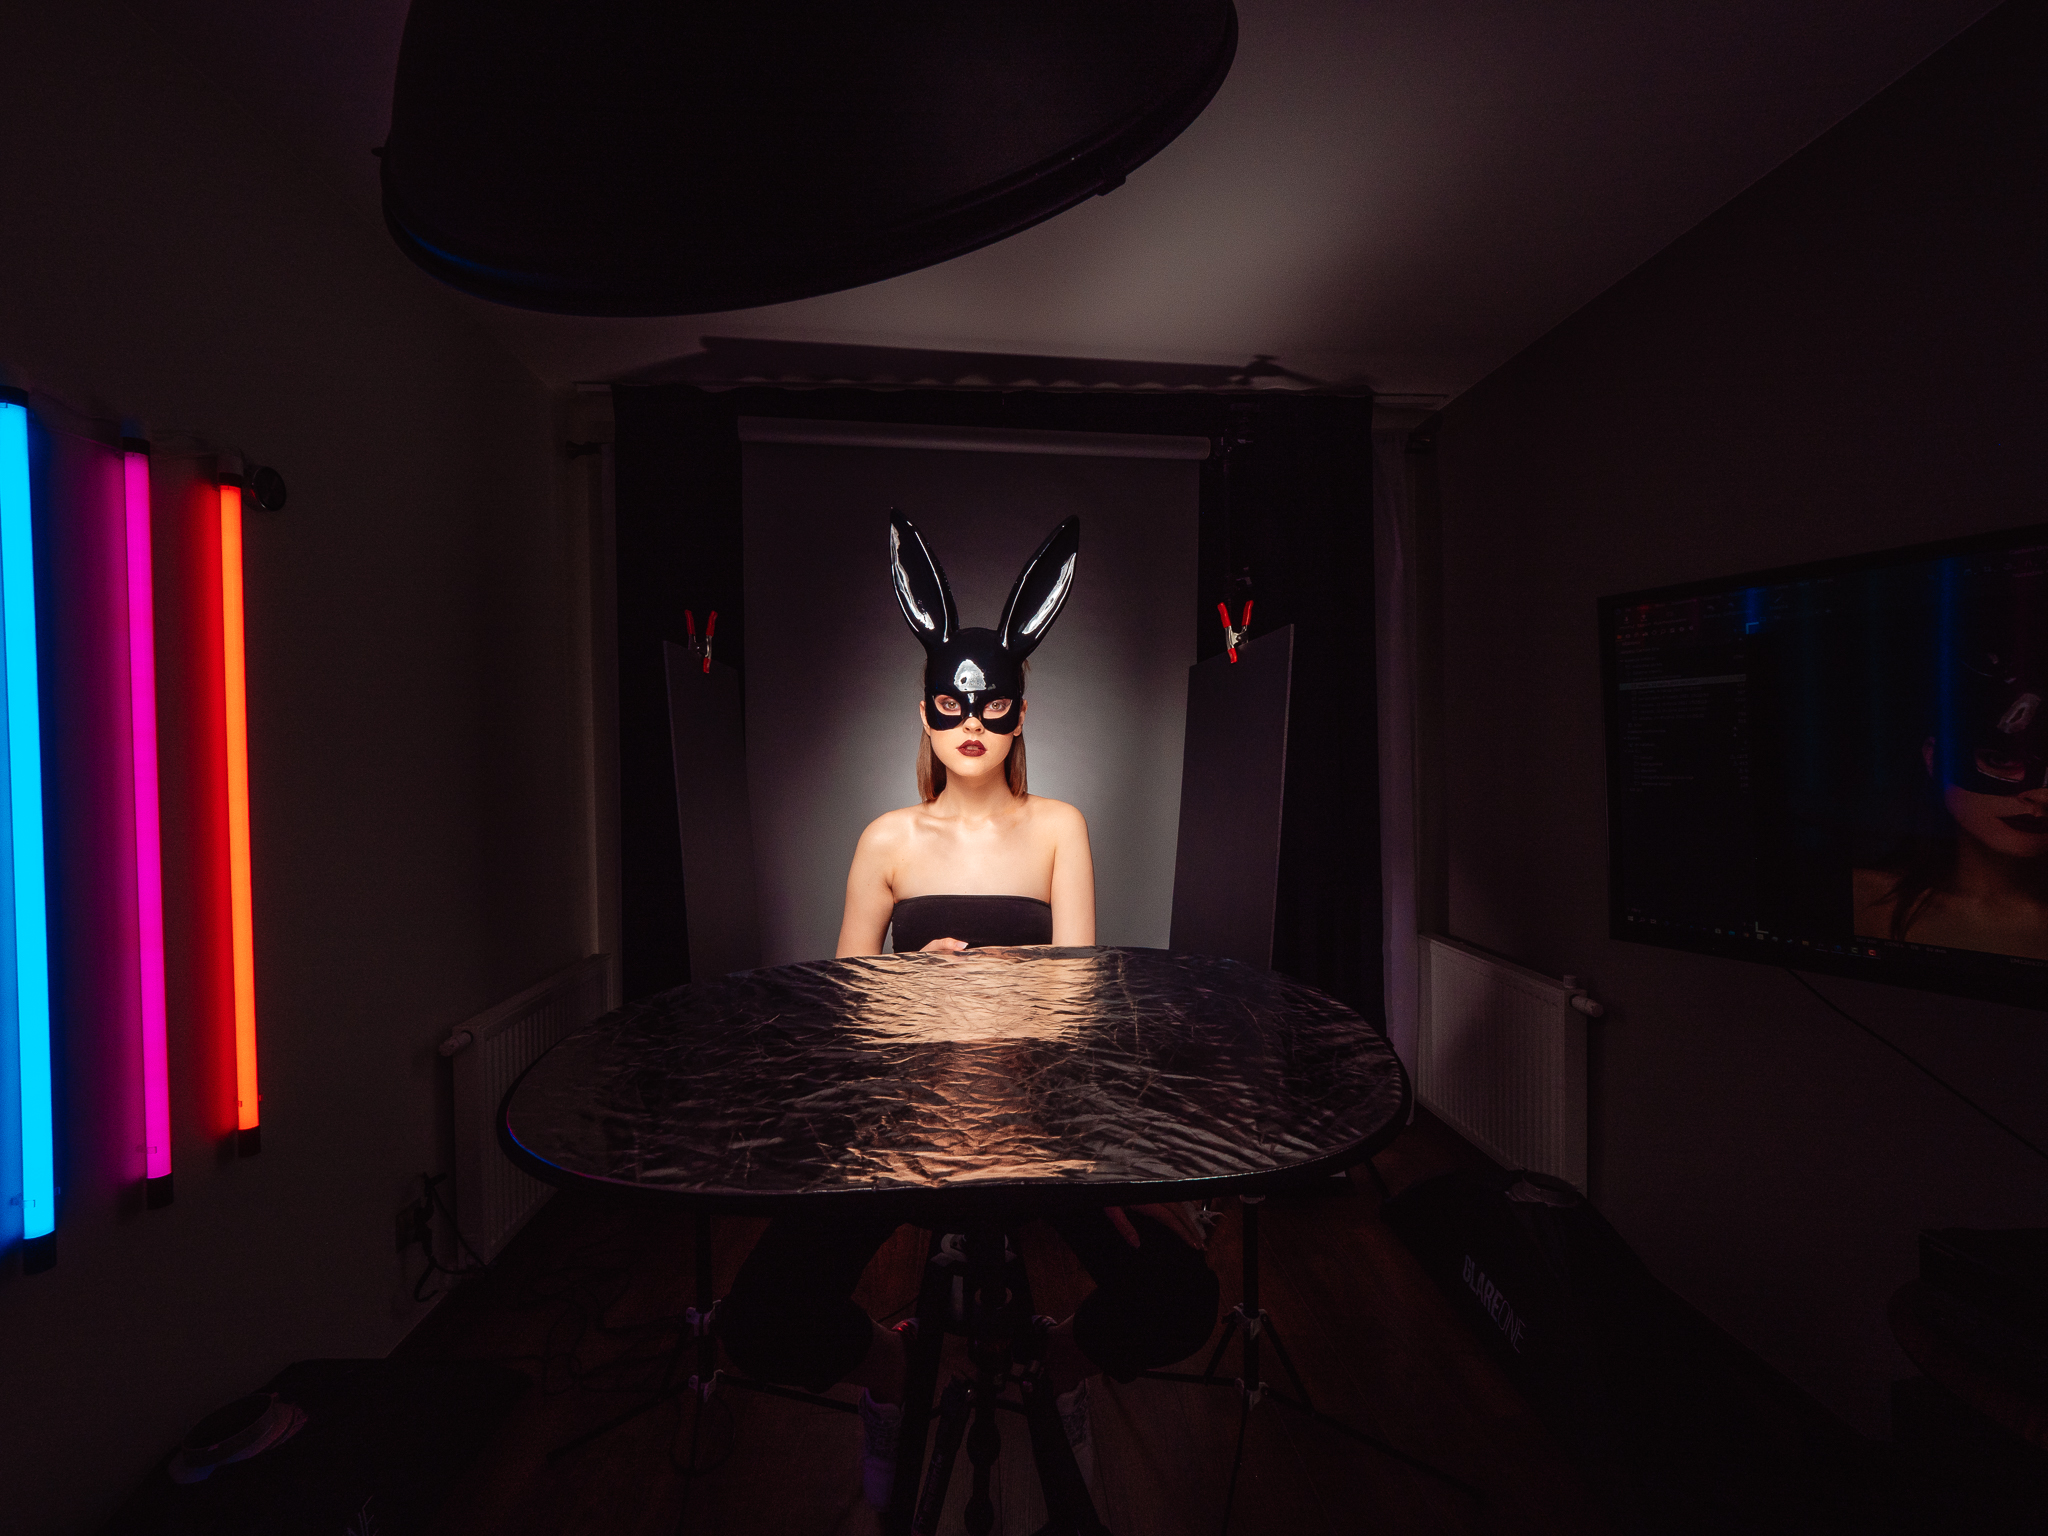
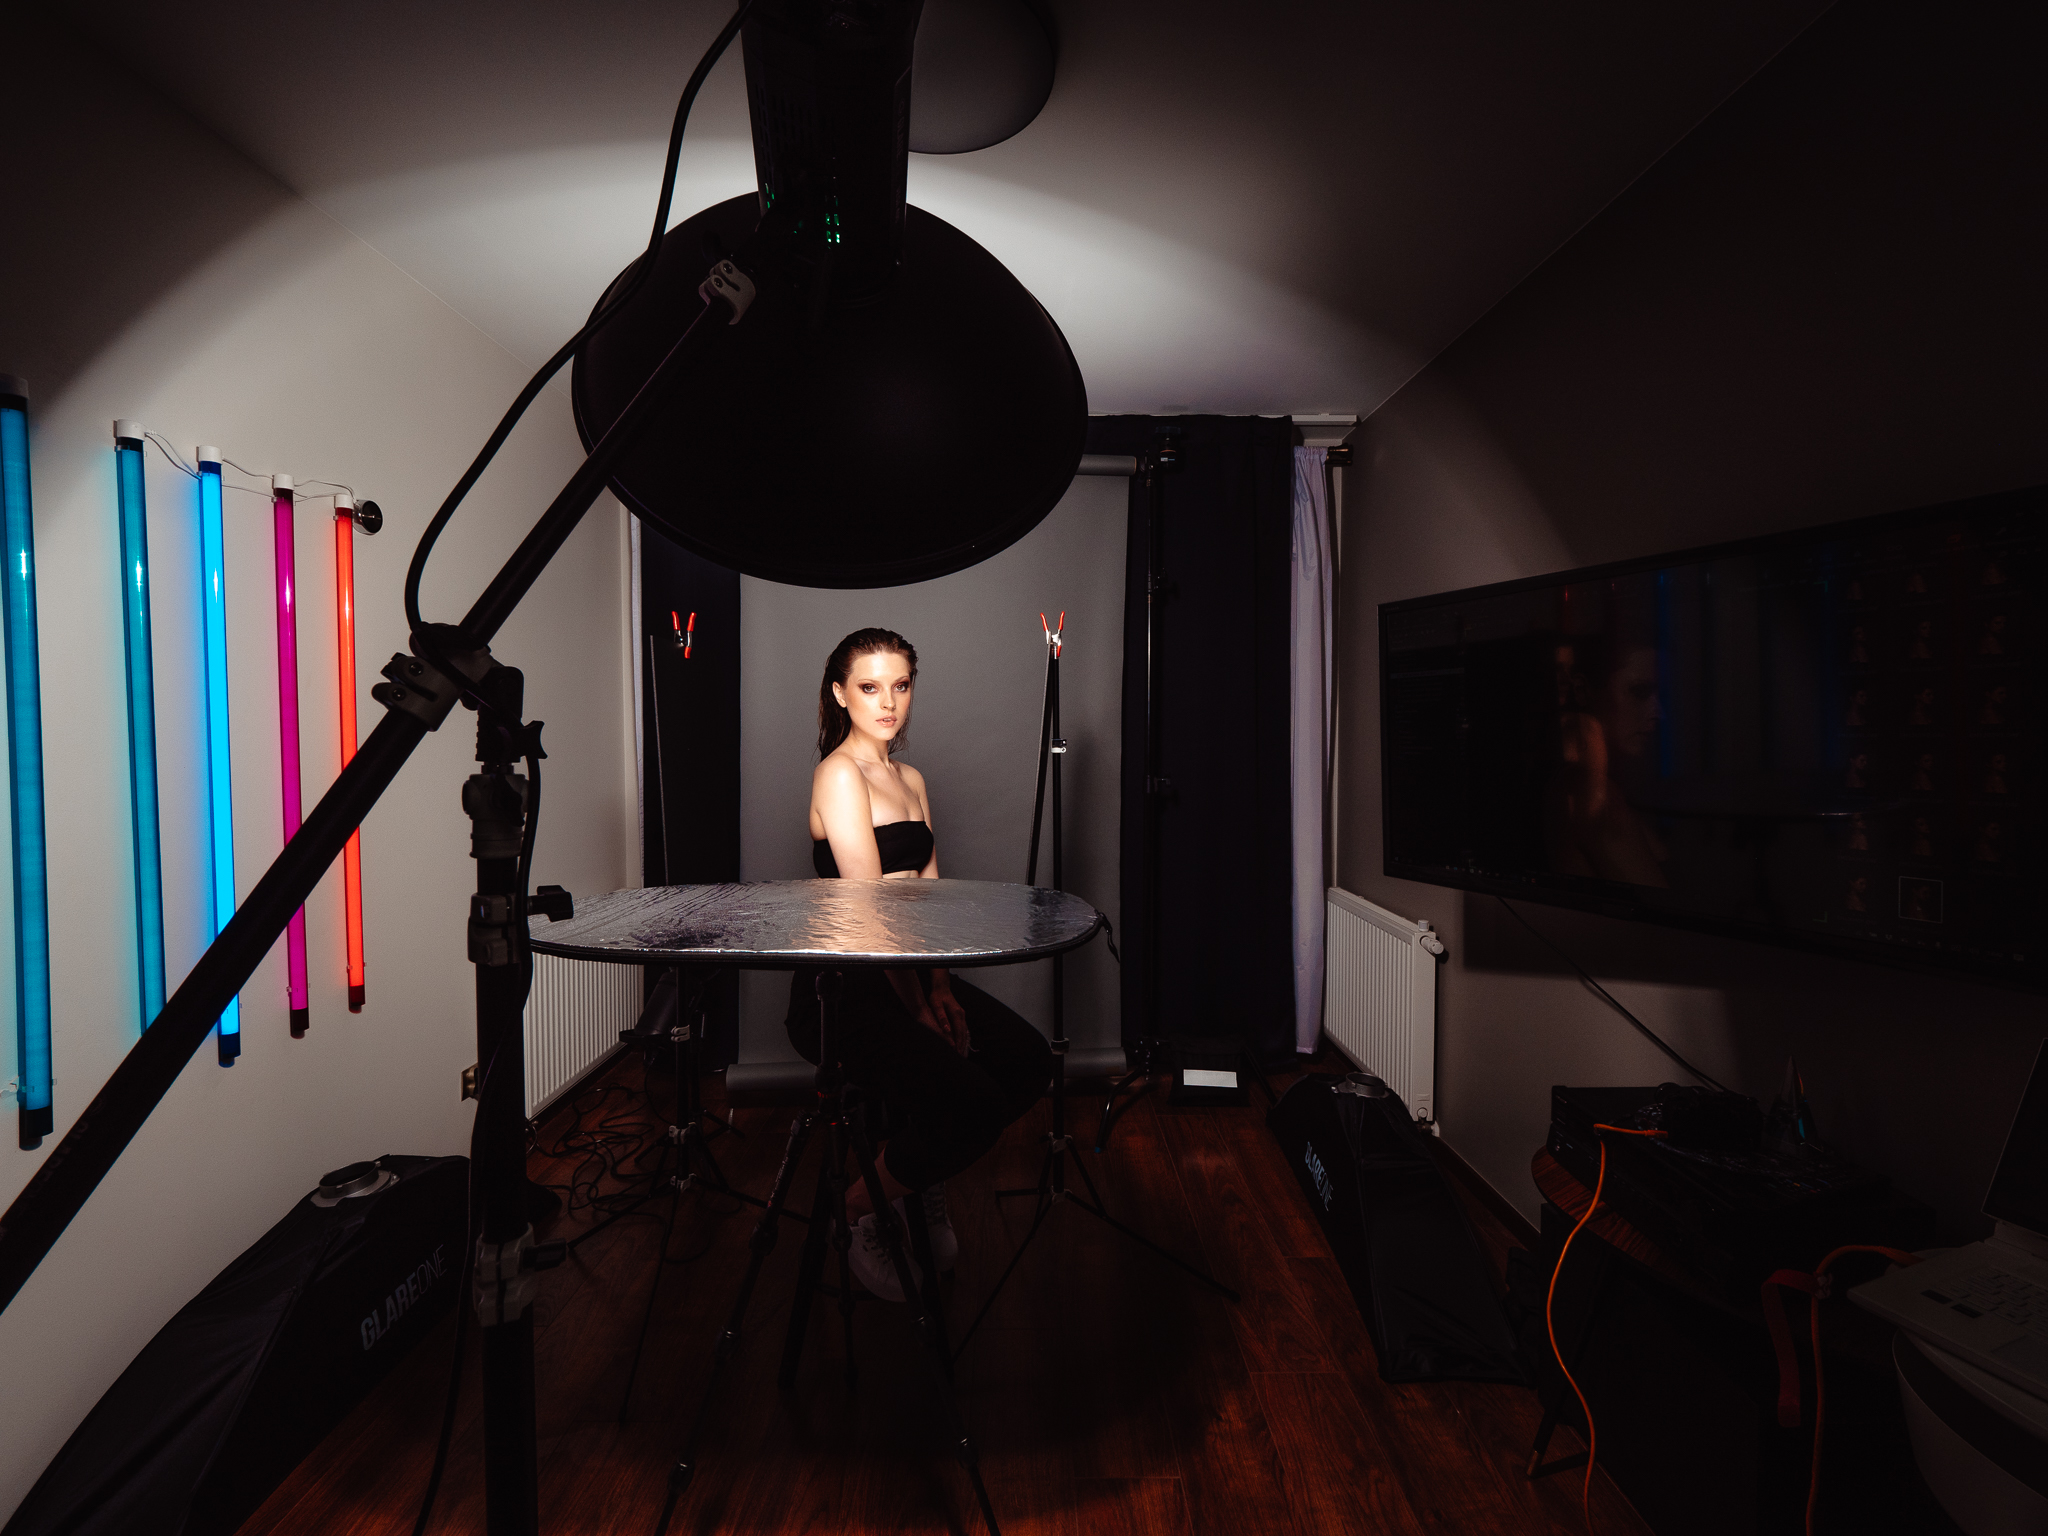
It’s good to utilize the tethering feature, which involves connecting the camera to a computer and monitoring the results on a larger screen in real-time. Again, this emphasizes teamwork. During our session, Daria ensured that everything was fine with the makeup and hair, while I could verify whether the lighting and framing were as planned. In my case, the computer was connected to a large TV, but that’s only because the TV happened to be there. For tethering, I usually use Capture One—it’s the fastest and best at displaying colors.
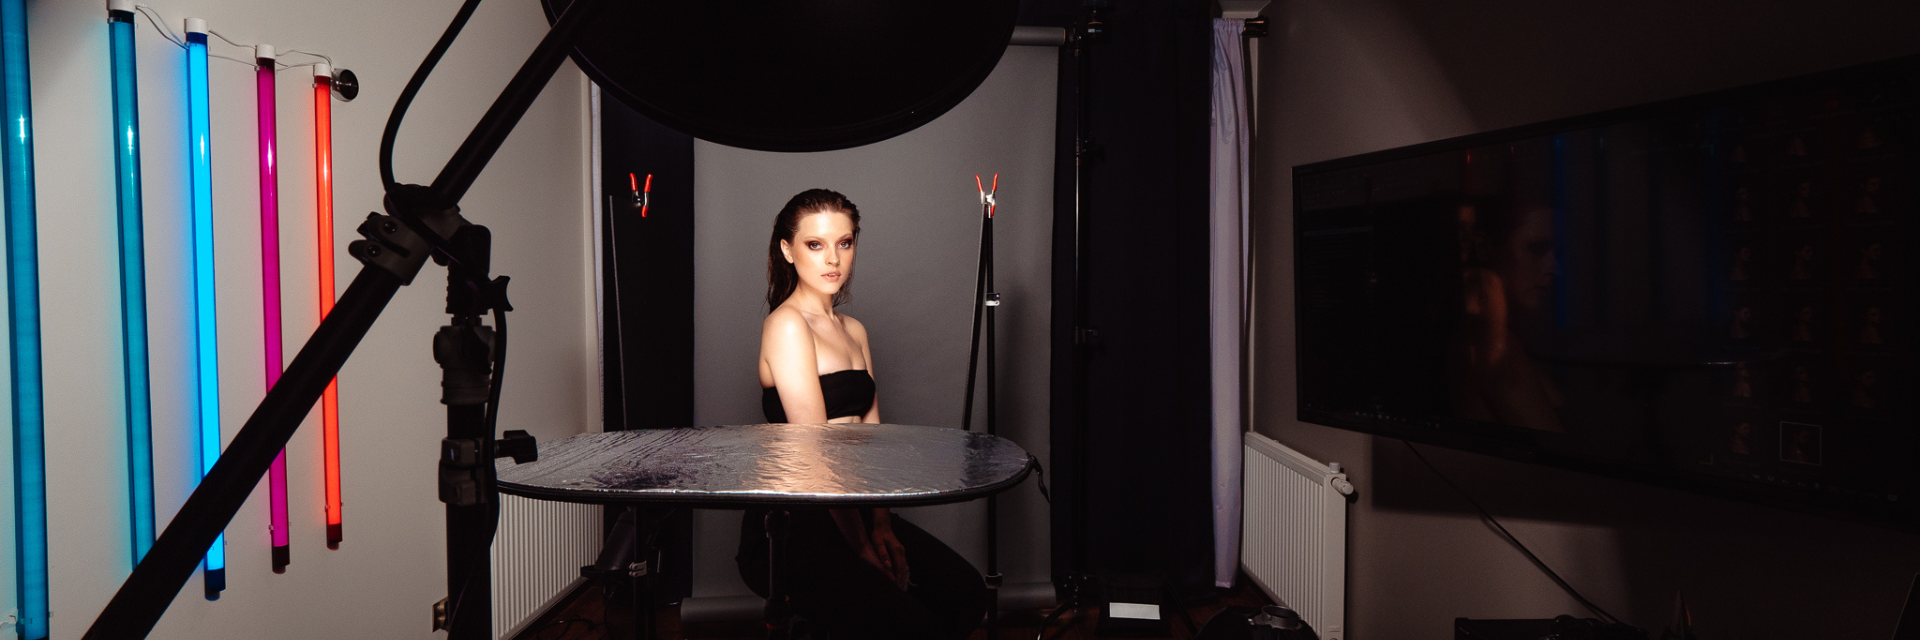
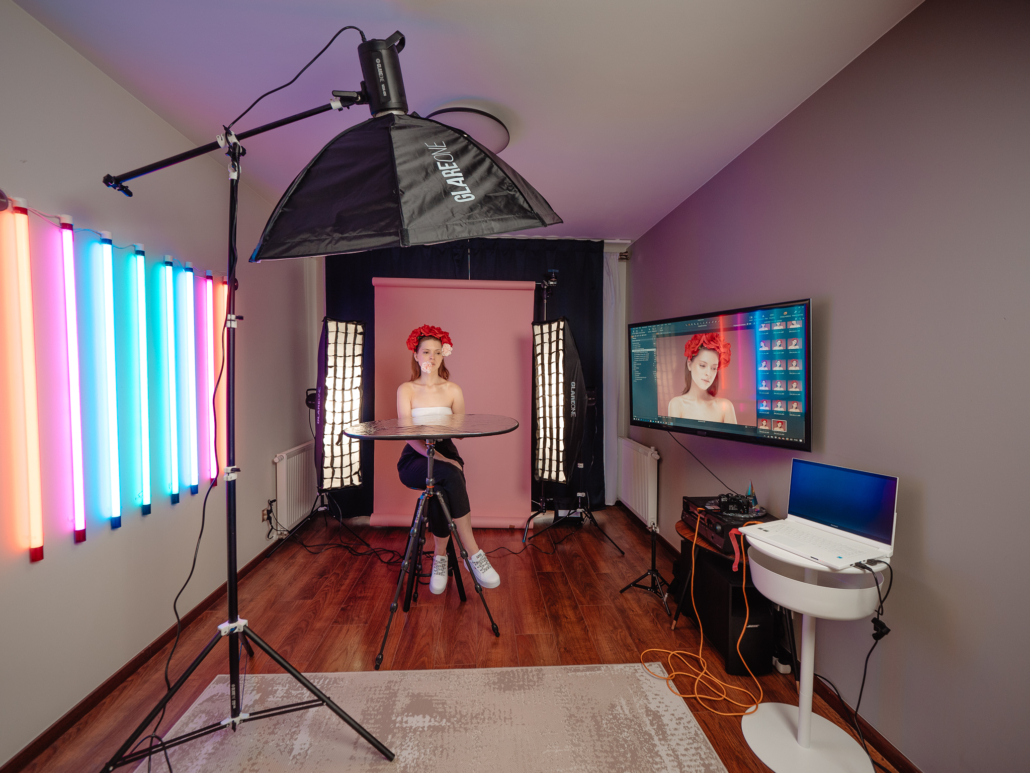
This is what our entire small studio looked like. The space is several square meters, but you absolutely don’t need a larger space for this type of photos.
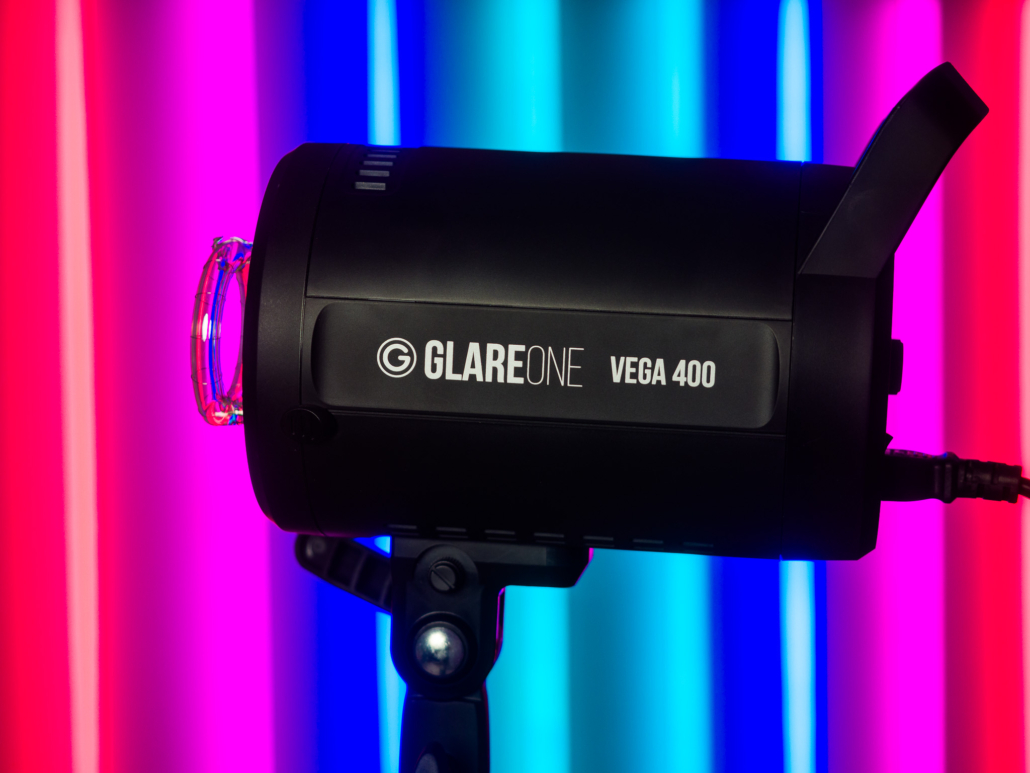
In beauty photography, light takes the spotlight, and that’s exactly the case here. I conducted the session using a maximum of three GlareOne VEGA 400 lamps, which are the manufacturer’s new models. After testing the LED600D and LED1500 lamps, I was eager to take a closer look at the VEGA 400 flash model. This lamp costs 699 PLN and comes with a 3-year manufacturer’s warranty—this by way of introduction.
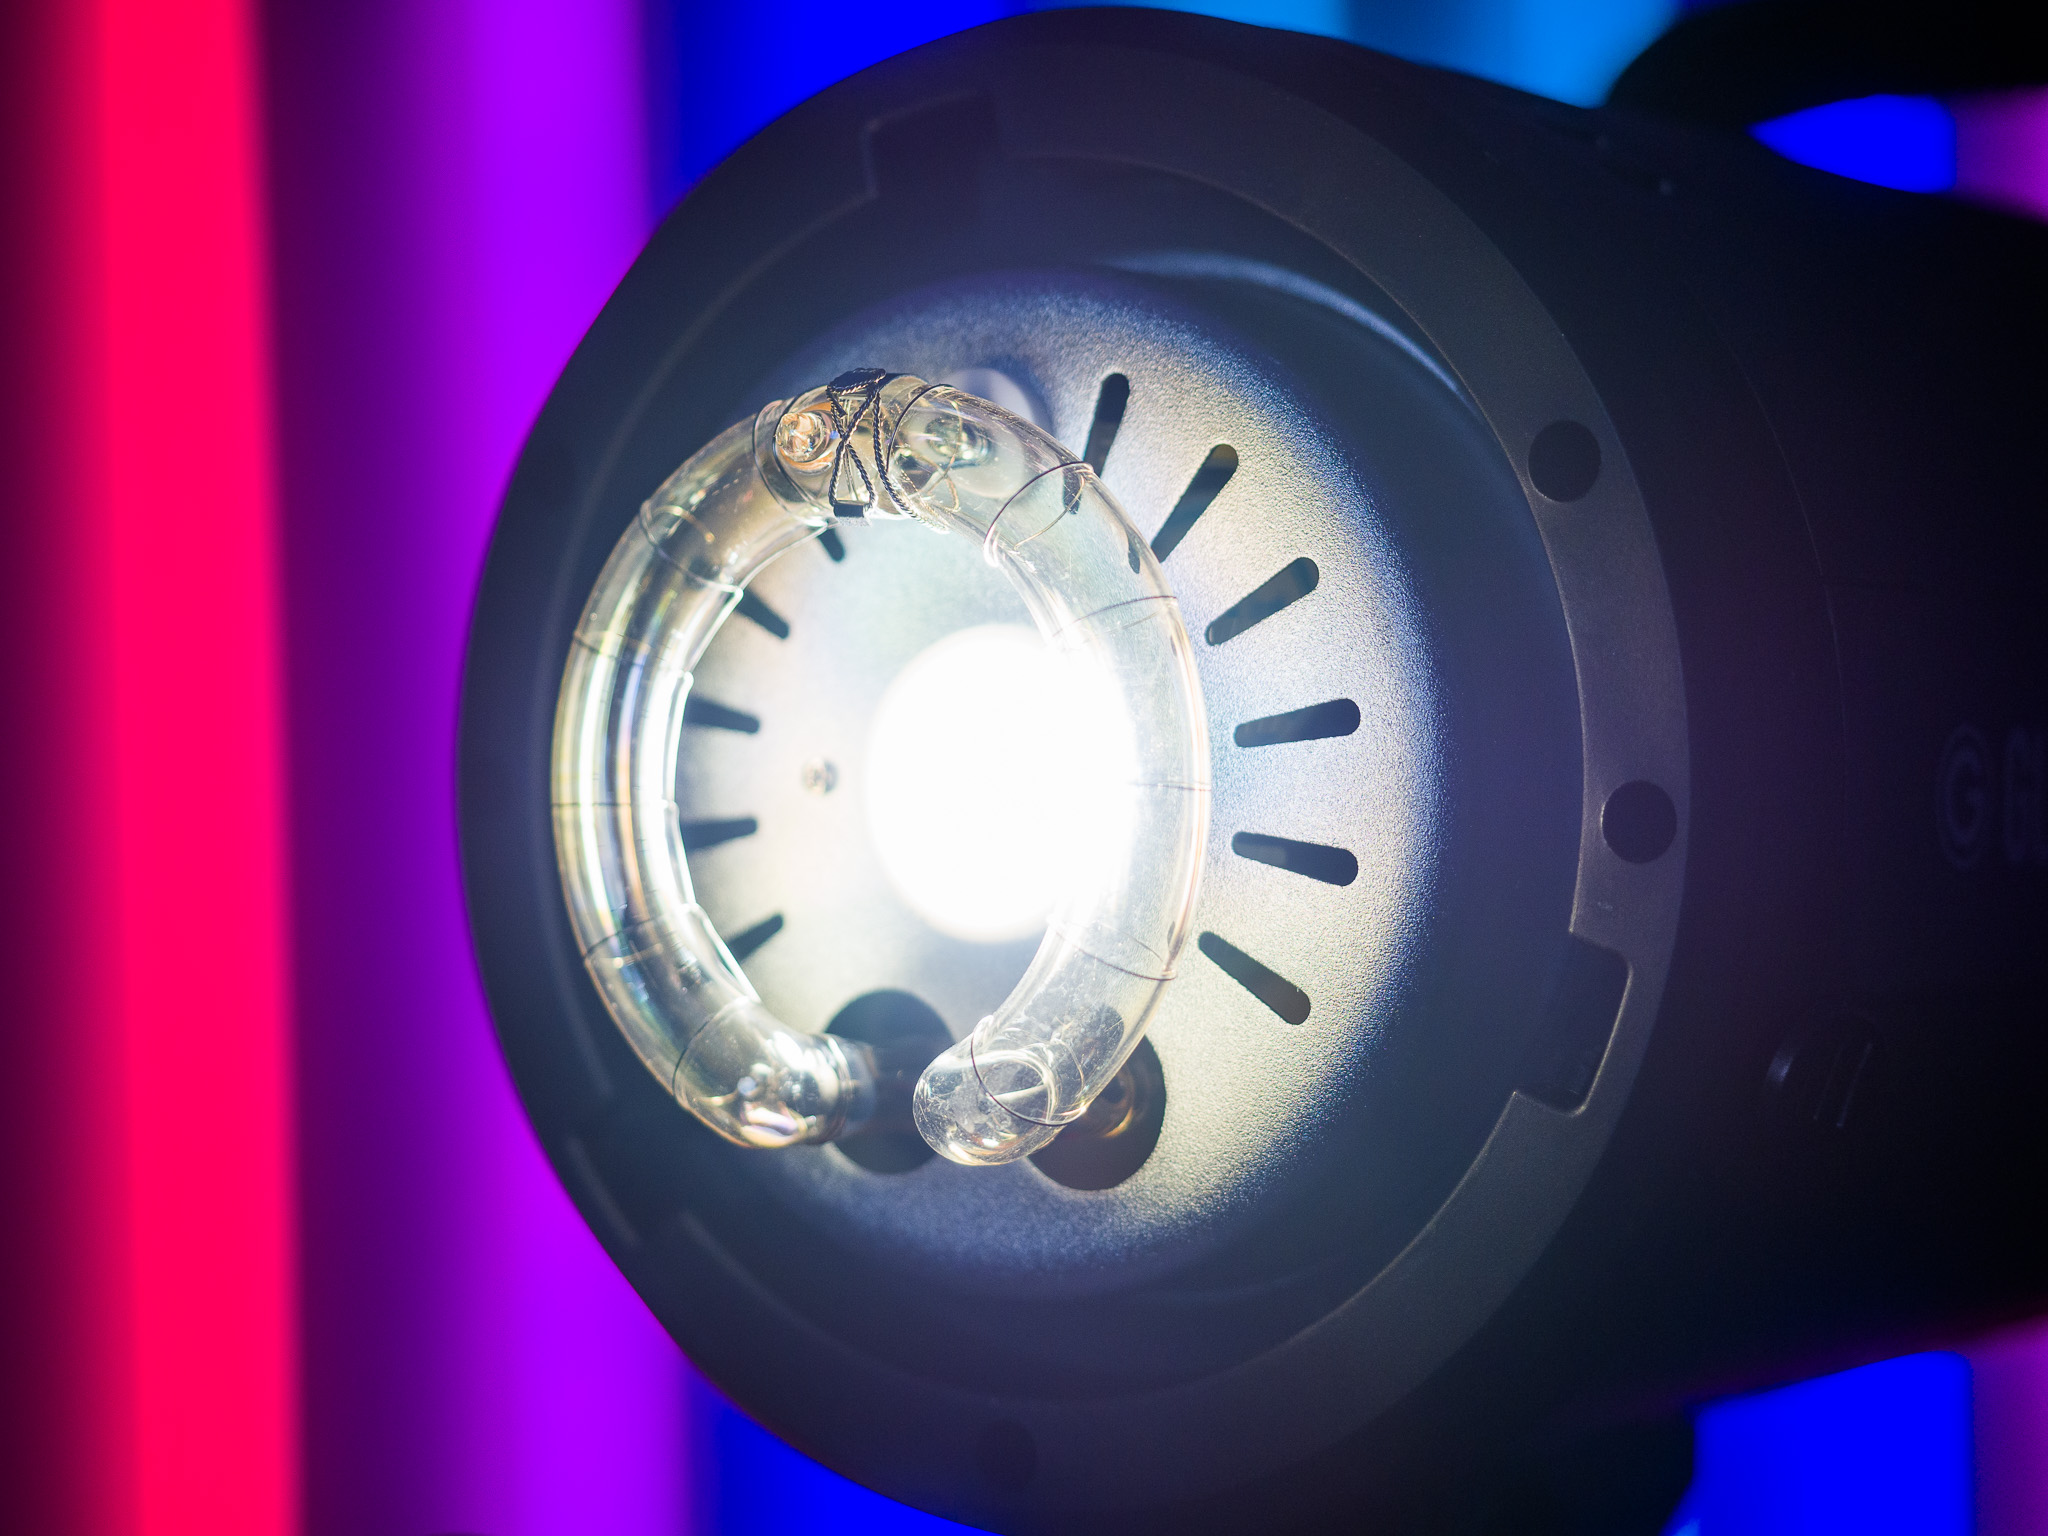
The LED pilot light is a great solution – it does not heat the accessories and is more energy efficient.
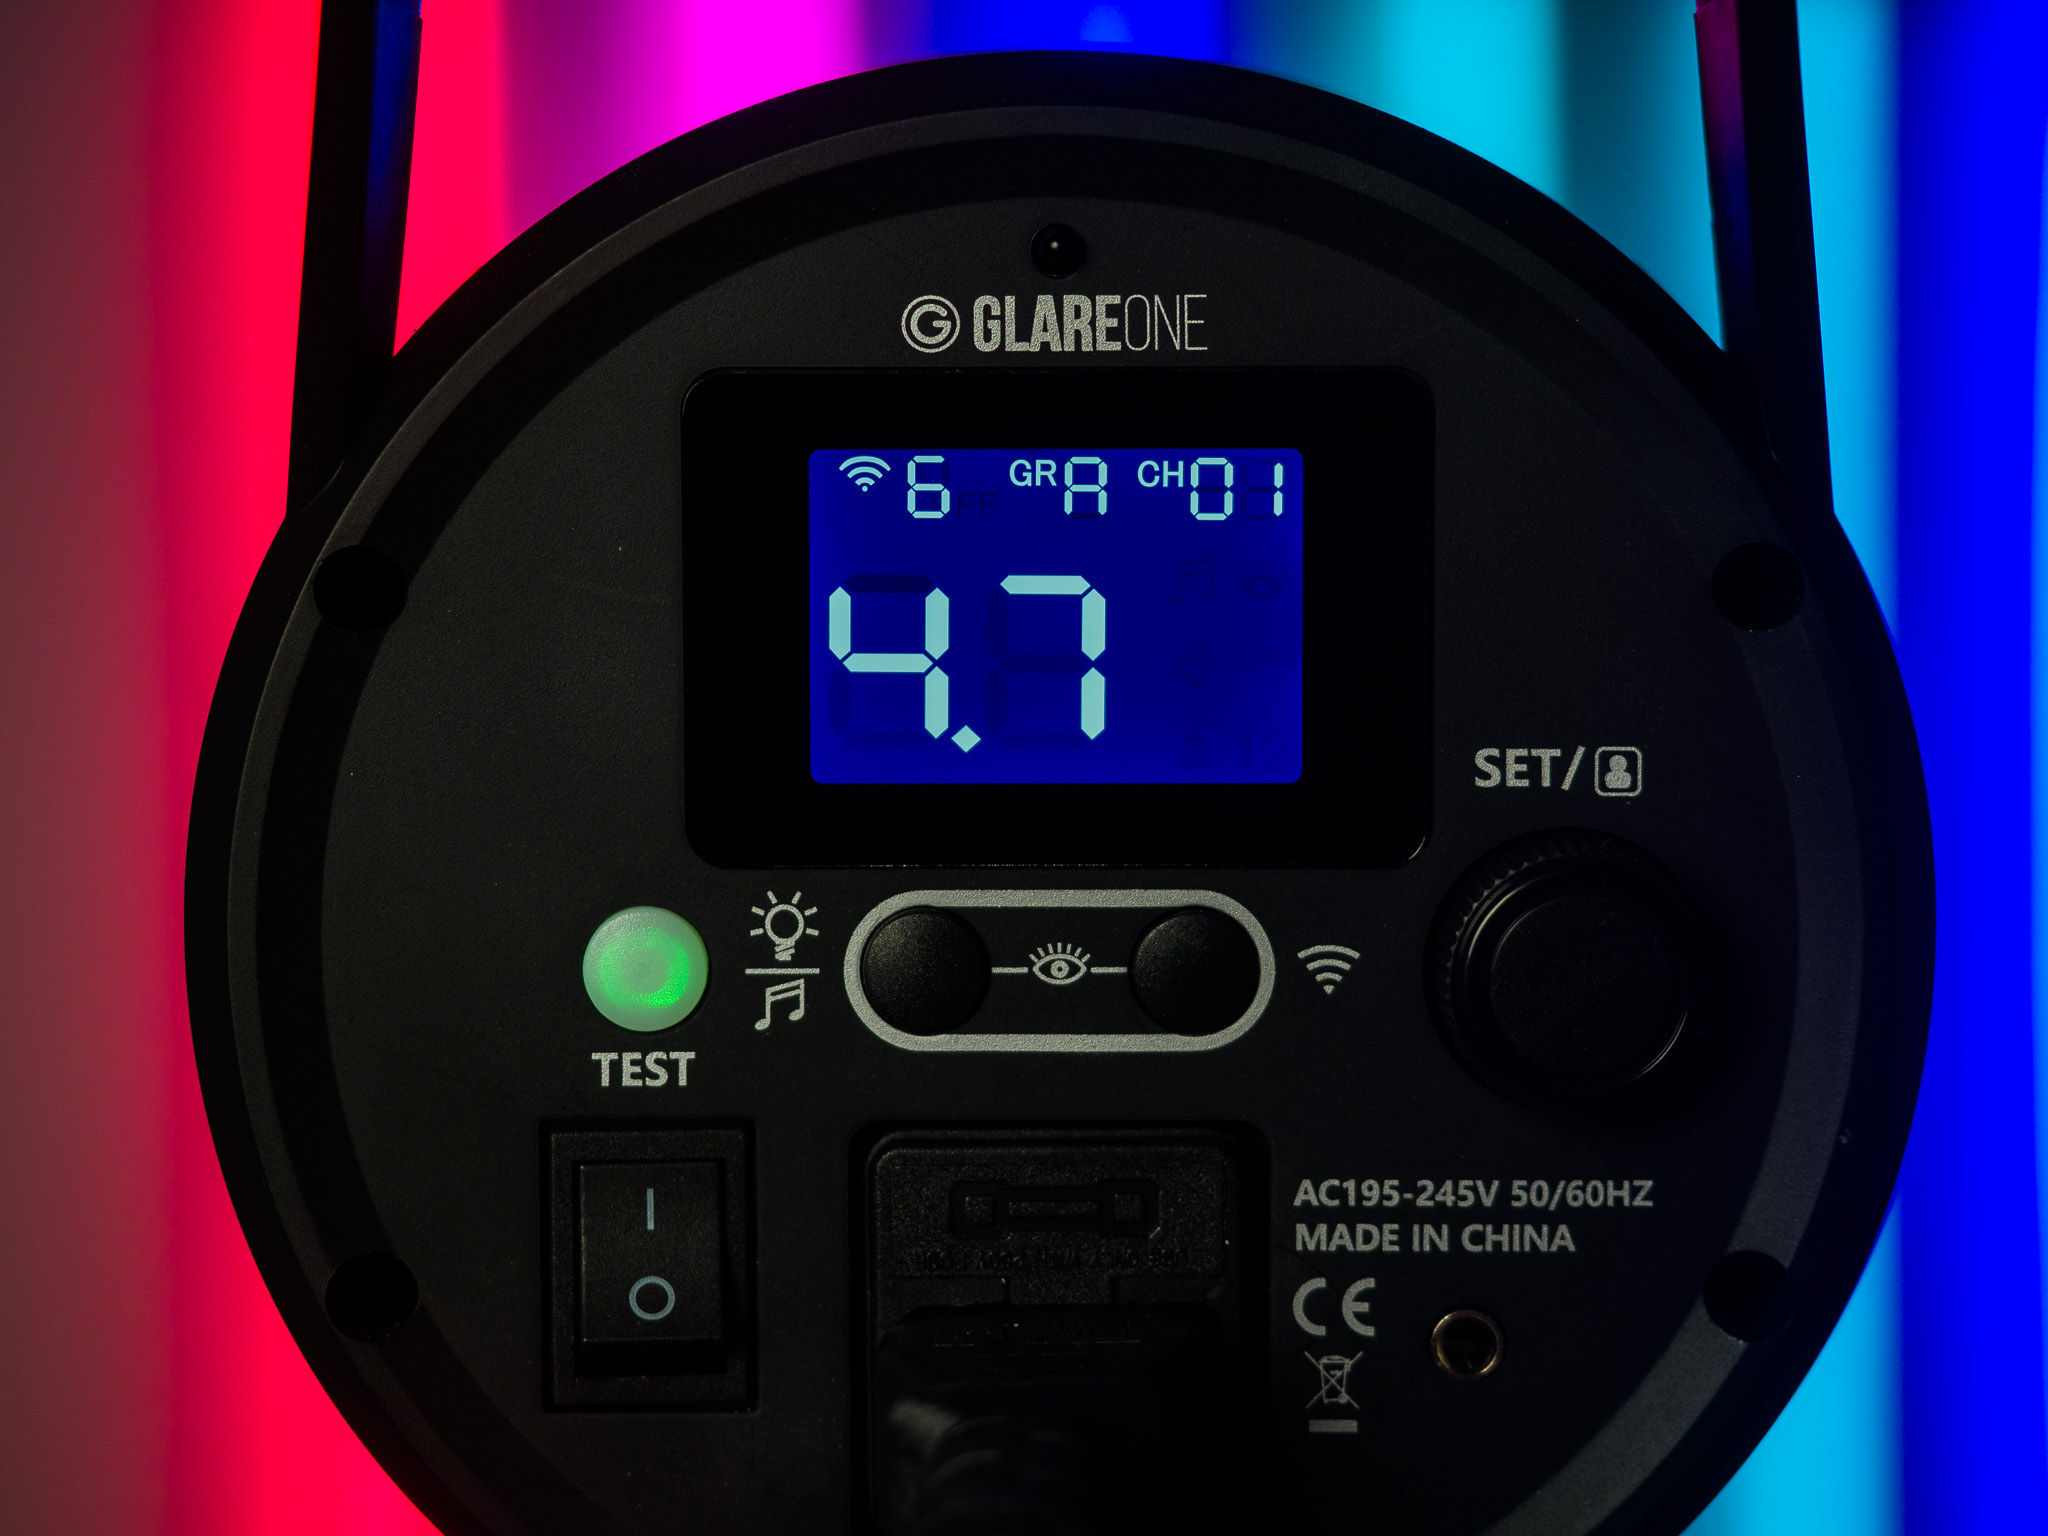
The control panel is incredibly clear and easy to use.
What will we find inside? Firstly, a power of 400 Ws, which is more than enough for most tasks. Additionally, there’s a 15W LED modeling light, equivalent to about 100W halogen. This is definitely a step in the right direction—primarily because the modifiers practically don’t heat up at all, and the lamps consume less power. Adjustment within a range of 6 stops—from full power to 1/32 power. This is standard for this price range, but if the lamps are too powerful in some situations, you can use a gray filter, such as ND8, which, in simple terms, will increase the adjustment to 1/128 power. They are also equipped with the most popular Bowens mount, allowing you to use a wide range of accessories. Active cooling is also included, which is extremely important, especially during longer and faster sessions. I’ve often overheated lower-end lamps, but with the GlareOne Vega 400, this wasn’t an issue. The charging speed is noteworthy as well—only 0.9 seconds to full power! We also have the GlareOne Flash RC system receiver, with a transmitter costing only 129 PLN.
However, what won’t we find in the Vega 400? We must remember that this is a lamp for less than 700 PLN, so it doesn’t include features like TTL, HSS, or high-speed sync mode. Considering the quality-to-price ratio, though, we get a really great and well-refined product that performs just as well as competitors in higher price ranges during classic shoots. It all depends on the photographer’s needs—in our session, the VEGA 400s worked wonderfully!
Beauty photos – Mrs. Spring
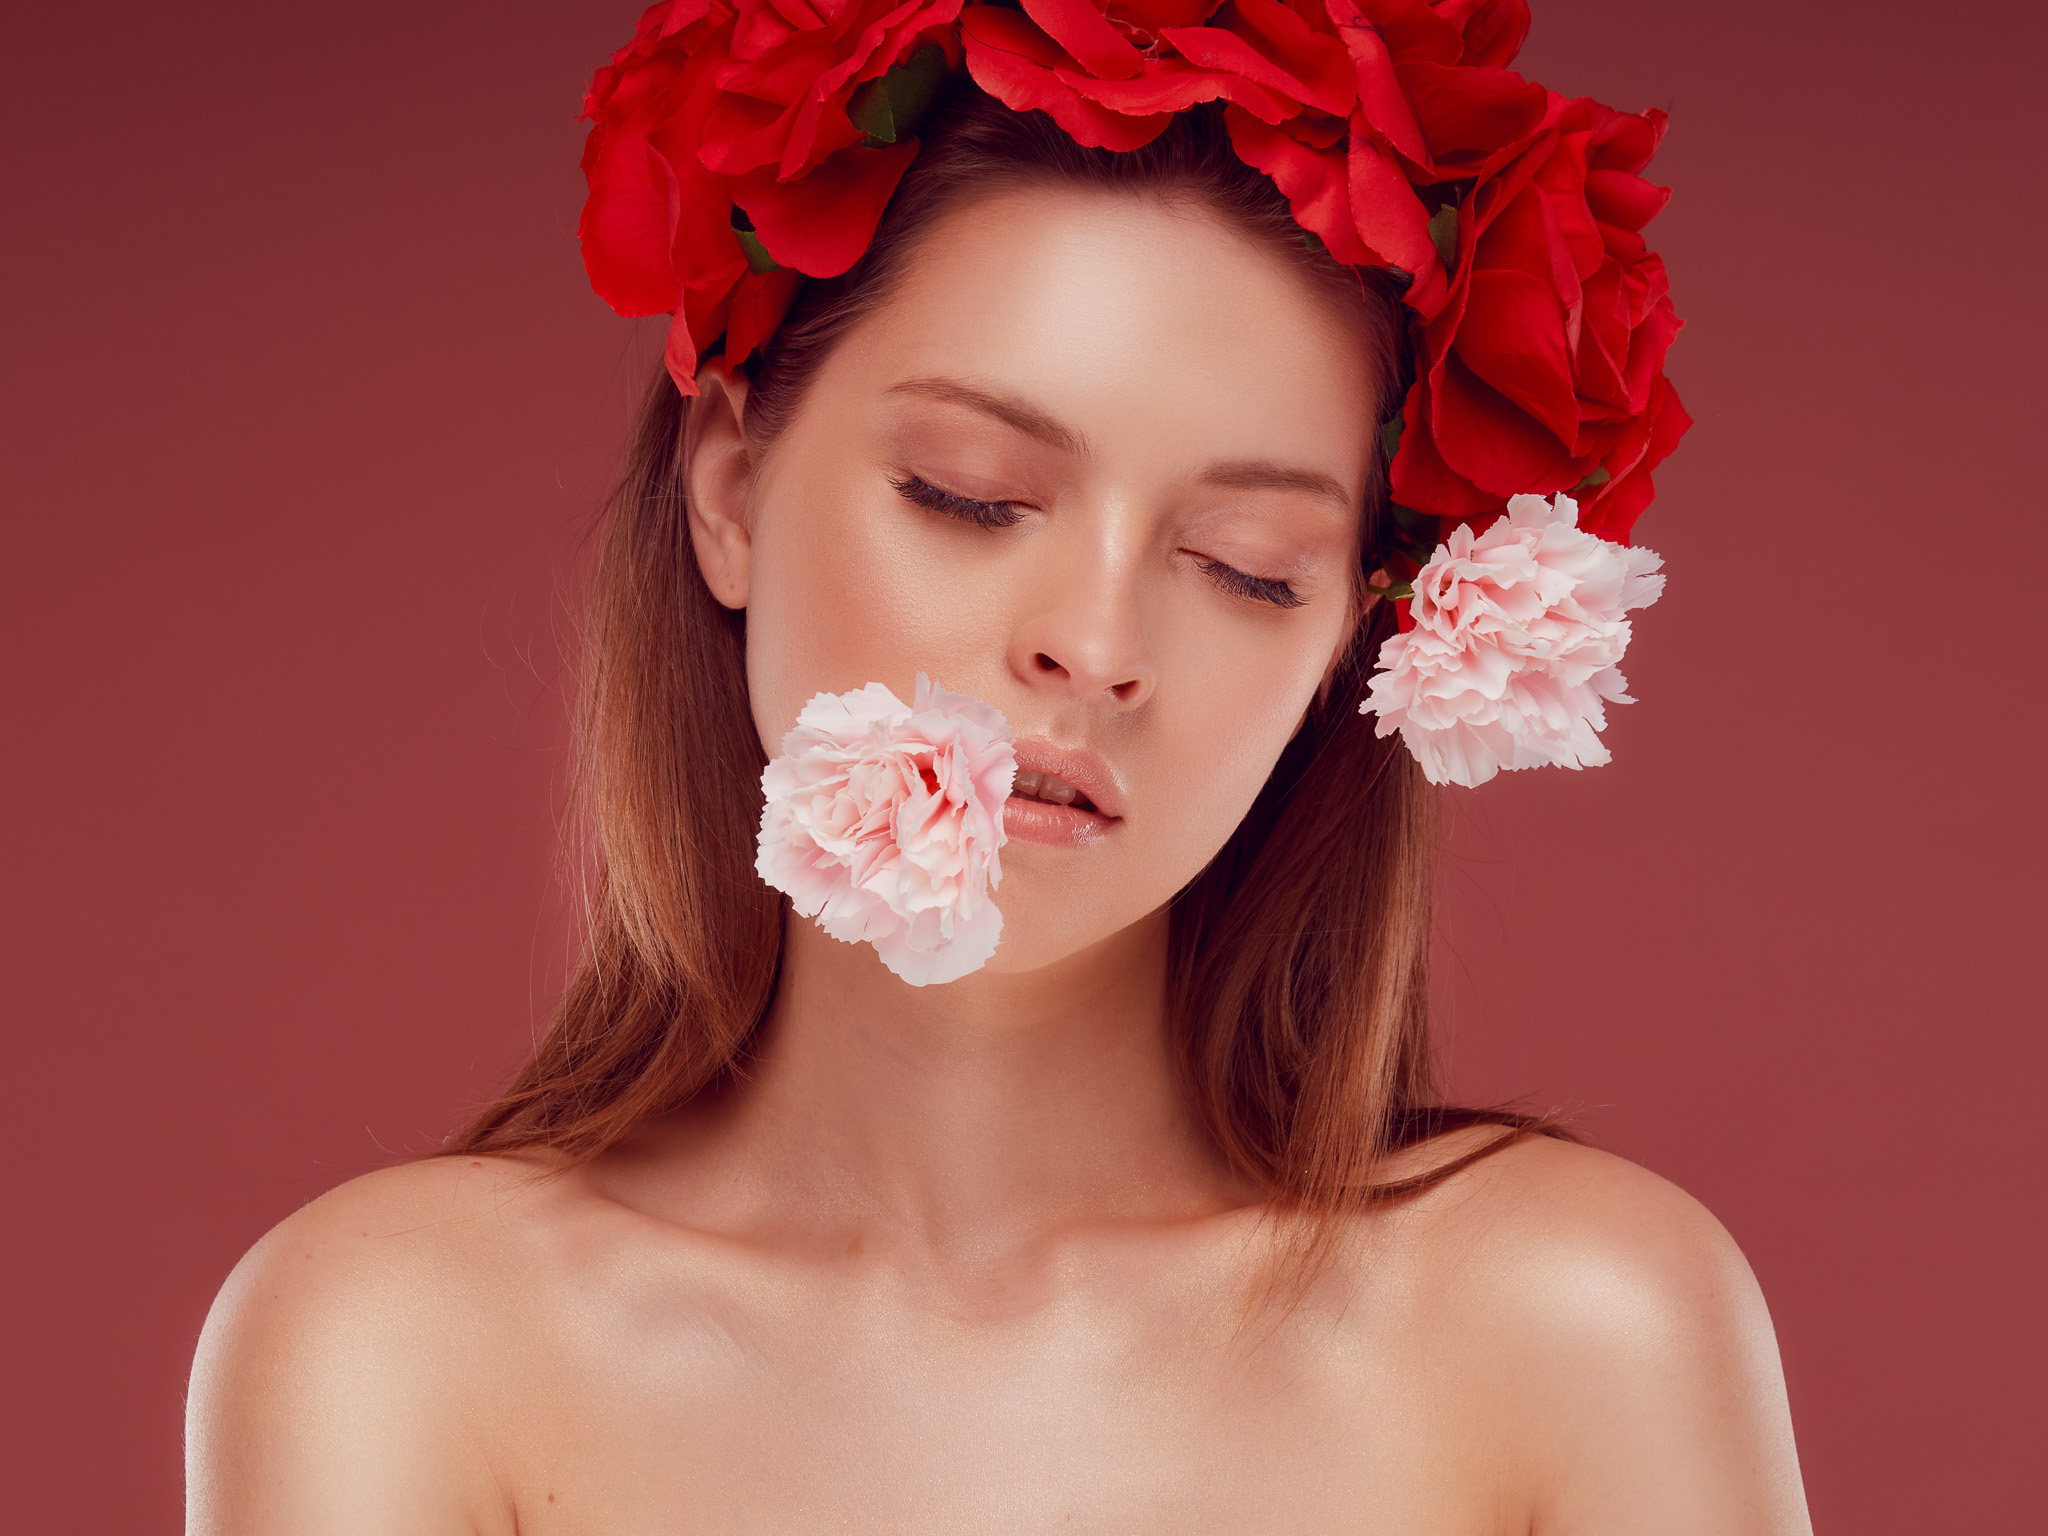
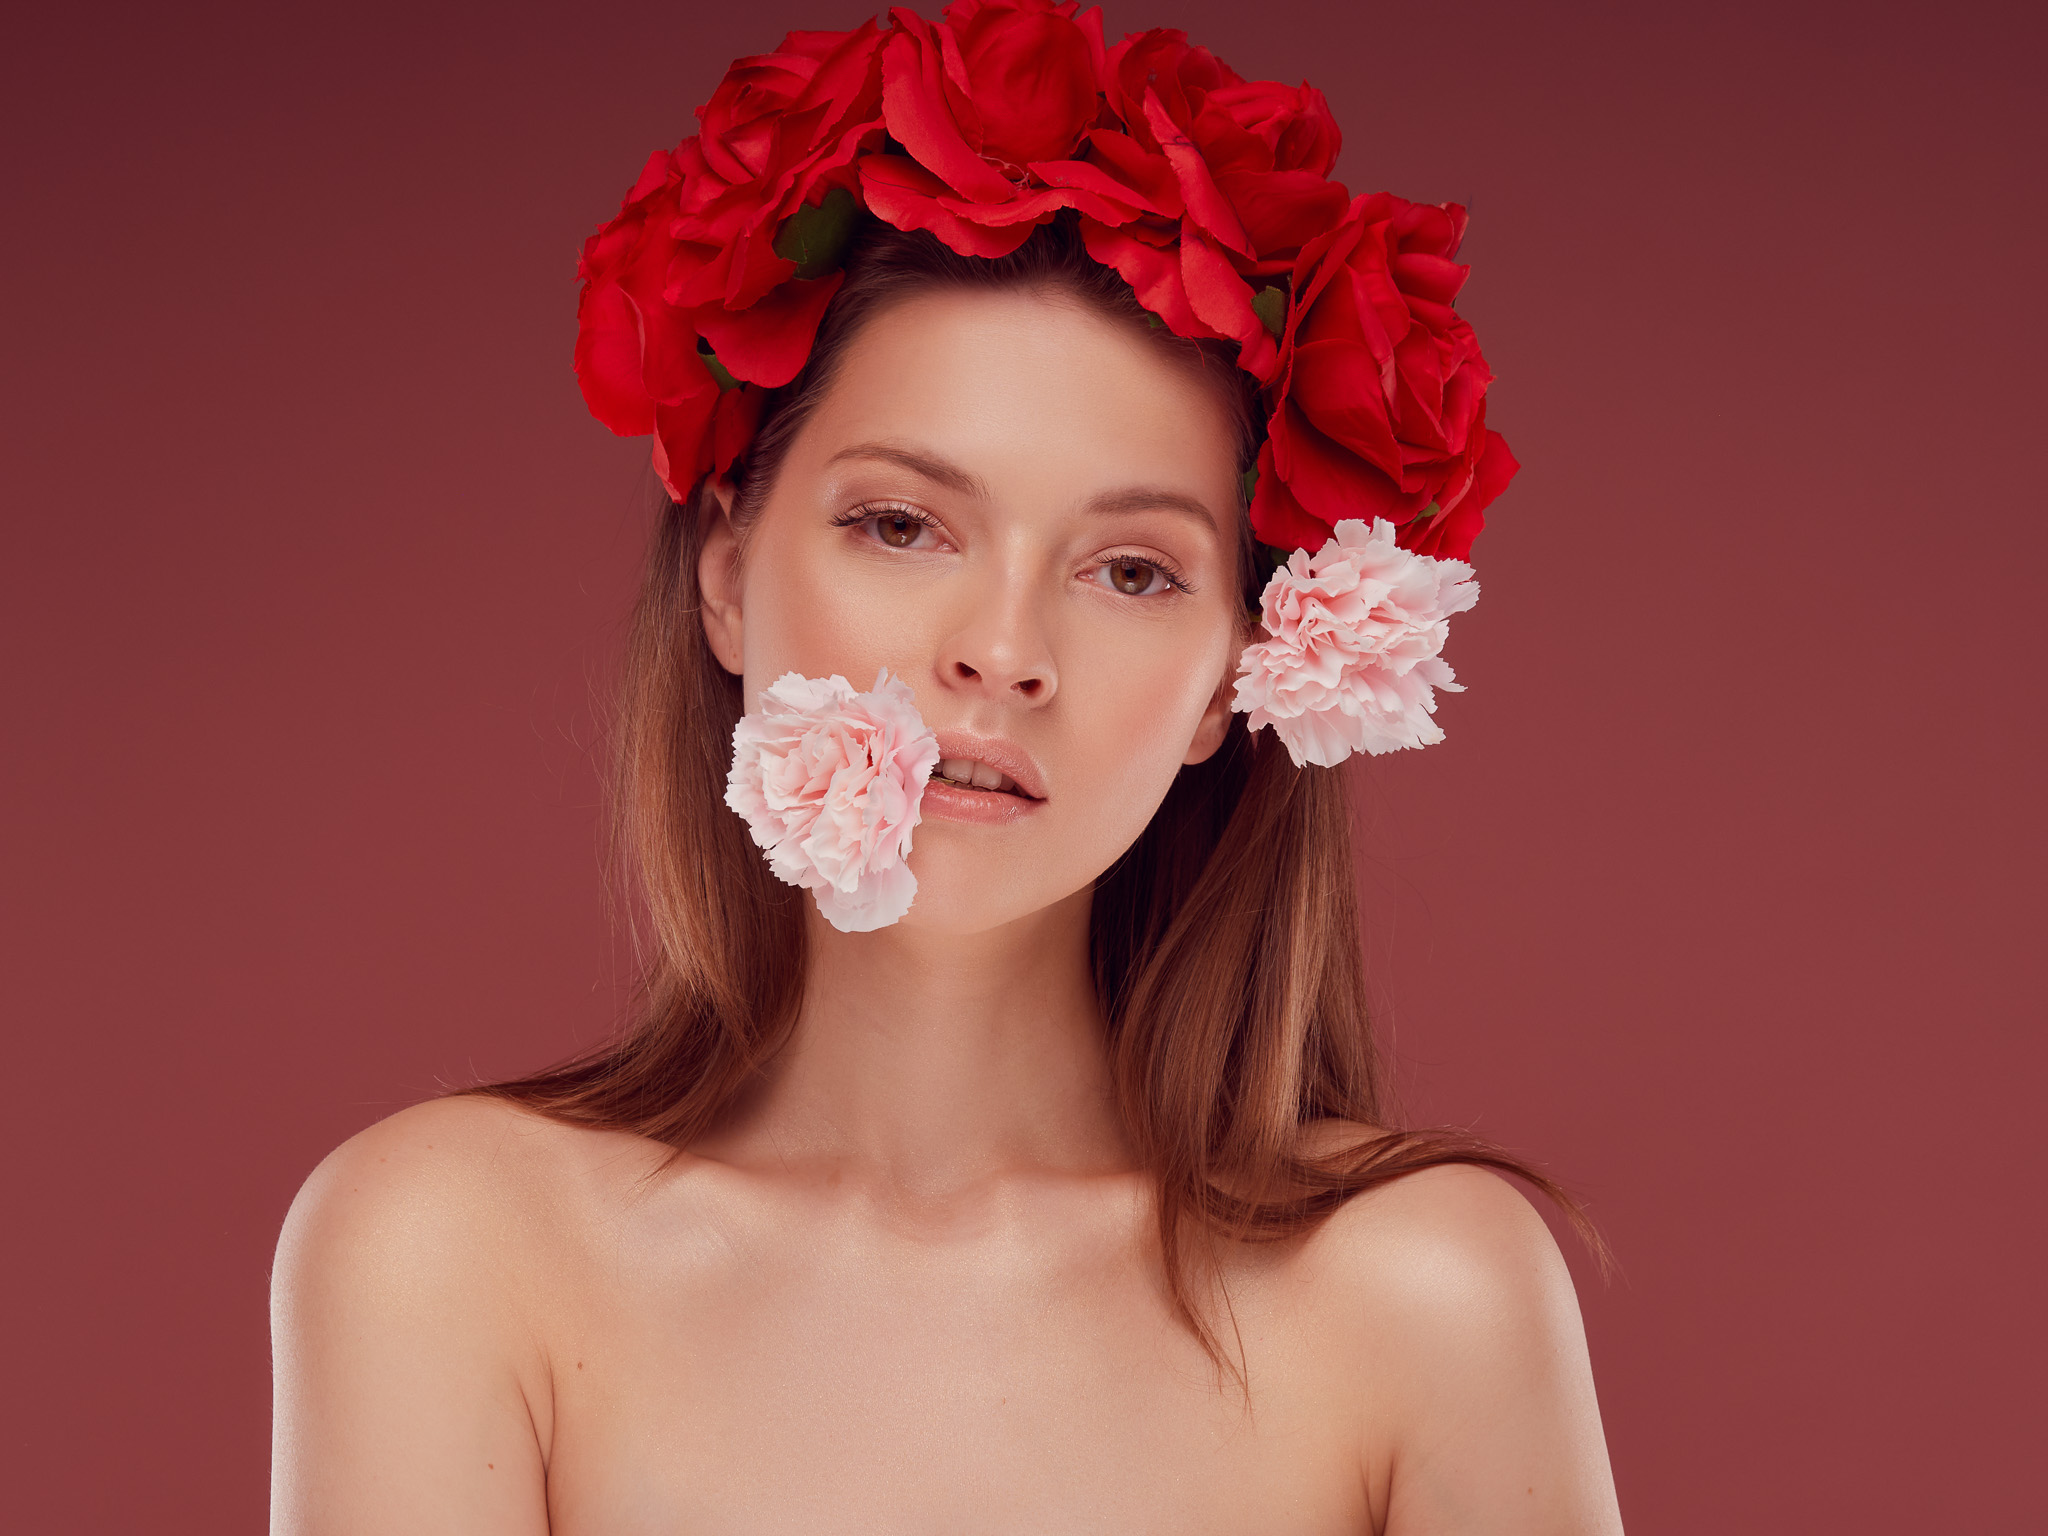
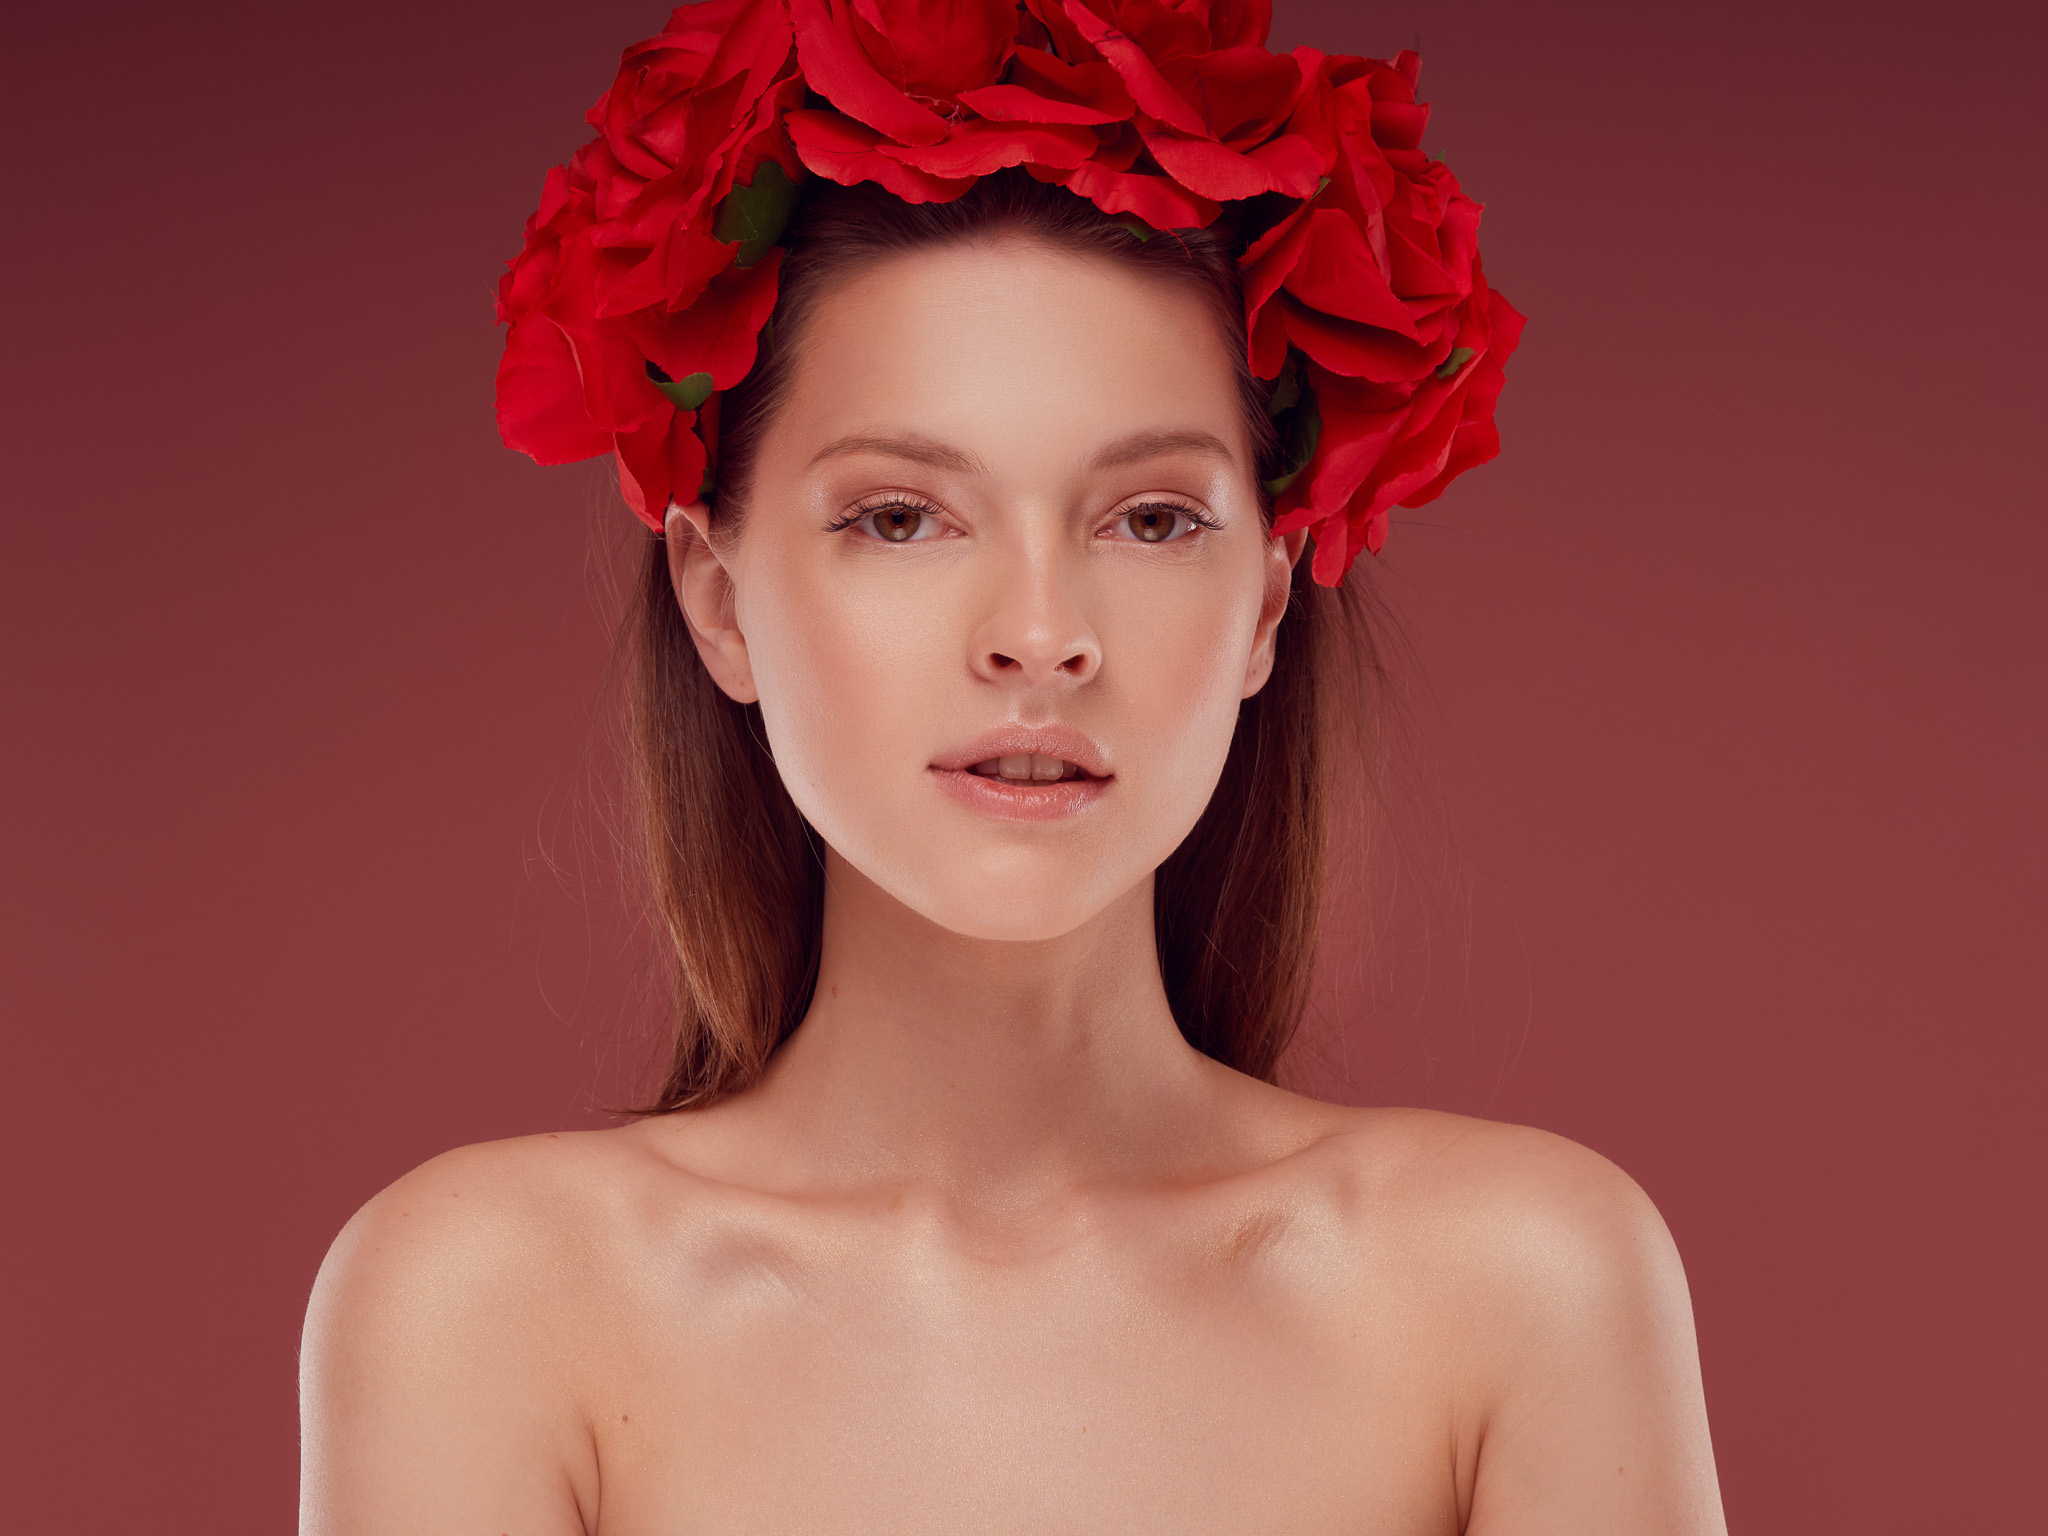
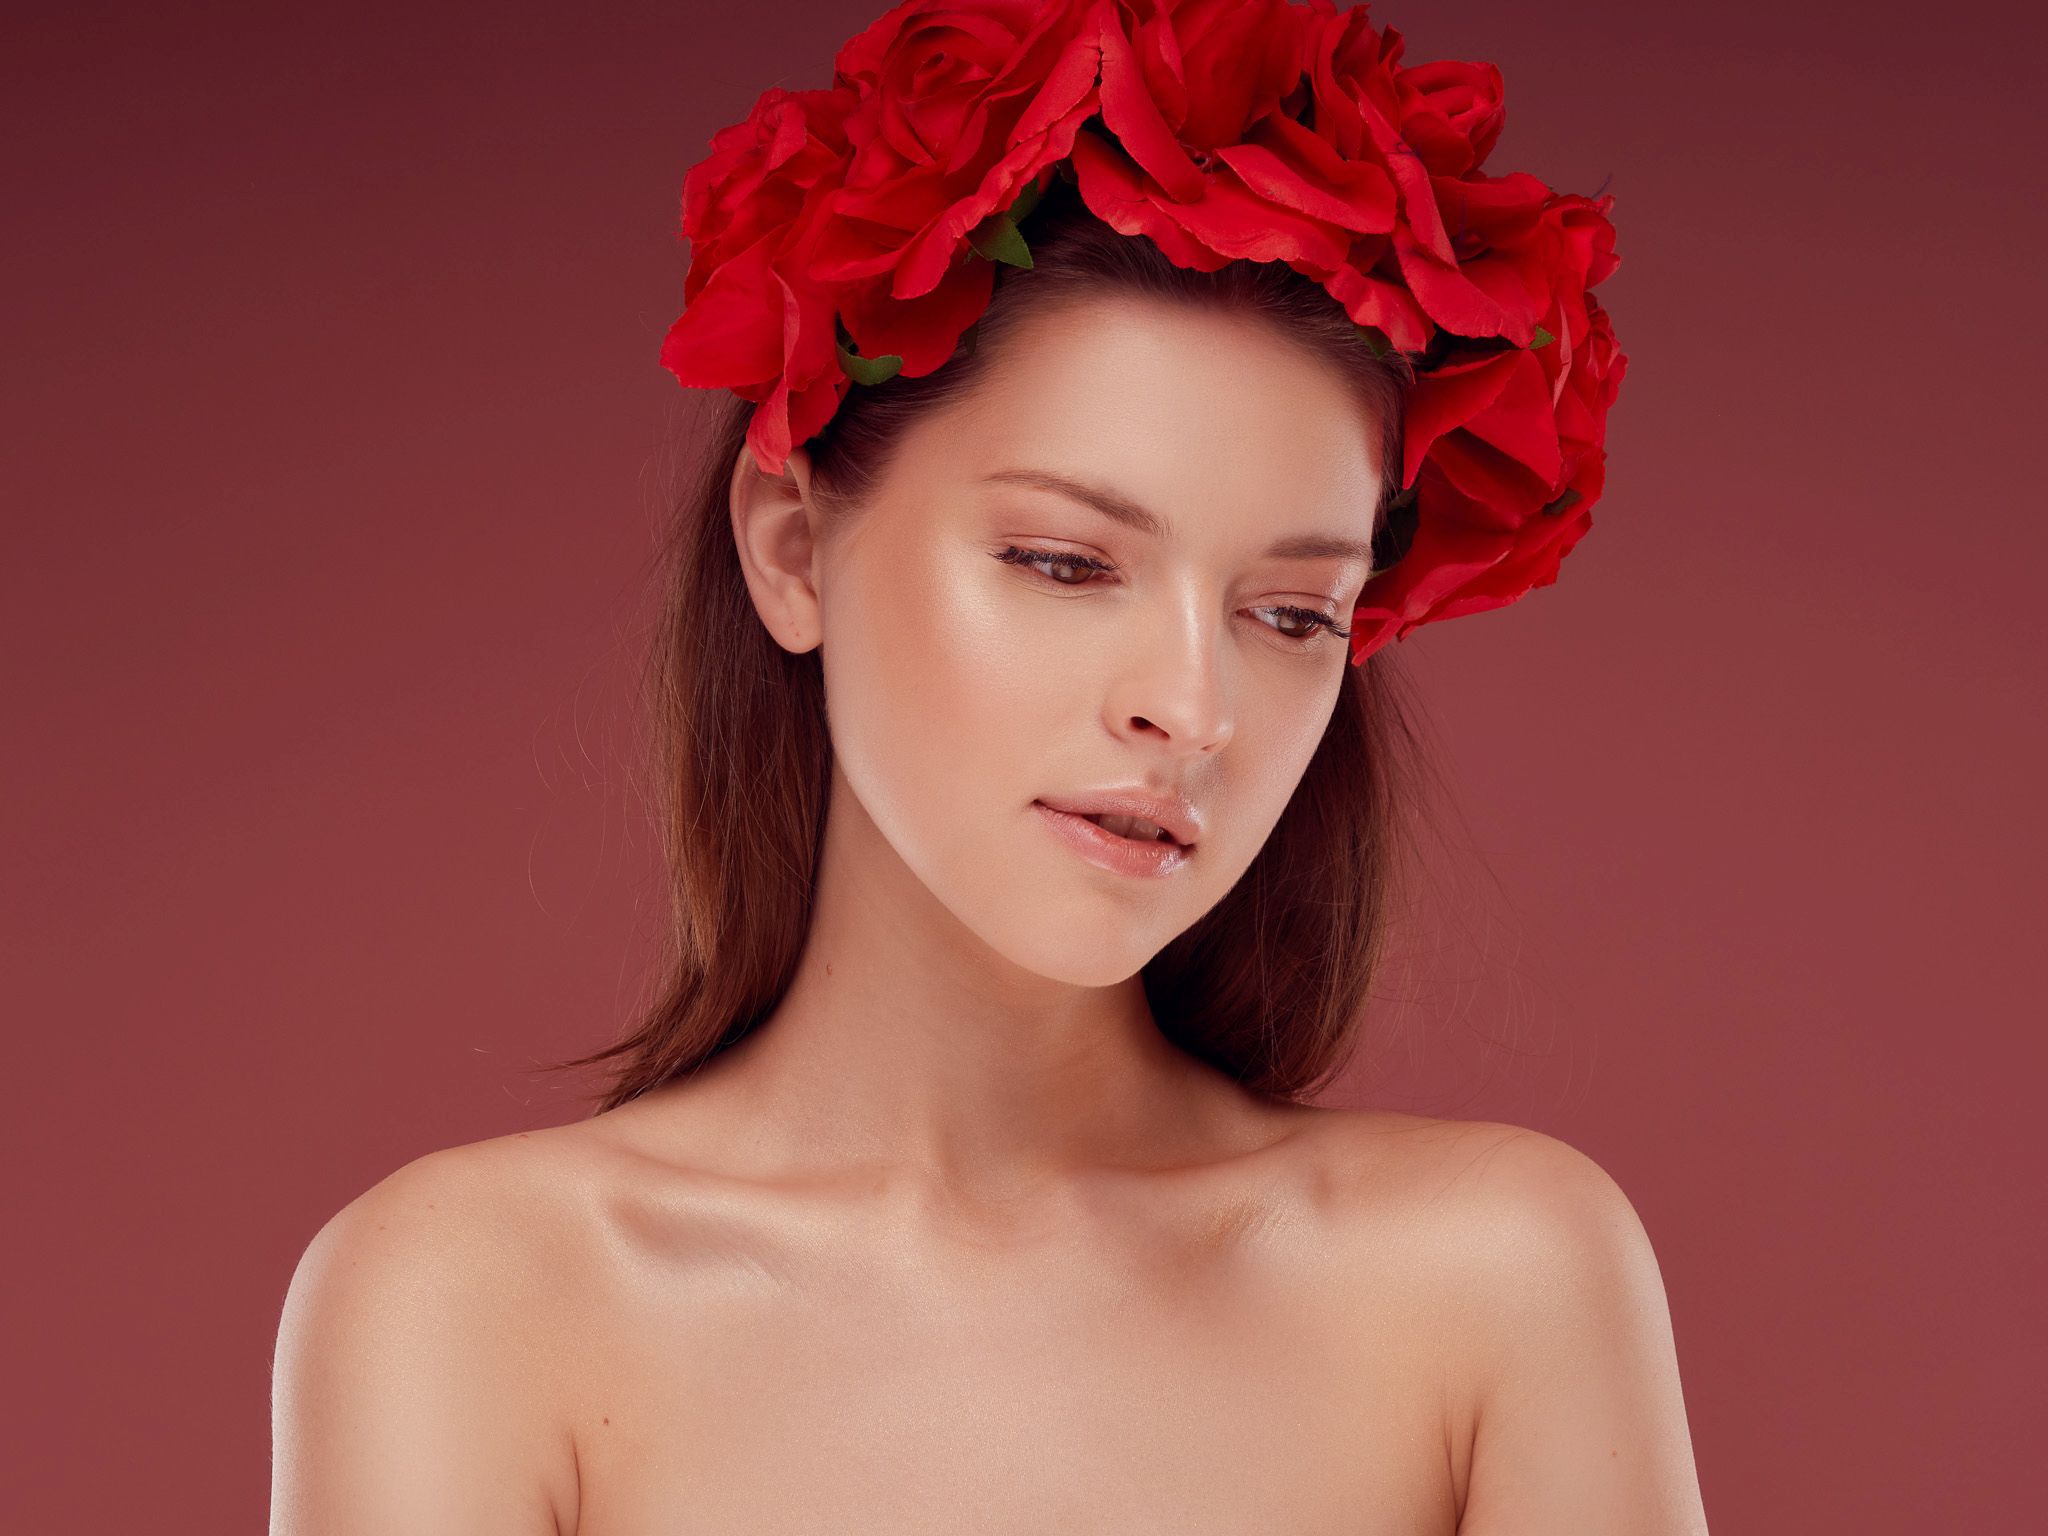
I wanted my session to be diverse. In the past, when shooting beauty photos, I focused on one makeup look and one lighting setup. This left me feeling somewhat unsatisfied because it’s really hard to get more than 5-6 shots from such a setup, so it’s definitely better to plan for a slightly longer day and play around with styles. That’s the approach I took on our photo day. We started with a spring theme. Soft makeup, flowers, soft light – it can’t go wrong. While Daria was doing the makeup, I set up the lights. From above, on a GlareOne Kenku mount, I placed one VEGA 400 with an octagonal 120 cm softbox. I always position the softbox slightly in front of the model – it gives a softer effect and avoids hotspotting on the hair and forehead. From below, resting on a stand, I set up a silver reflector 60×90 cm. This is a classic clamshell setup. The reflector nicely fills in shadows and creates a catchlight in the eye. However, this light is quite flat. To add more life, I used another two VEGA 400 lamps, this time on GlareOne Alki 200 stands, with 30×120 cm strip softboxes and grids. I love using these types of modifiers for contouring – they provide directional but still soft light. This way, I don’t have to worry about harsh shadows cast on the face by hair or hotspots on the cheeks. The whole setup was complemented by a pink background behind Amelia. As for camera and light settings, I was shooting at 1/250s, f/8, and ISO200, with the main light set to 1/8 power and the fill lights to 1/16 – that’s the magic recipe.
Beauty photos – a little more punch
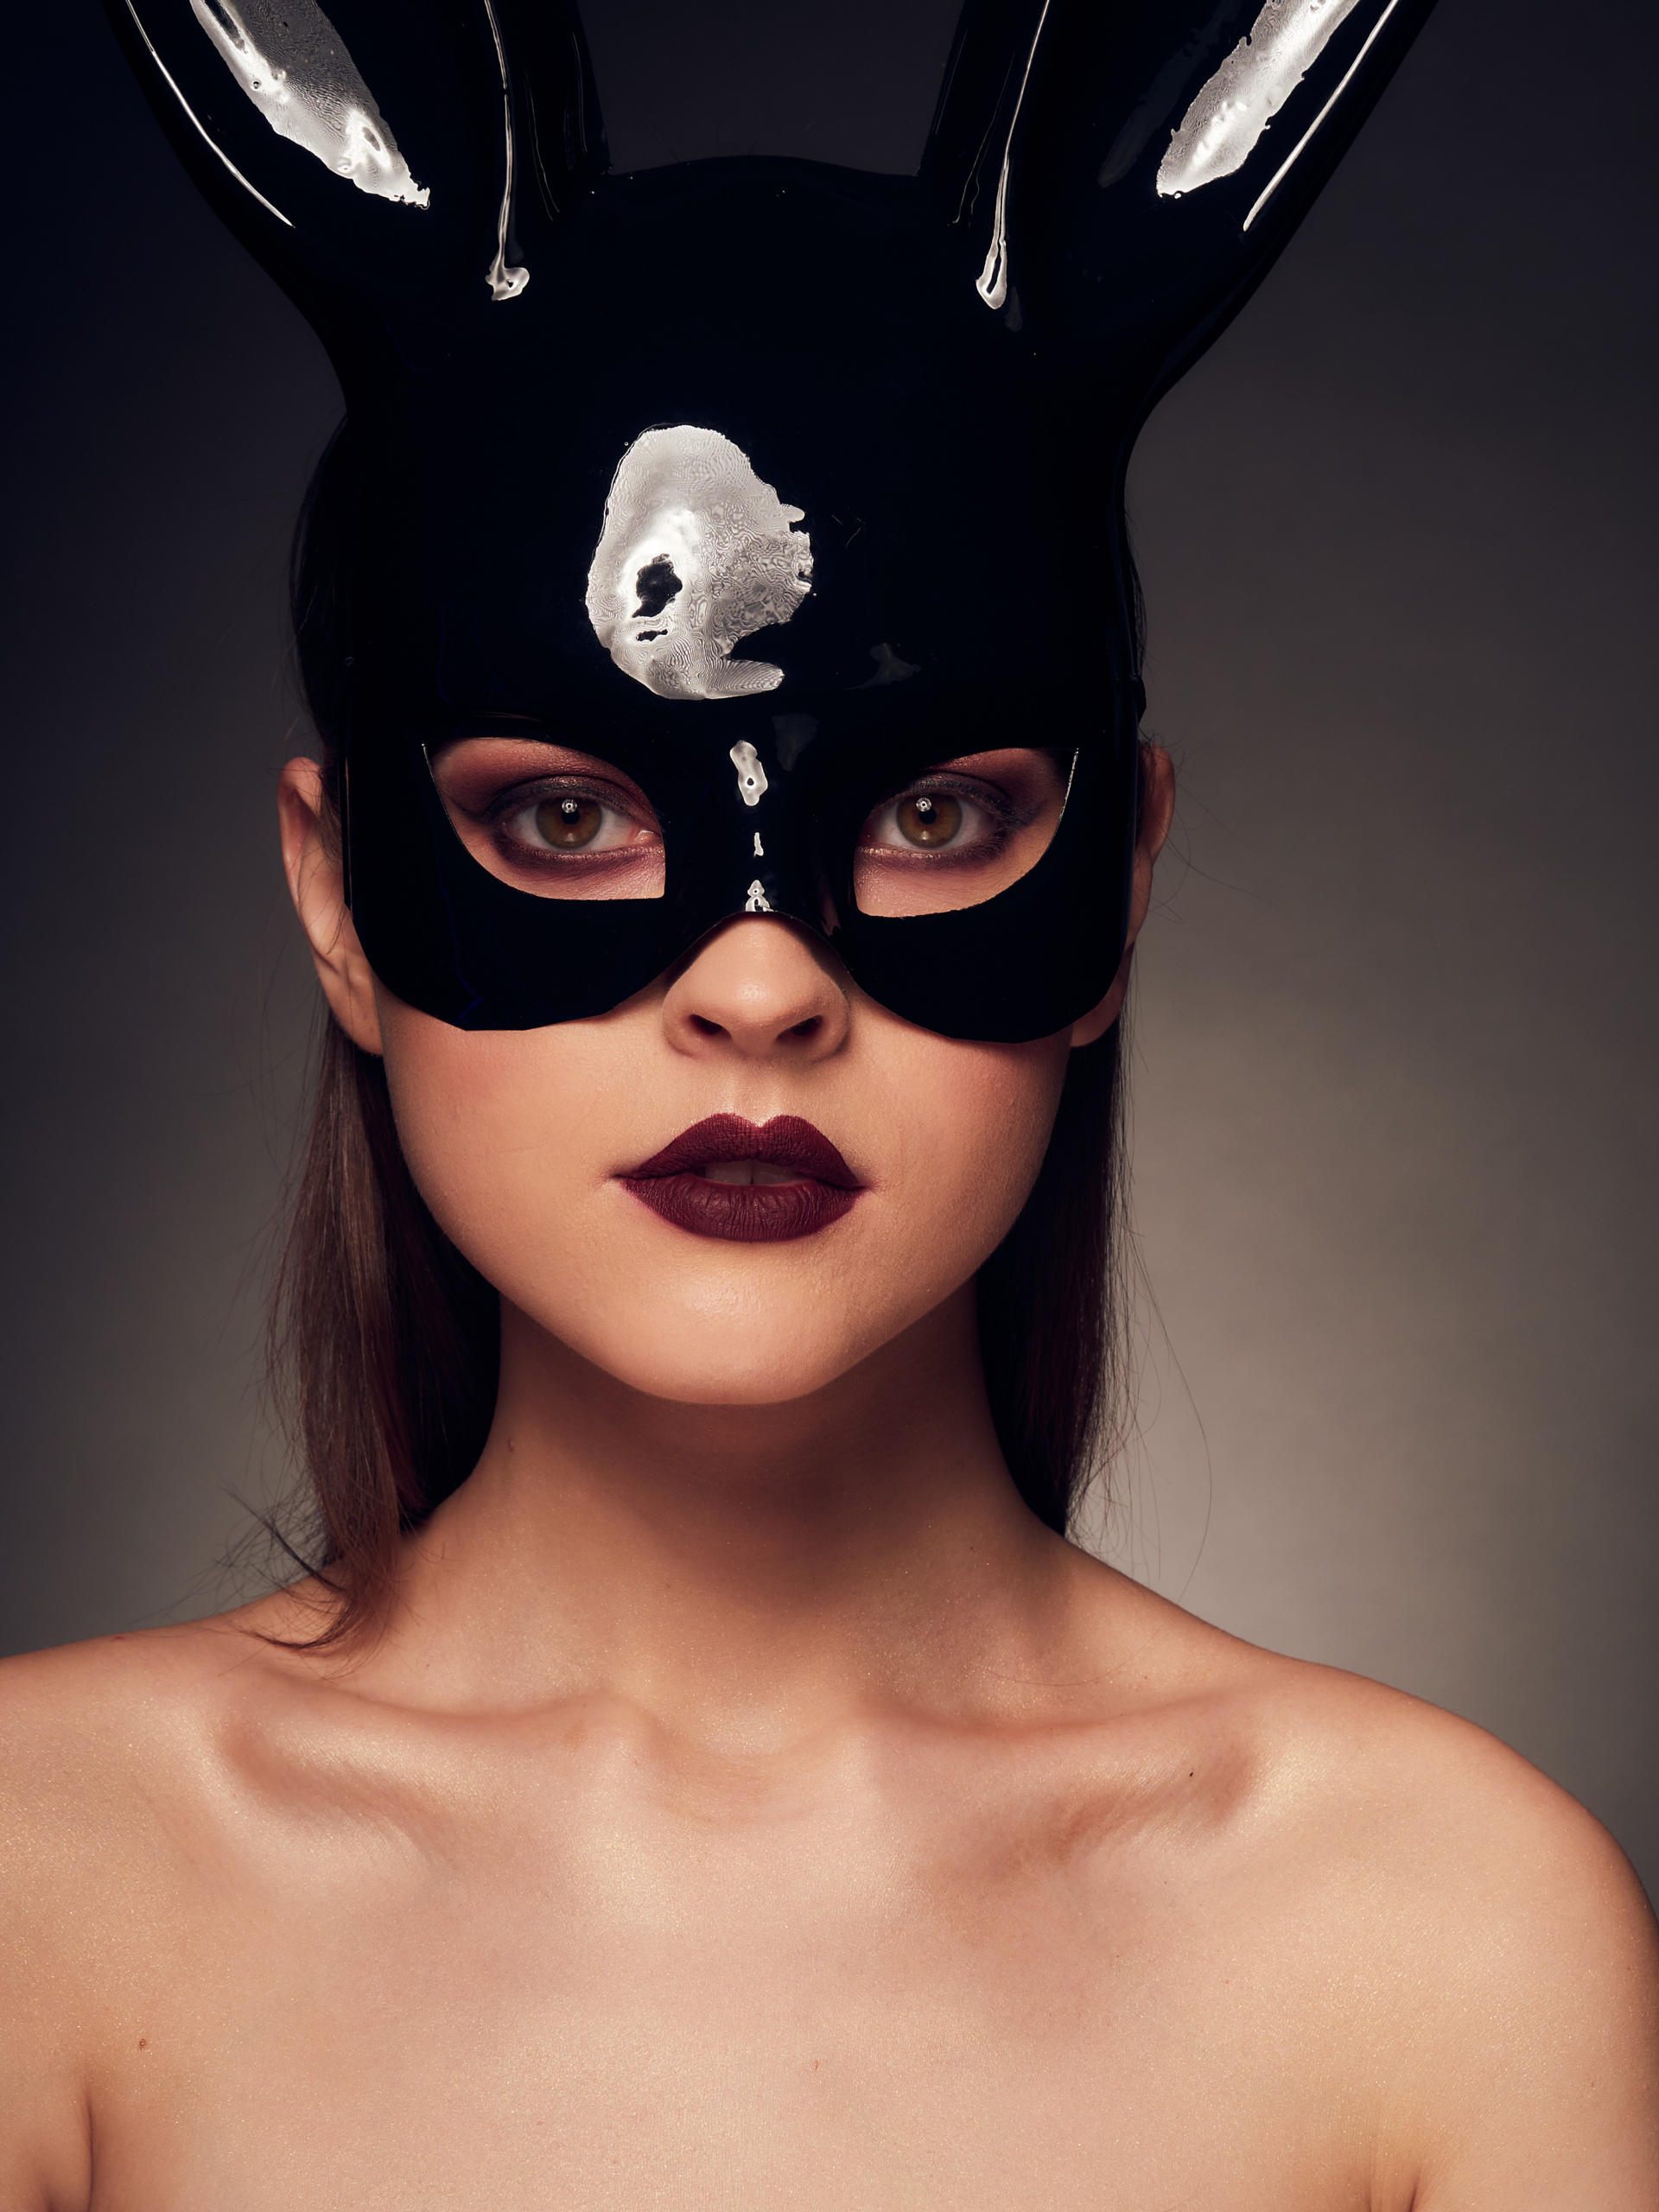
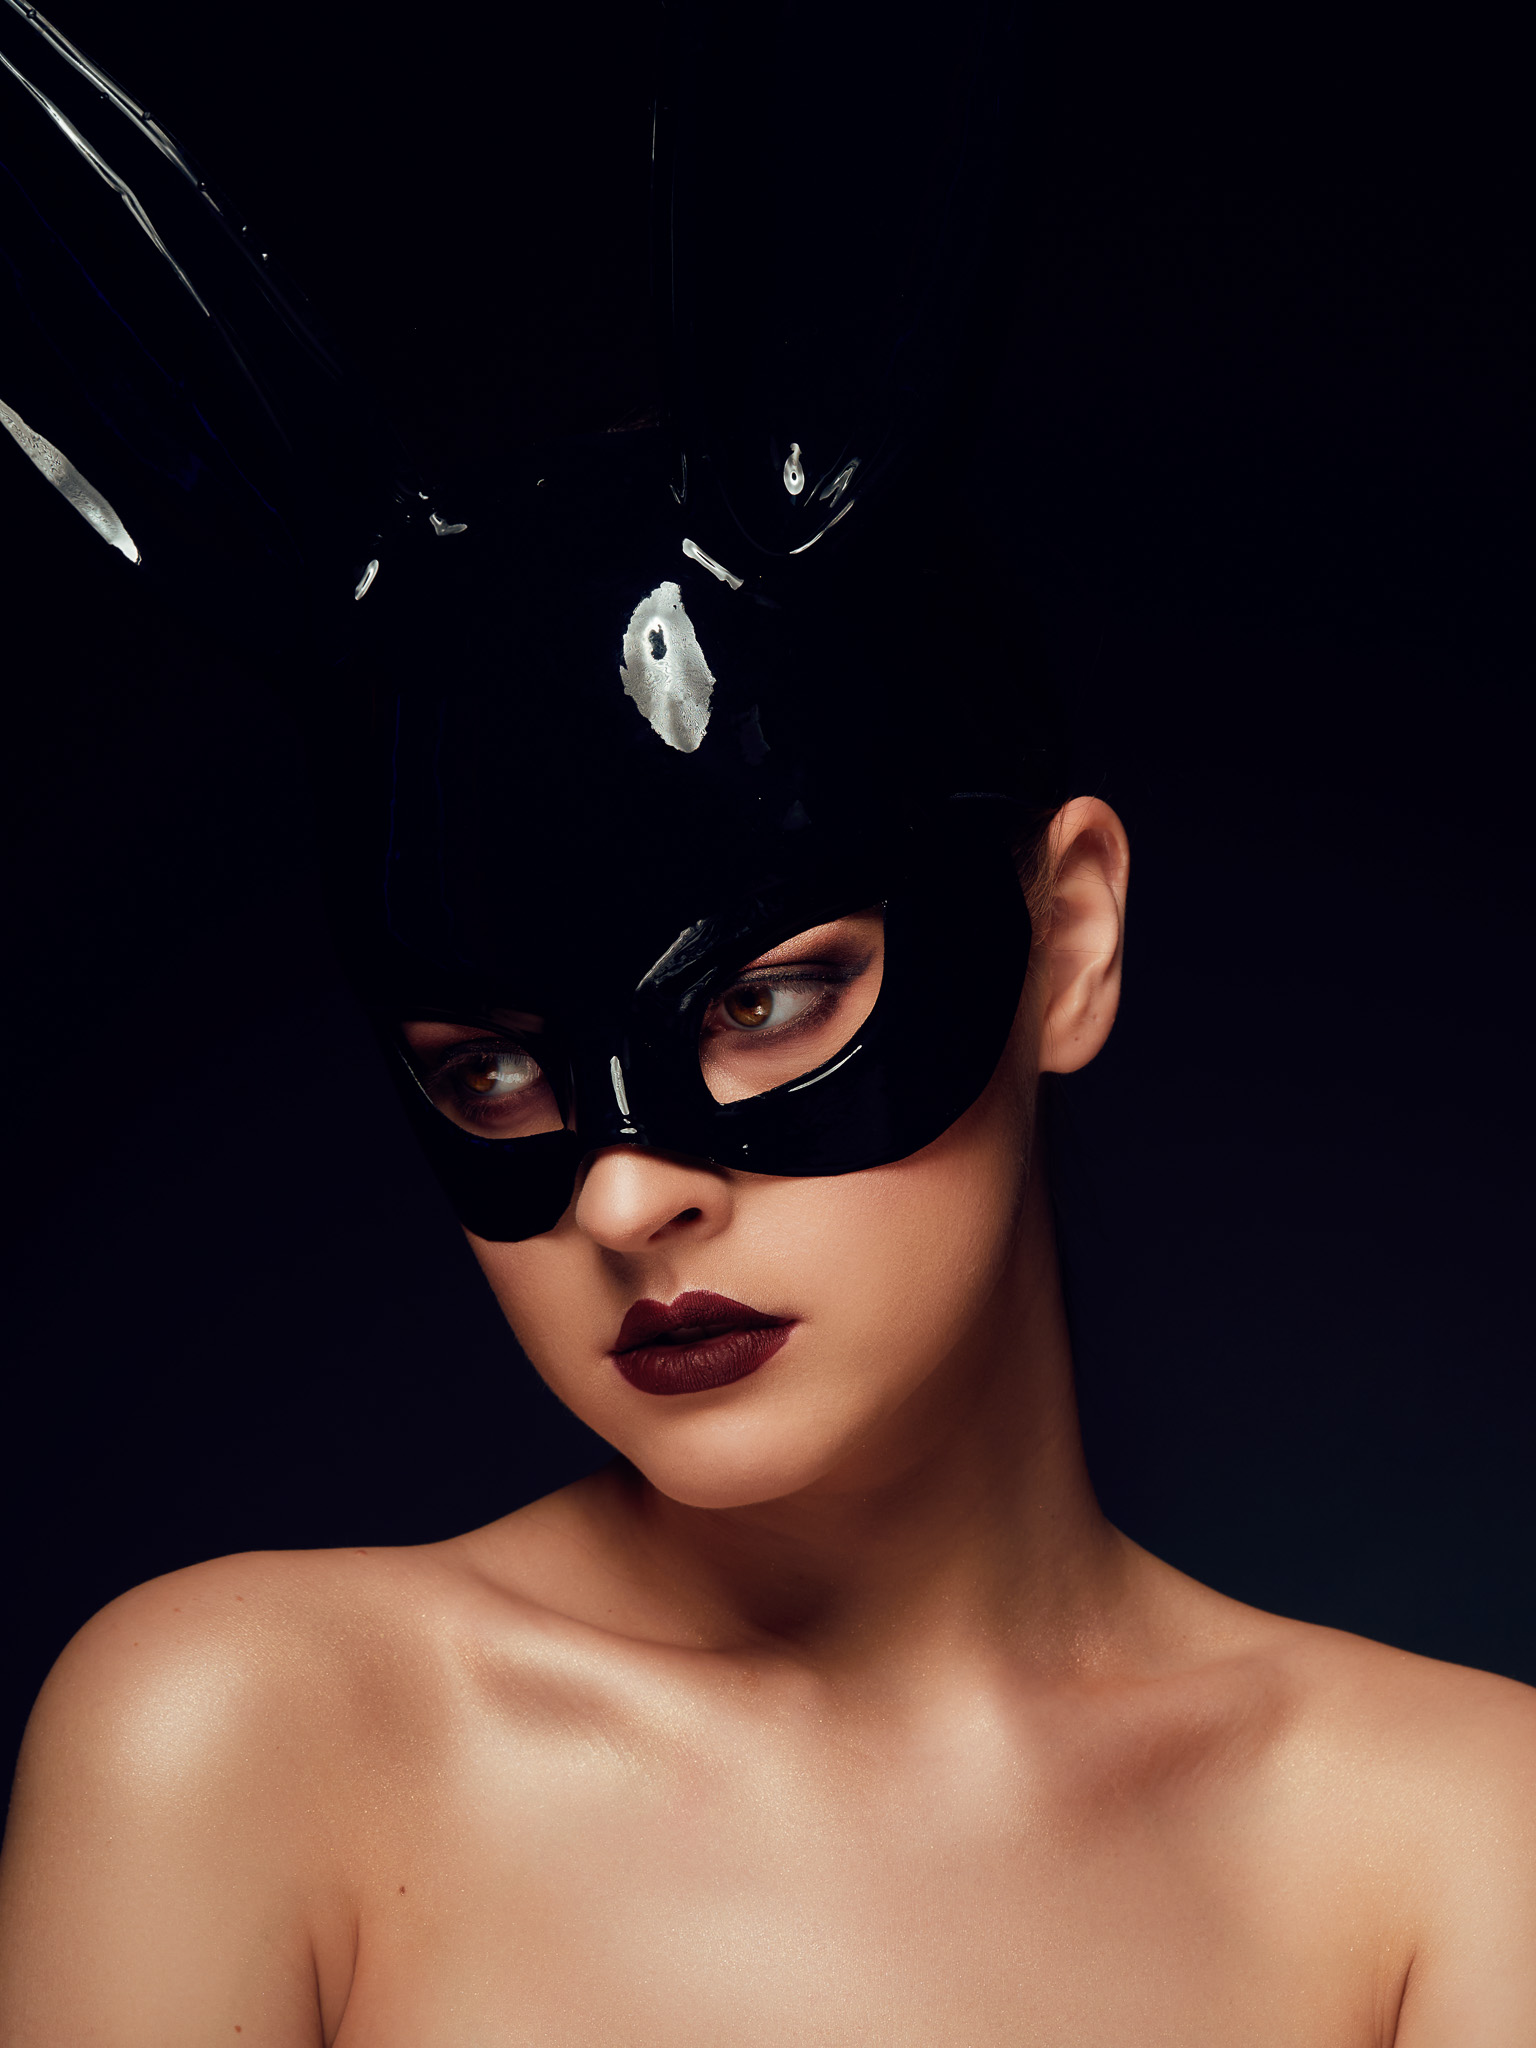
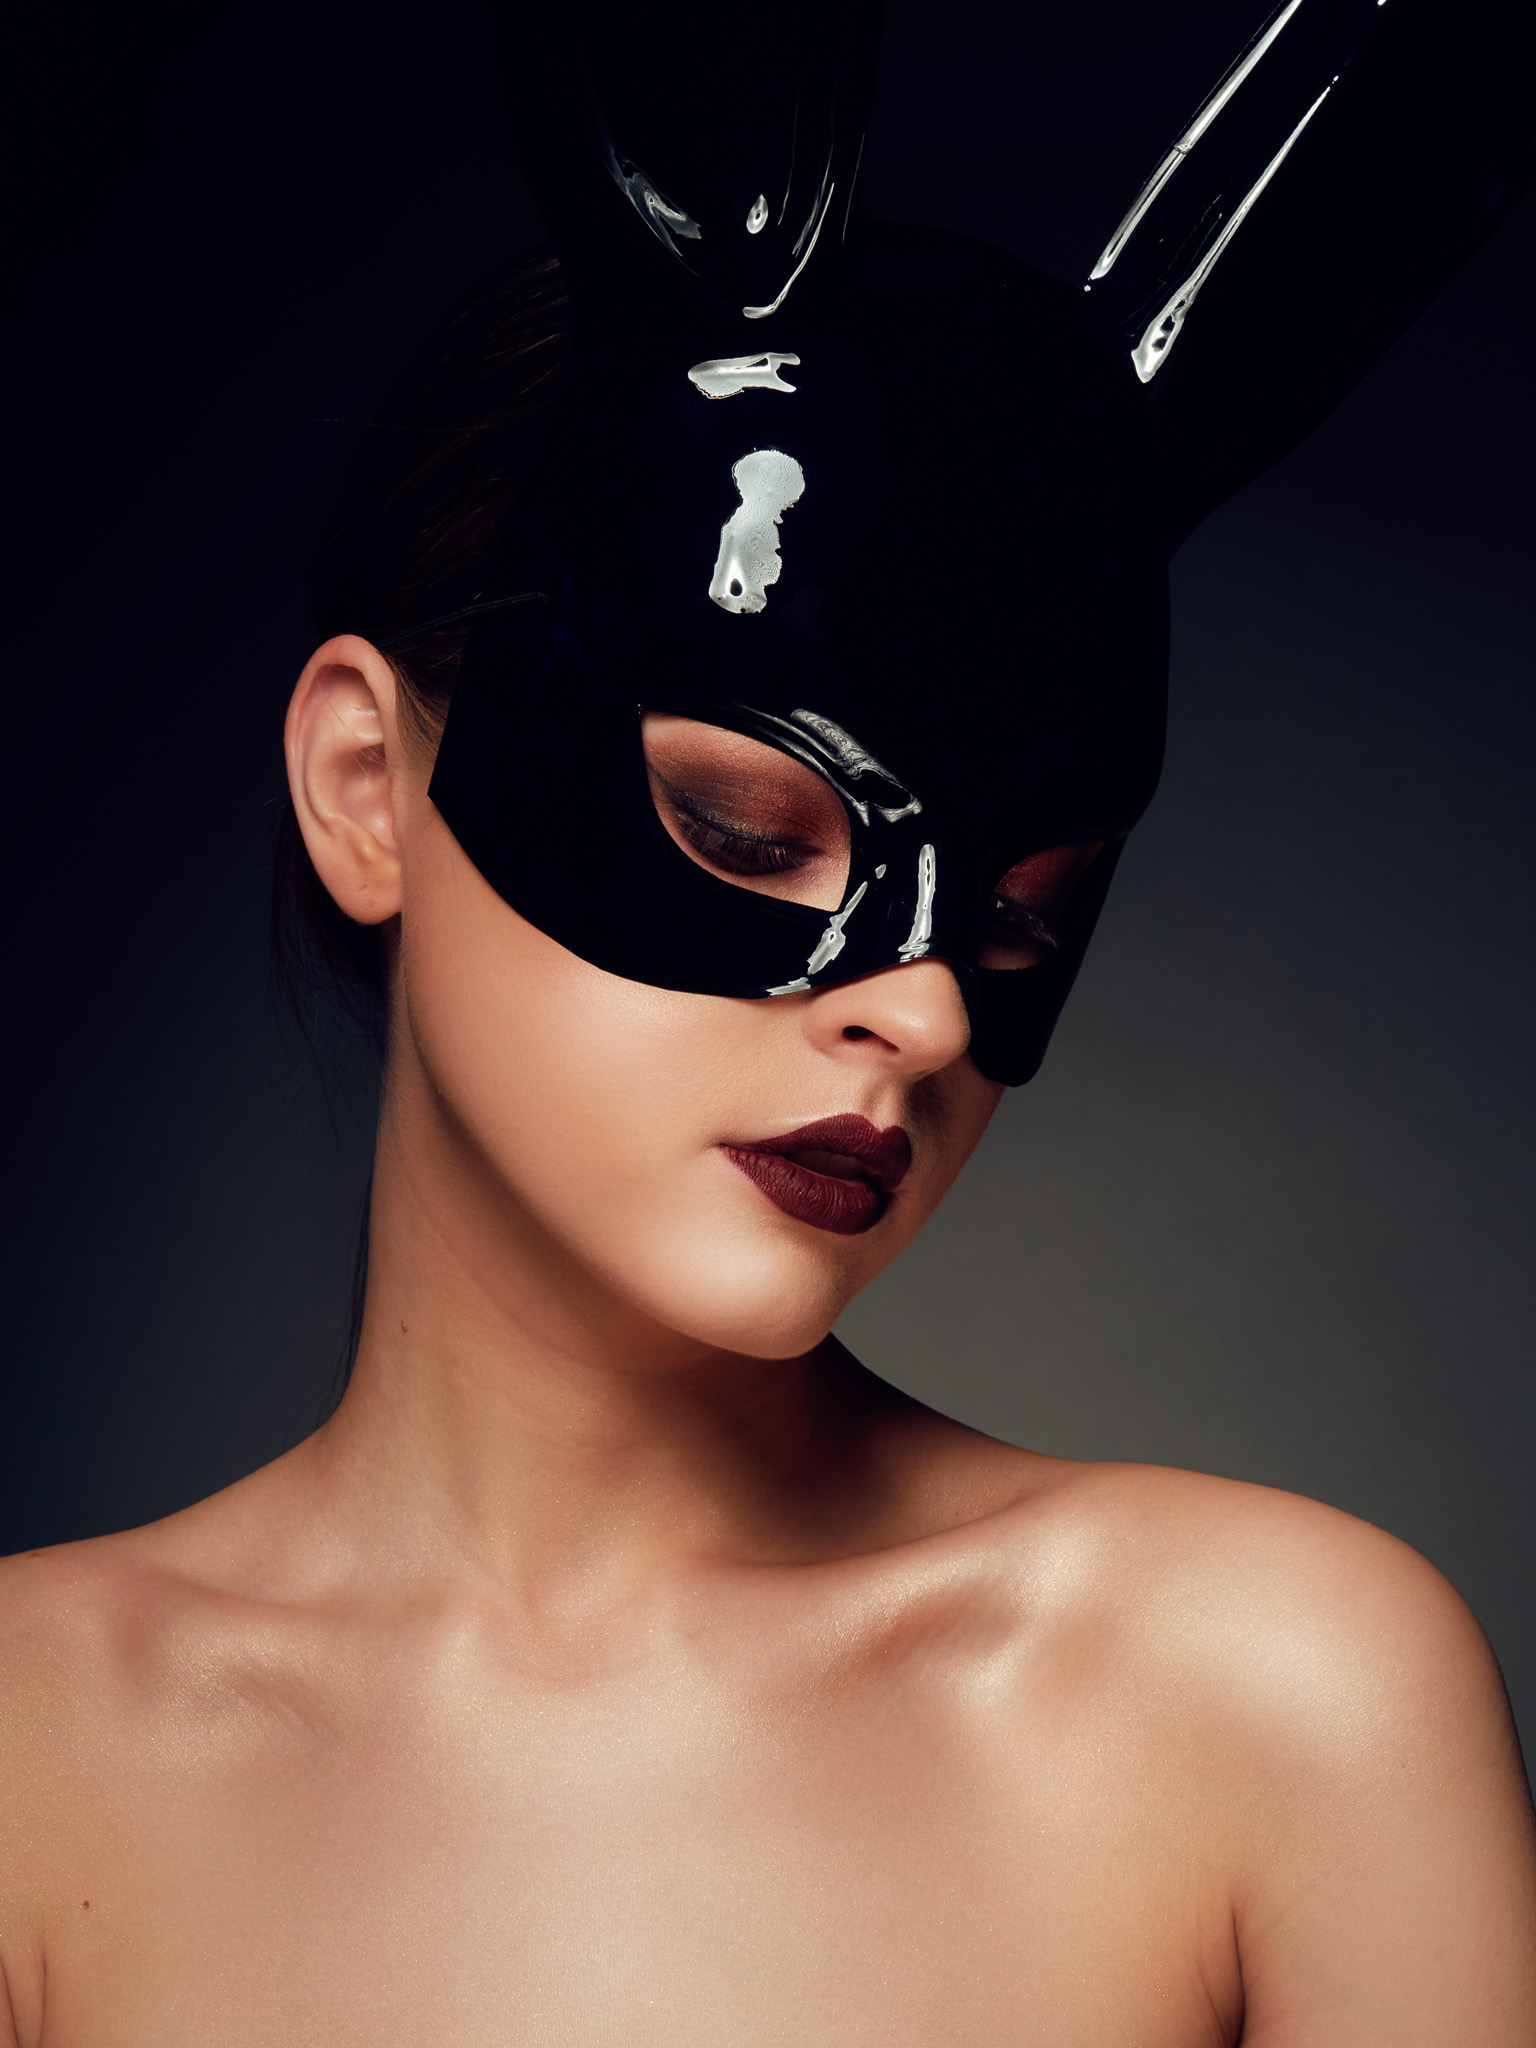
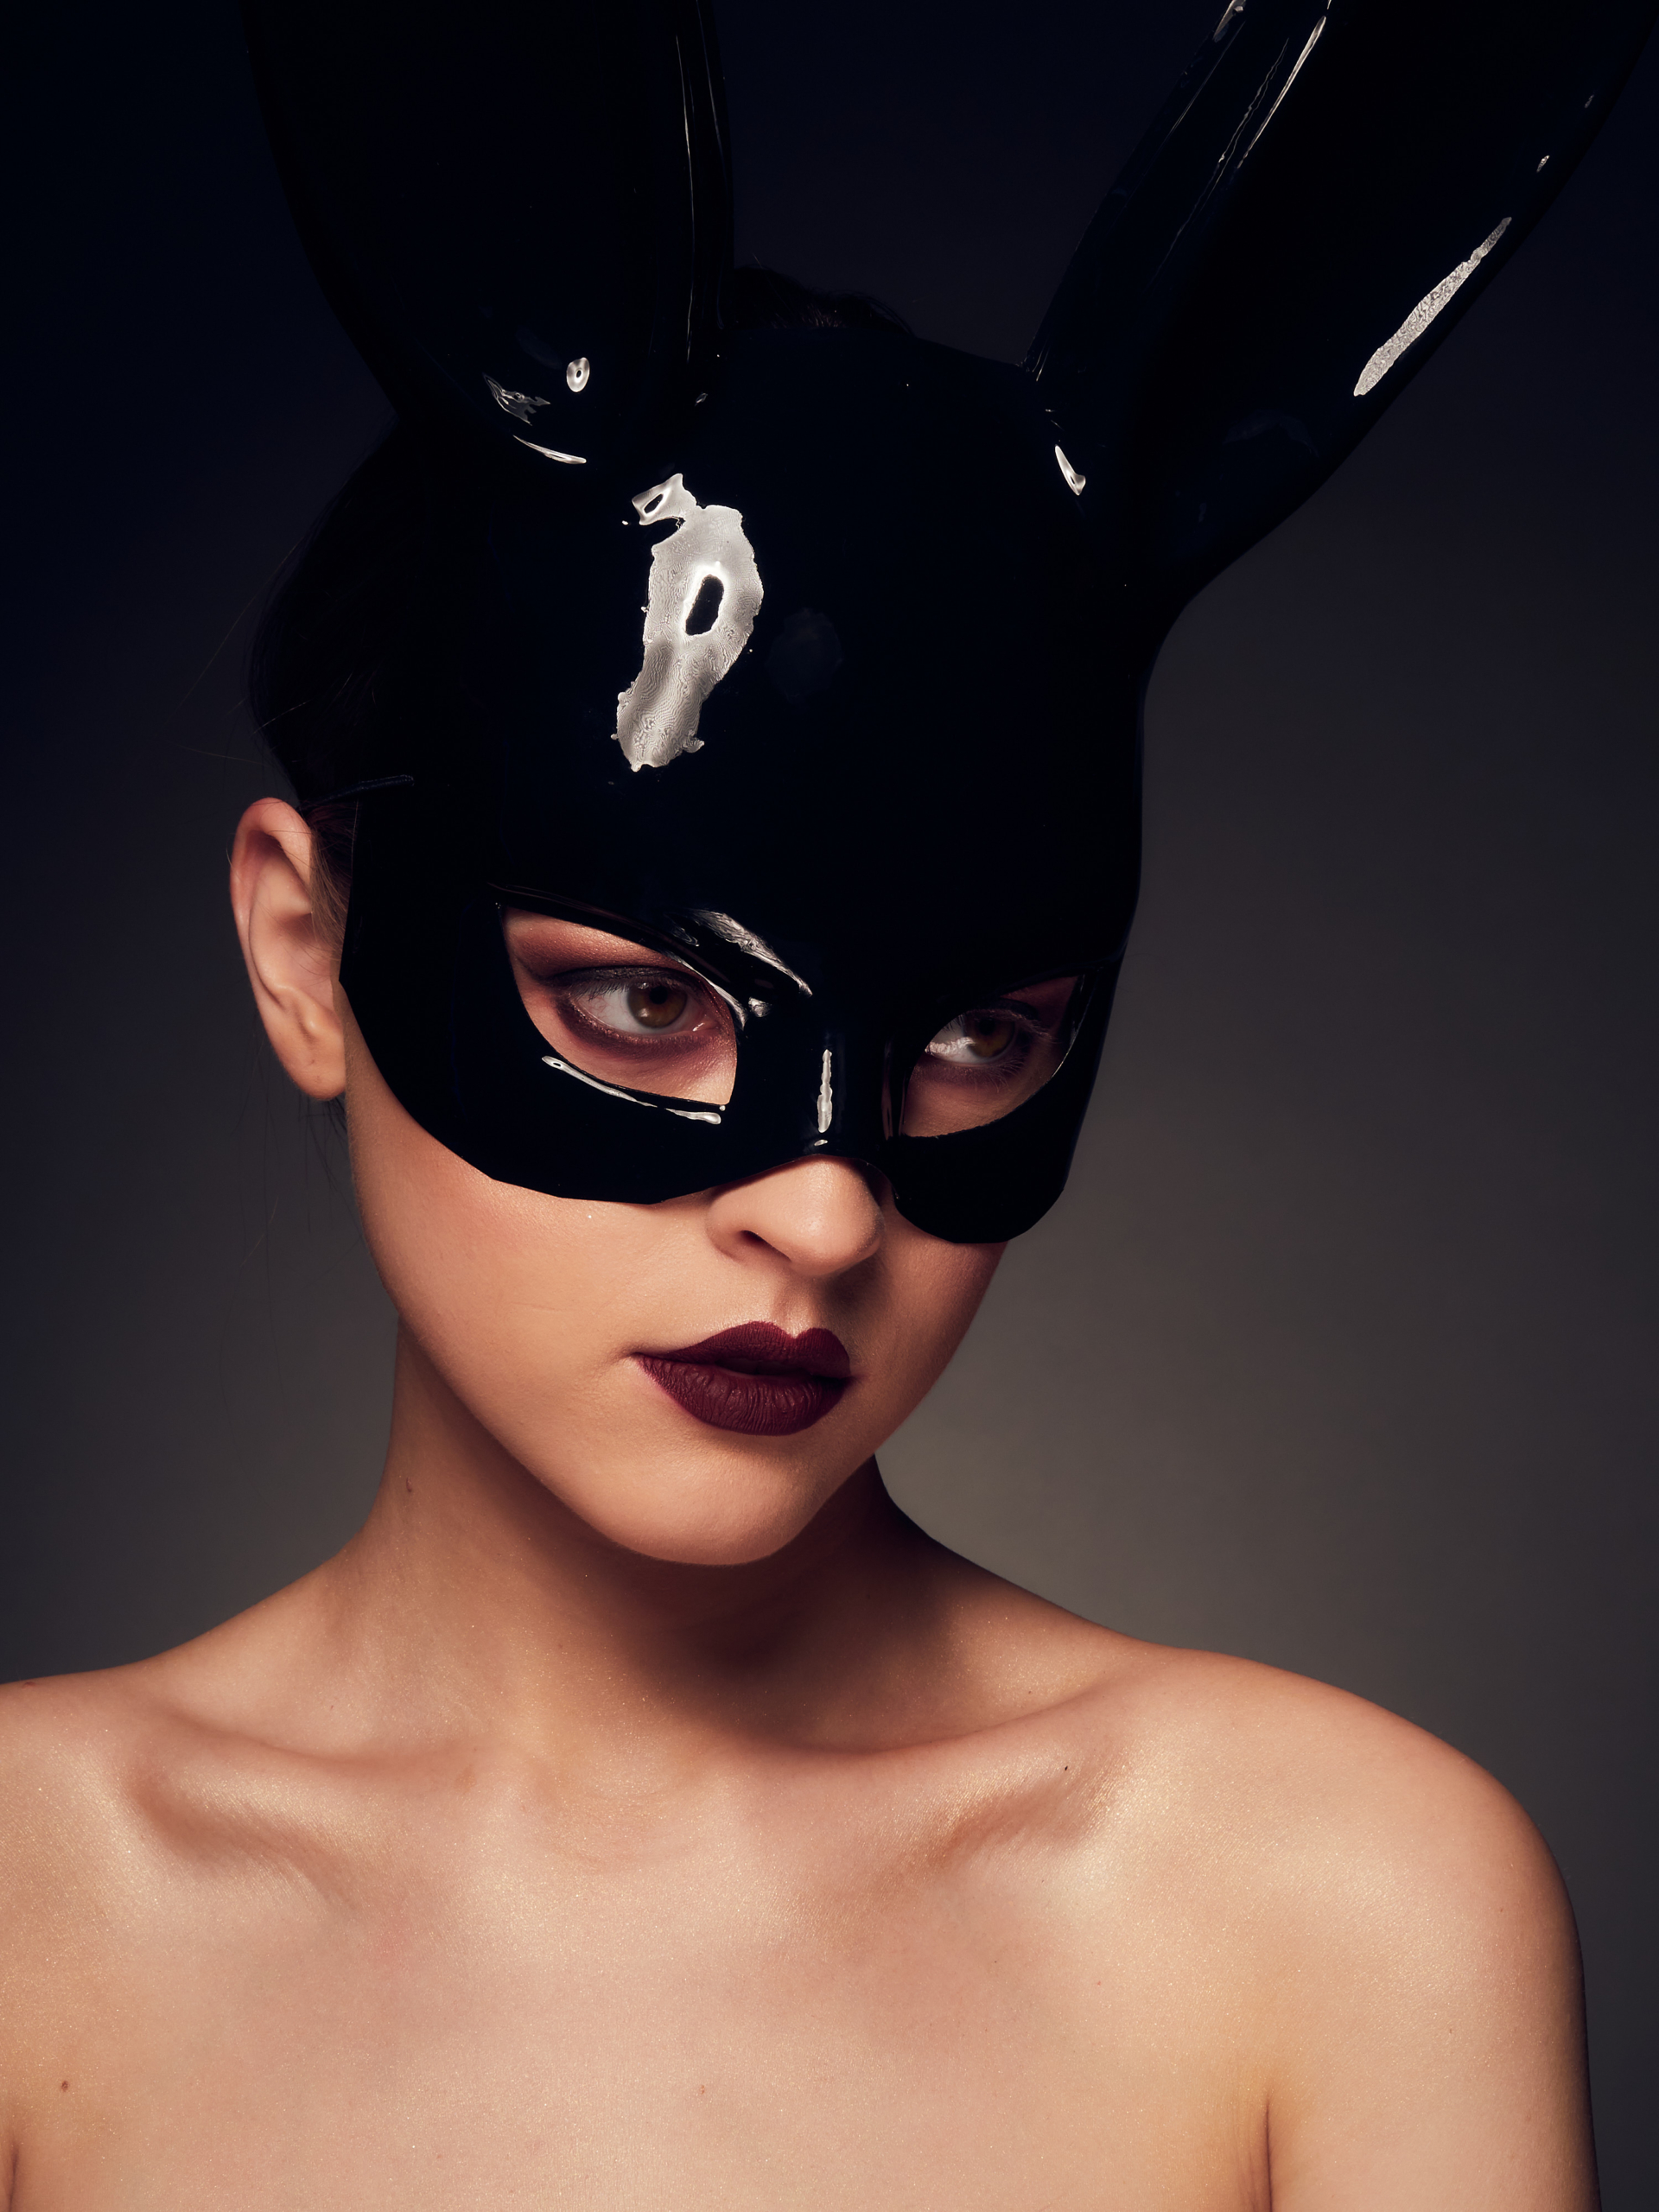
After the delicate beauty shots, I wanted to achieve a completely different atmosphere. Some time ago, while exploring the depths of Wrocław’s Costy, we came across a rabbit/mouse mask. As usual, it found its place in our wardrobe with a note “let’s take it, maybe we’ll use it for a session someday”, but its time came unexpectedly fast. Daria changed the makeup to something much sharper and darker. She applied burgundy mascara to the eyes, and the lips got the color of red wine. Add to that the mentioned mask, and we’re ready! Well, almost… because we still need to set up the lighting. In such an atmosphere, using the same lighting setup wouldn’t make any sense. It’s like wearing a boho dress to a heavy metal concert – it just doesn’t go together. The softbox was replaced by a silver, 56-centimeter beauty dish with a grid. This dish provides plastic but highly contrasted light, which the grid directs strongly. From below, I still used a silver reflector, which gently filled in the shadows and added a catchlight in the eye. I also liked the interesting reflection of the dish on the mask – the grid added irregular texture – I like it, although it’s a matter of taste, of course. Removing it is actually just a few minutes of work with polarizing filters, but as I mentioned – I like it. Additionally, I used two modeling foams 50×70 on stands on both sides of Amelia, which further increased the contrast and outlined the silhouette. However, I had a dilemma with lighting the background, so I made two versions. The first photos were taken using only one lamp, which I mentioned earlier. The background came out almost black, even though it was quite close to Amelia, but the mask didn’t stand out from it very well. I didn’t want to add contrast because it would disrupt the whole atmosphere. So I tried adding a second VEGA 400 for the background – I put a standard dish with a 30-degree grid on it. This is my favorite way of lighting the background because it creates a nice, even gradient behind the model. However, at minimum power, the illumination was slightly too strong, but that’s what the rest of the parameters are for, right?
In this photo I used 1/250s, f/8, ISO200. The background lamp was working at minimum power, but the background was still too bright. (Photo without retouching)
In this photo, I closed the aperture by 1EV, so the parameters were as follows – 1/250s, f/11, ISO200. The background lamp still worked at minimum power, which resulted in a darker background, and I increased the main light power by 1EV. (Photo without retouching)
Rainy atmosphere in the studio
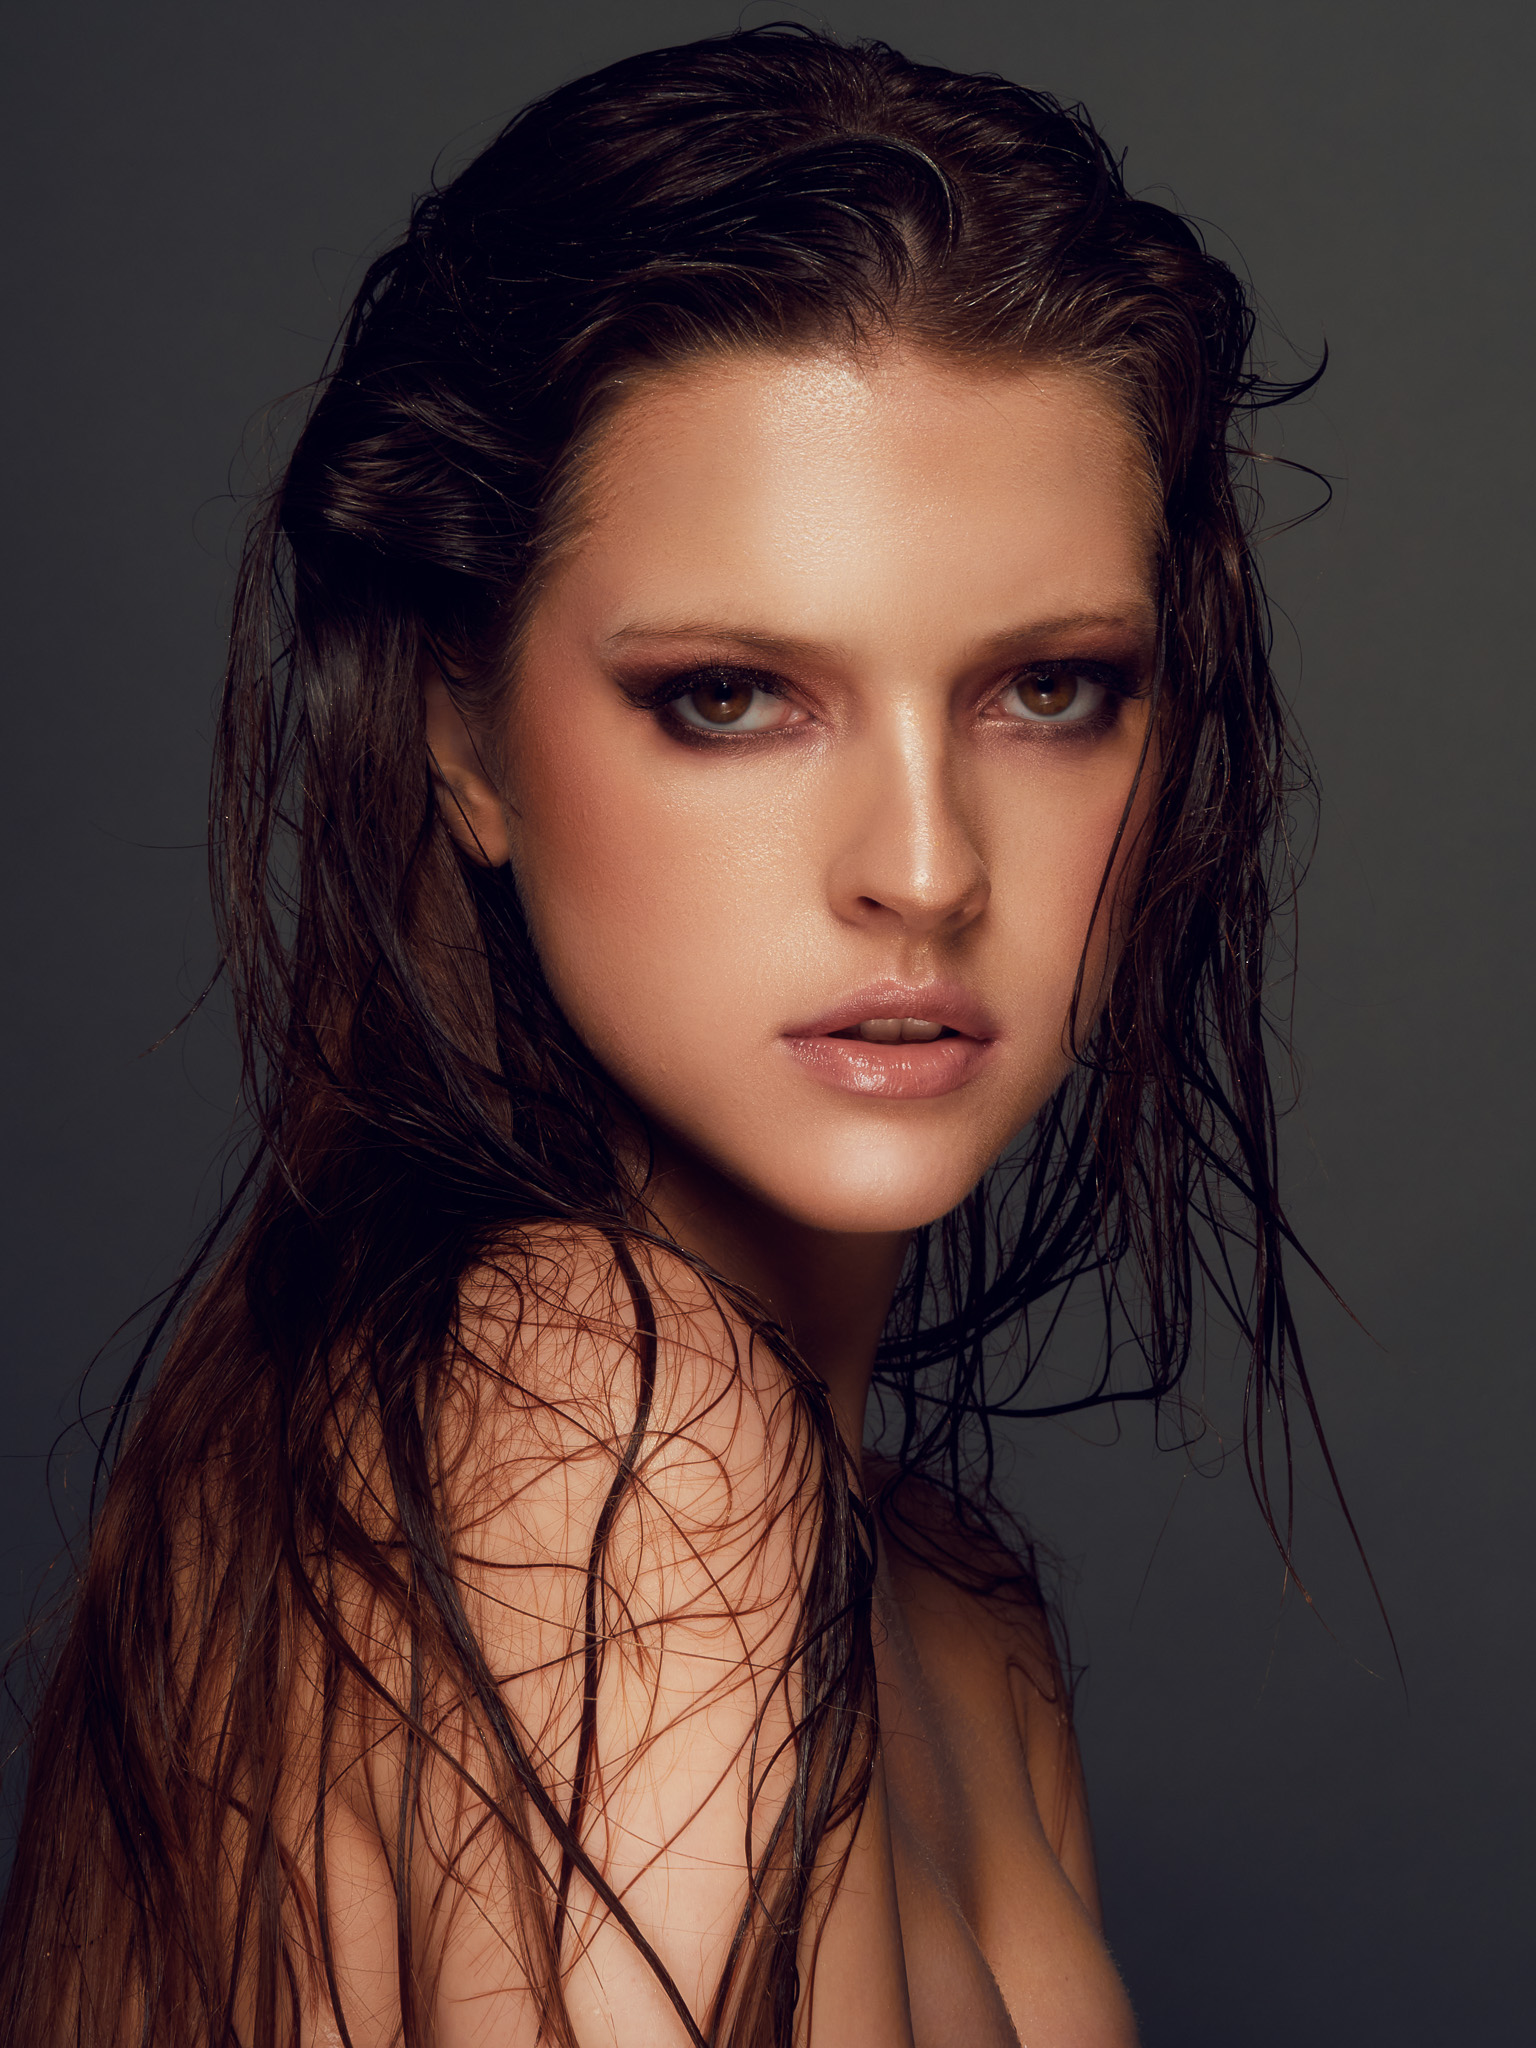
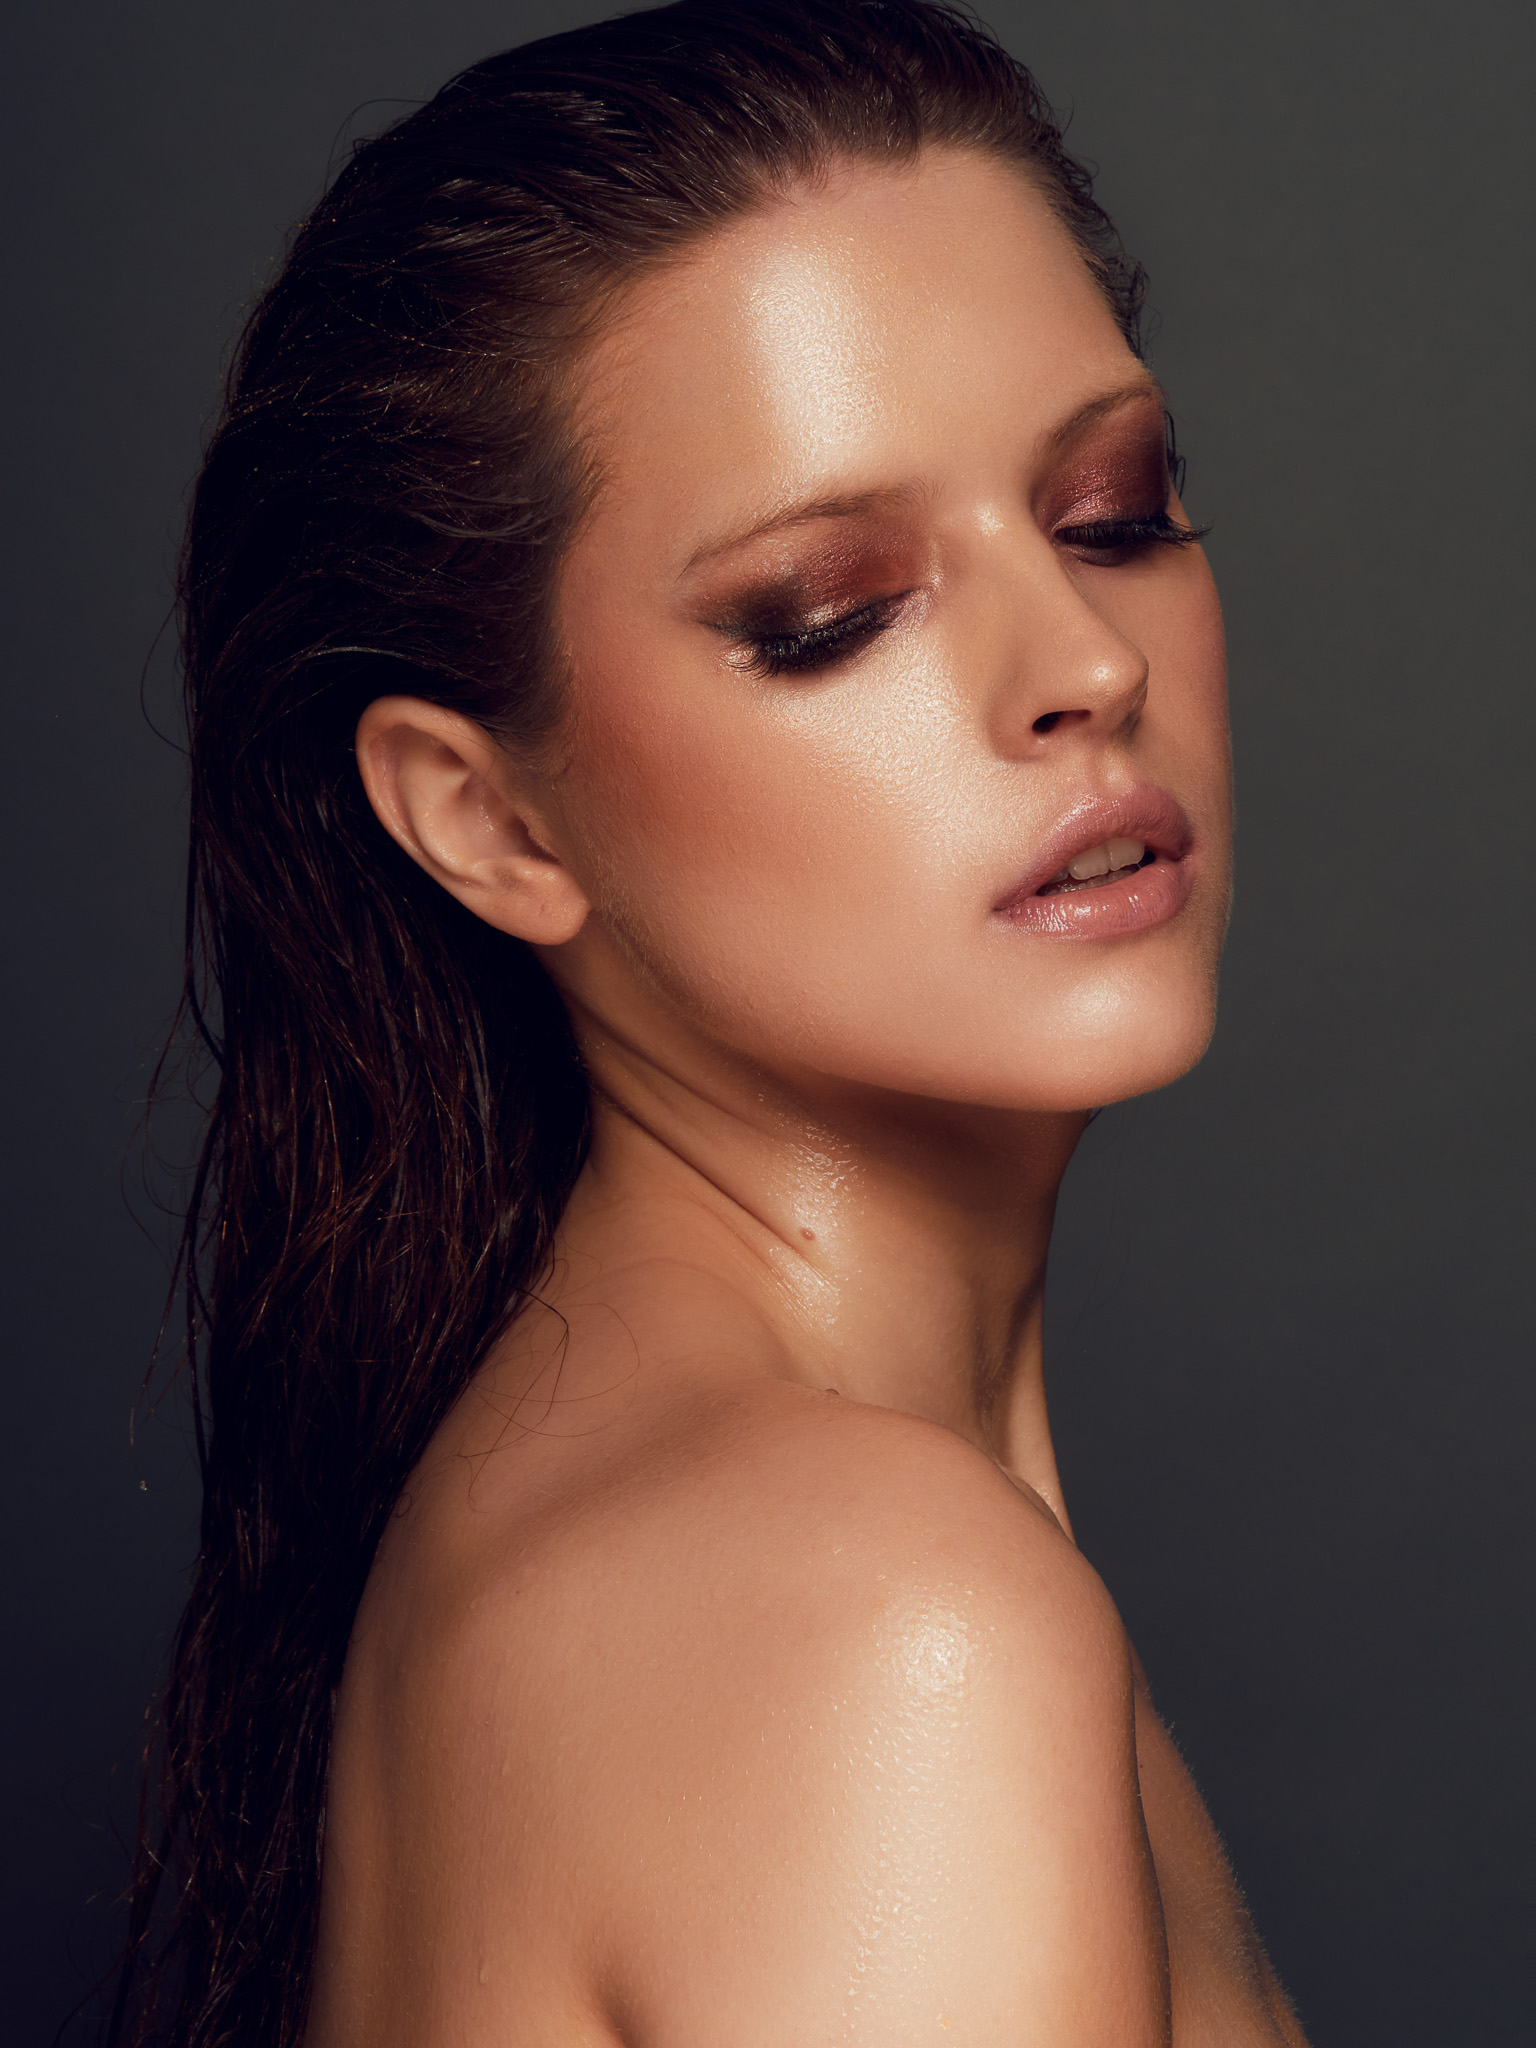
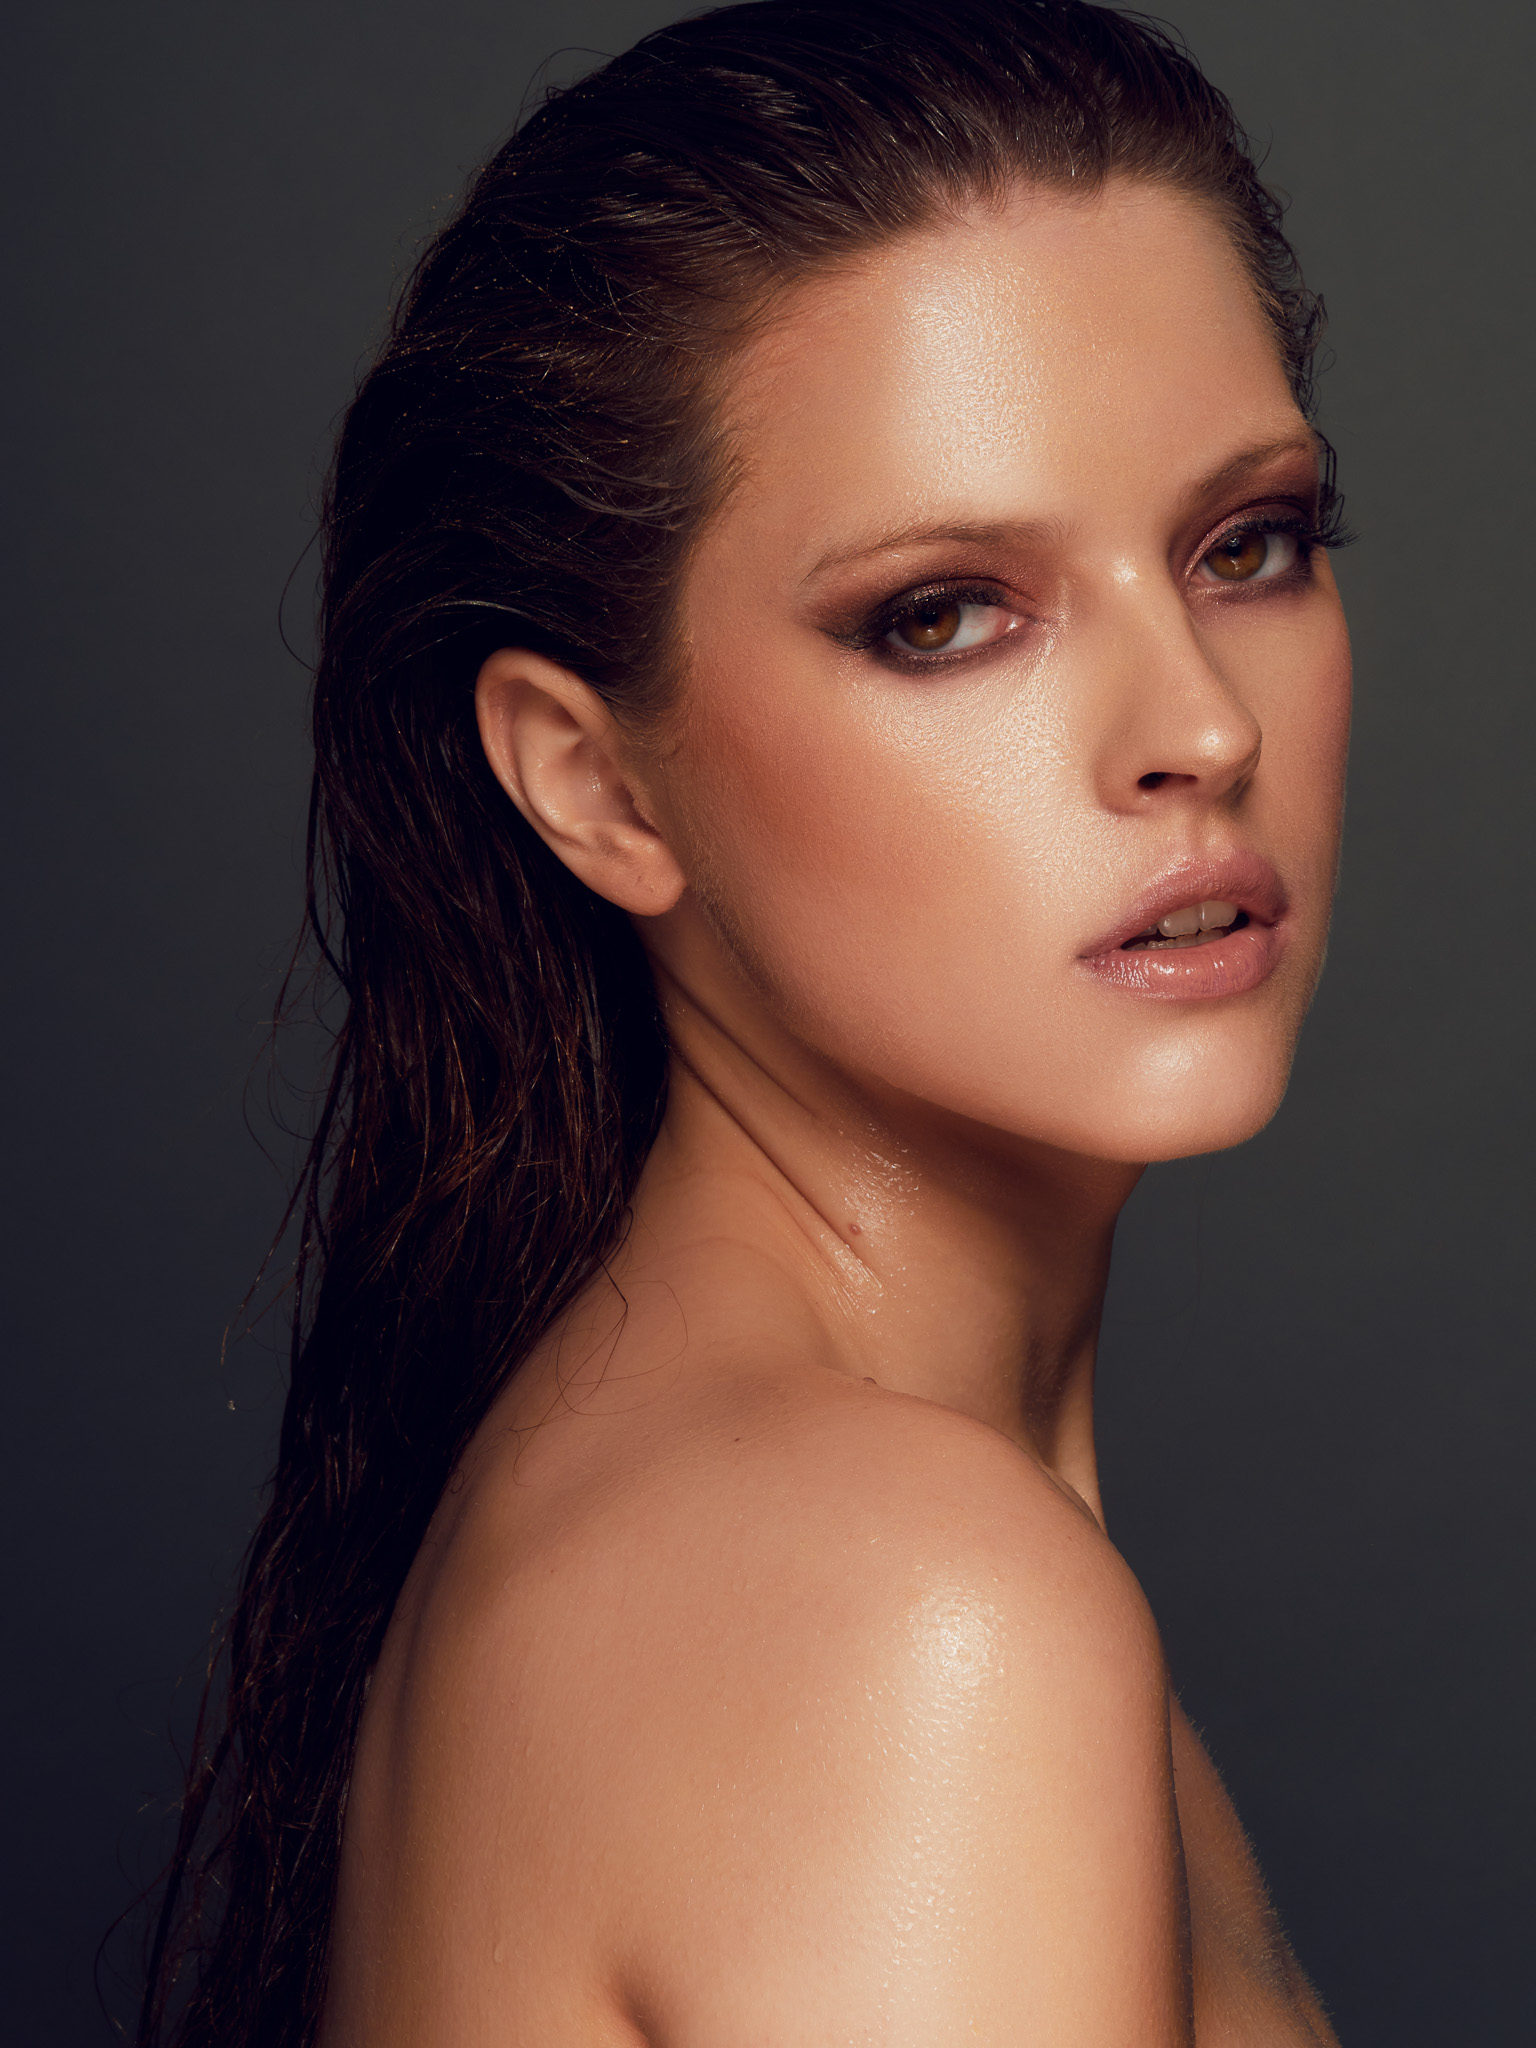
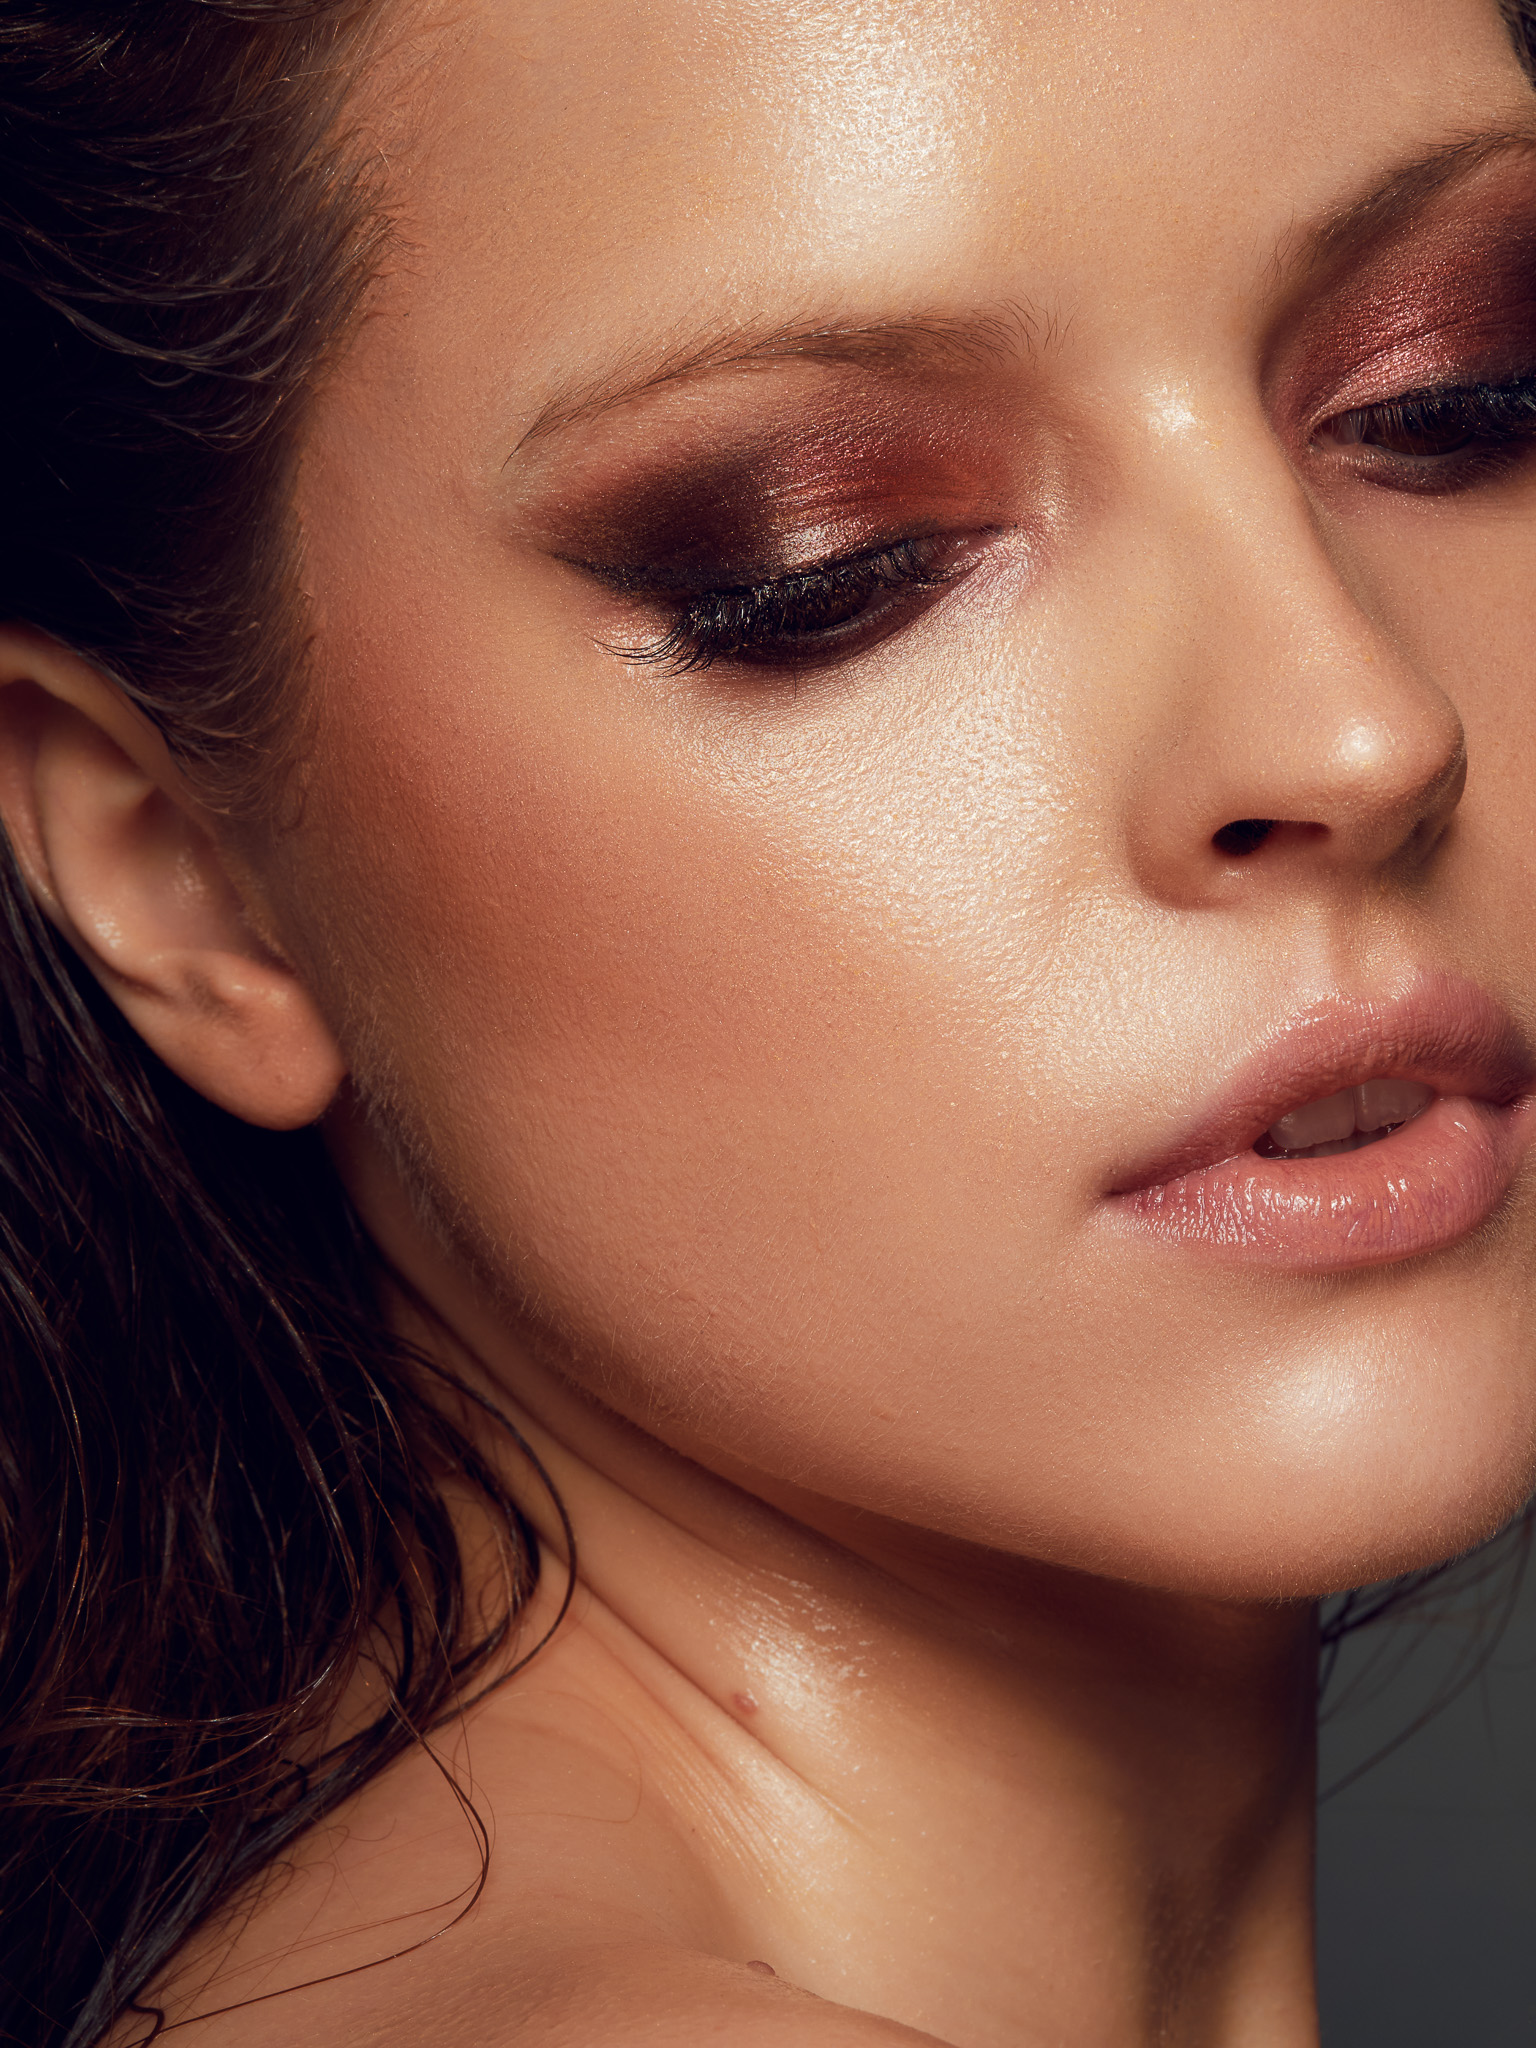
I love photos where the skin glows, and I hate flat photos where the powder takes the spotlight. However, here I decided that at the end of the session, we would use water and take wet photos. Daria slightly softened the makeup by removing the dark color from the lips, while I changed the lighting. The change was cosmetic because all I did was remove the light from the back and also took off the honeycomb grid from the beauty dish. This changed the character of the light to be more general, so the background is not as dark as in the previous case. The fill from below remained, as did the black flags. Here, I decided to set it to 1/250s, f/10, ISO200, and the light power to 1/16 +0.3. Once the light was set up, Daria began spraying water on Amelia’s hair, and she used a golden mist on the body, which besides the wet effect added some color. These were the fastest photos of the entire session because the water quickly runs off, and the makeup starts to look bad quickly. However, I think the photos turned out really well!
A few final words
It was a really interesting day. Meeting in the morning, coffee, brainstorming, agreements, and action. Plus, my first steps with the GlareOne VEGA 400 lights and Flash RC trigger. I decided not to check this equipment beforehand but to dive straight into it. It turned out that this setup works great for beauty sessions. It’s incredibly easy to use; dividing the lights into groups took me 2 minutes without even looking at the manual. Plus, the performance itself is really high. The lights maintain color and power, and I didn’t have any issues with misfires; everything worked as it should. Additionally, new accessories like Stork, Alki, or Kenku make it possible to build a really good studio setup within one brand without heavily impacting our wallet. Good job, GlareOne!
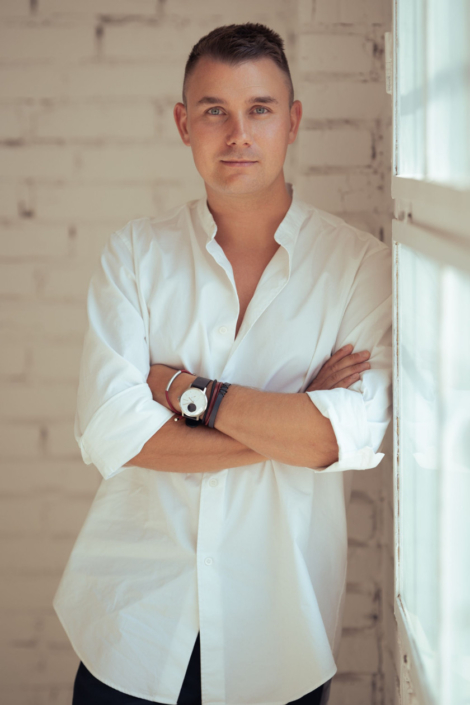
Jakub Kaźmierczyk – profile
My name is Kuba Kaźmierczyk and I have been professionally engaged in photography for over 10 years. It’s something that accompanies me every day during my sessions, but also in my free time. I strive to be a versatile photographer, which is why my portfolio includes photos from various fields of photography. Commercially, I mainly work with companies creating photos for advertising campaigns. I have worked for companies such as Renault, Dacia, Lexus, Grycan, Pizza Hut, KFC, Burger King, Eurobank, Shopee, Acer, Olympus, and many others. I photograph interiors, products, people, and culinary subjects. After hours, I indulge in portrait and fashion photography – it gives me the most pleasure and satisfaction, especially when creating thoughtful sessions with interesting stylizations. I increasingly reach for analog cameras, which make me feel like I’m returning to the roots. I like to challenge myself and try new things – underwater and drone photography, for example. During my numerous trips, I observe the bustling life of the city, photograph landscapes, food, and the local community.
My second area of activity is photographic education, both live and online. I actively manage social media, record videos for my YouTube channel, and engage in preparing training materials for the eduweb.pl platform. Recently, I’ve been developing the photographic path of the ahoy.so platform, a community of photographers, where I create numerous photographic guides. I also conduct live streams, during which I do sessions, edit photos, and provide business advice.
I also collaborate with many companies in the photography industry, leaders in their fields. Mutual support and appreciation of my work are extremely important to me, and thanks to it, I can prepare materials from photo sessions and demonstrate the practical use of equipment. I collaborate, of course, with Peak Design, as well as brands such as GlareOne, Canon, OM-System, Eizo, Wacom, Manfrotto, Acer, Nvidia, WD, Sandisk.

