When selling products online, you need to showcase them in a way that entices the buyer. On the other hand, auction site guidelines emphasize maintaining a perfectly white background. So, how do you combine the attractiveness of showcasing the product with the guidelines, and how do you set up the lighting to achieve the most even before pressing the shutter release? You’ll find out from the article below.
It’s undeniable that typical product photography isn’t the most exciting. We need to show the details of the photographed product, maintain consistency between successive photos, and we should achieve almost perfectly white backgrounds. On the other hand, it seems that the topic is straightforward, and indeed – photographing a matte, small product is easy, but when dealing with something white, transparent, or highly reflective, the matter is not so simple. However, let’s start from the beginning.
How to take product photos that meet auction site requirements
Many auction sites, both Polish and international, require sellers to have a perfectly white background, with RGB values of 255, 255, 255. Even though the background might appear white on the monitor, if the values range around 240-250, the photo might be rejected or ranked lower in search results. It is known that the higher the offer appears in search results, the better the chances of selling. This is where the highlight clipping warning in ACR/LR/C1 comes in handy, as it shows the perfectly white areas we aim for. However, it’s important that the product itself is not overexposed, remains clear, and sharp.
Backgrounds for product photography – which materials can you use?
Cardboard, paper, vinyl, acrylic. Never polypropylene or cotton. Your options are quite limited here because the background must be white, and any texture or crease can significantly complicate your work. Additionally, if you place the product directly on the background, small holes in polypropylene will look very bad. The best choice is a cardboard background, and for smaller products, plotter paper works great. Paper has an almost invisible texture and, when properly unrolled, does not crease. Combining it with plexiglass, on which you can place the product, is in my opinion the best option. However, cardboard has a major drawback – it gets dirty quickly, so you have to cut it off. If you are photographing clean products, this is not a problem, but if you are photographing, for example, car parts often smeared with various greases, you would have to cut a piece of the background after each photo. Here, plexiglass comes in handy, which you can easily buy at a hardware store, and you need to size it according to the size of the products. It’s better to have a larger piece so that the edges are not visible. If you don’t want a reflective effect, you can consider a vinyl background. Its texture resembles thick oilcloth with textile reinforcement. Up close, you can see a slight texture, so it won’t work for very small products, but if the product is larger than 15-20 cm, it should not be a problem. The advantage of vinyl is that you can clean it with a sponge and detergent.
Lighting in product photography – natural light vs. studio light
Forget about daylight. When training sellers on a large sales platform, I often hear that they photograph using natural light. Sure, if you’re occasionally selling items that are lying around, you don’t need to set up a full studio. However, if you want professional-looking photos, studio lights are a necessity.
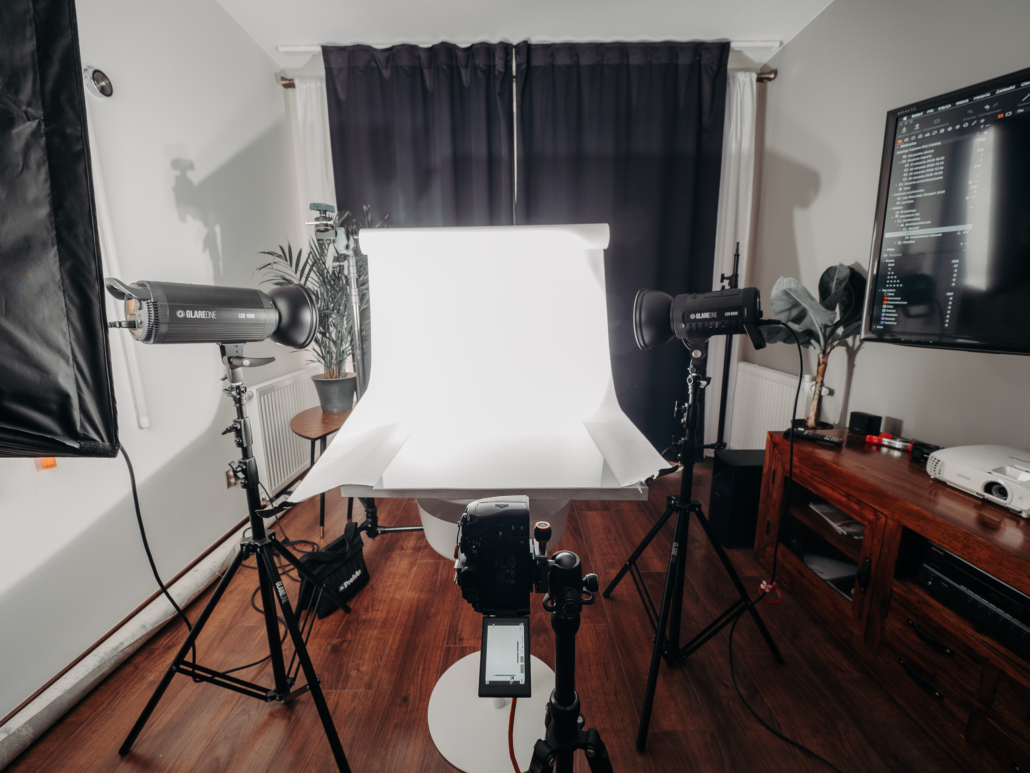
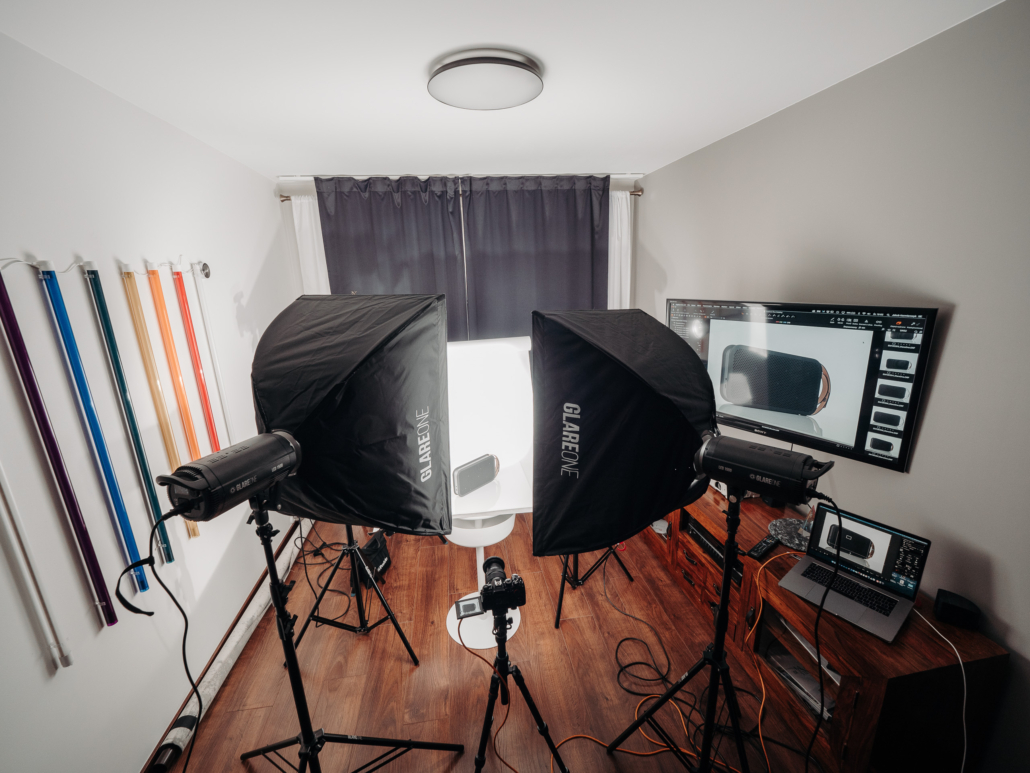
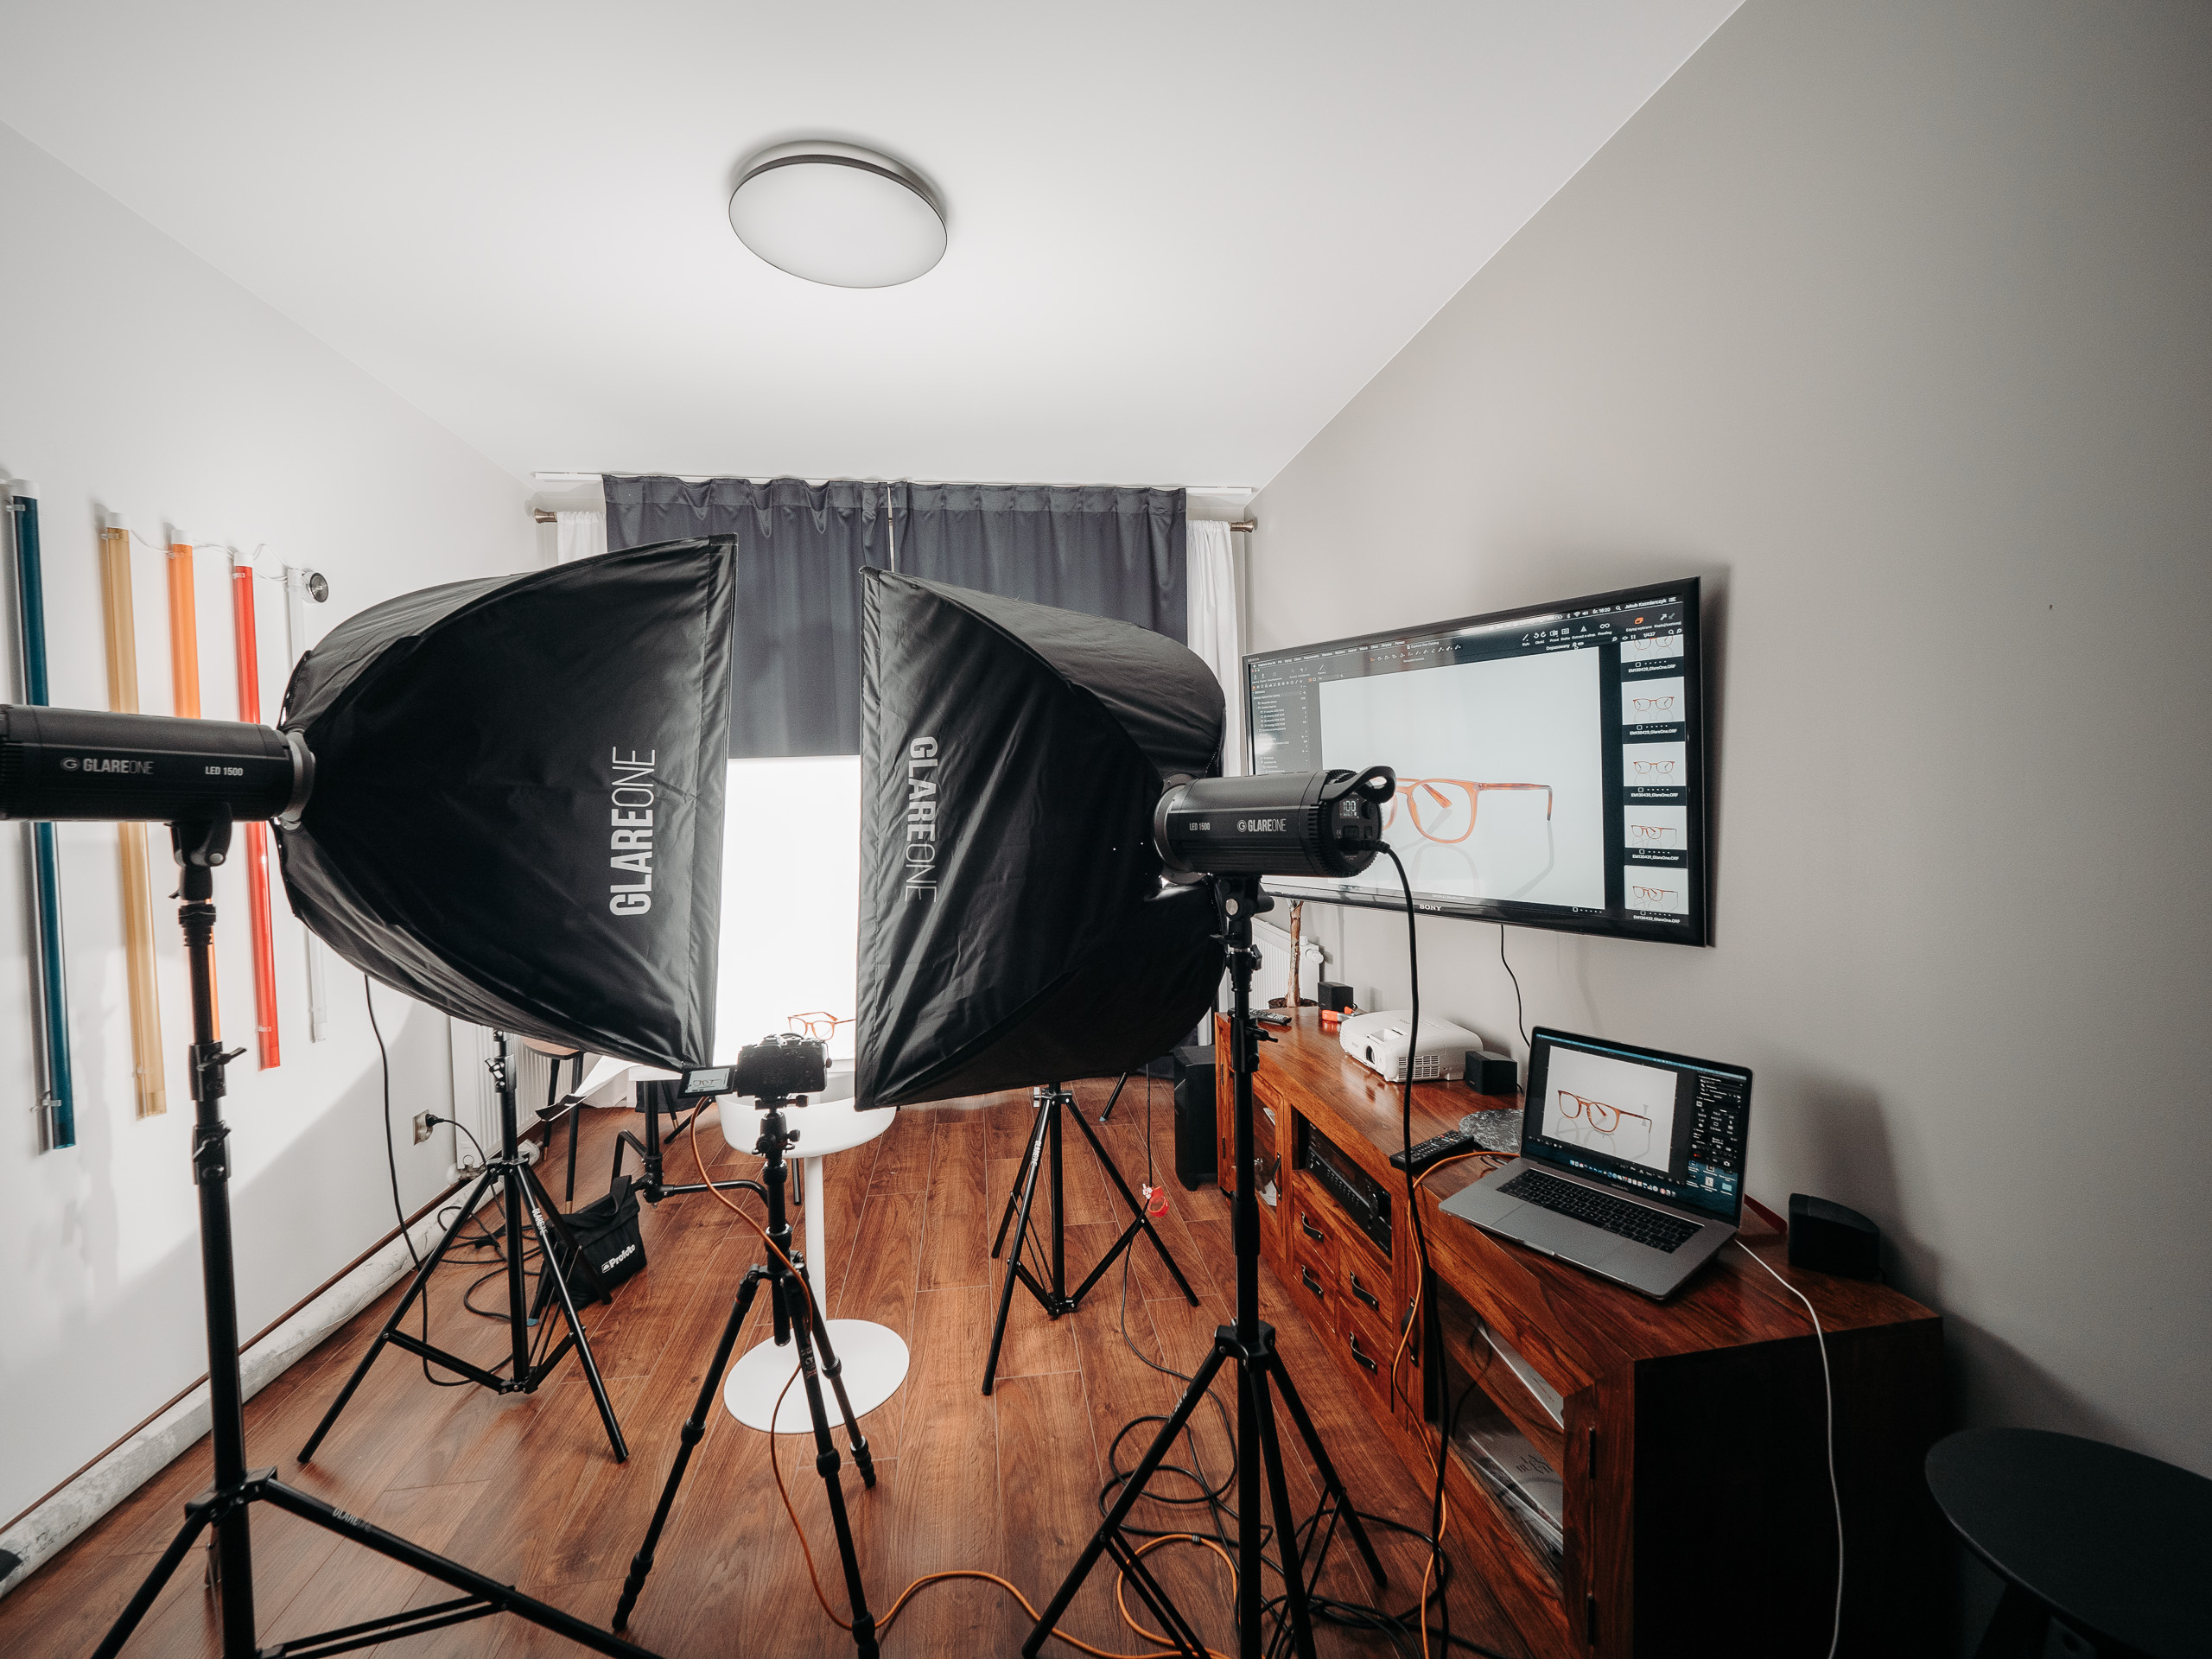
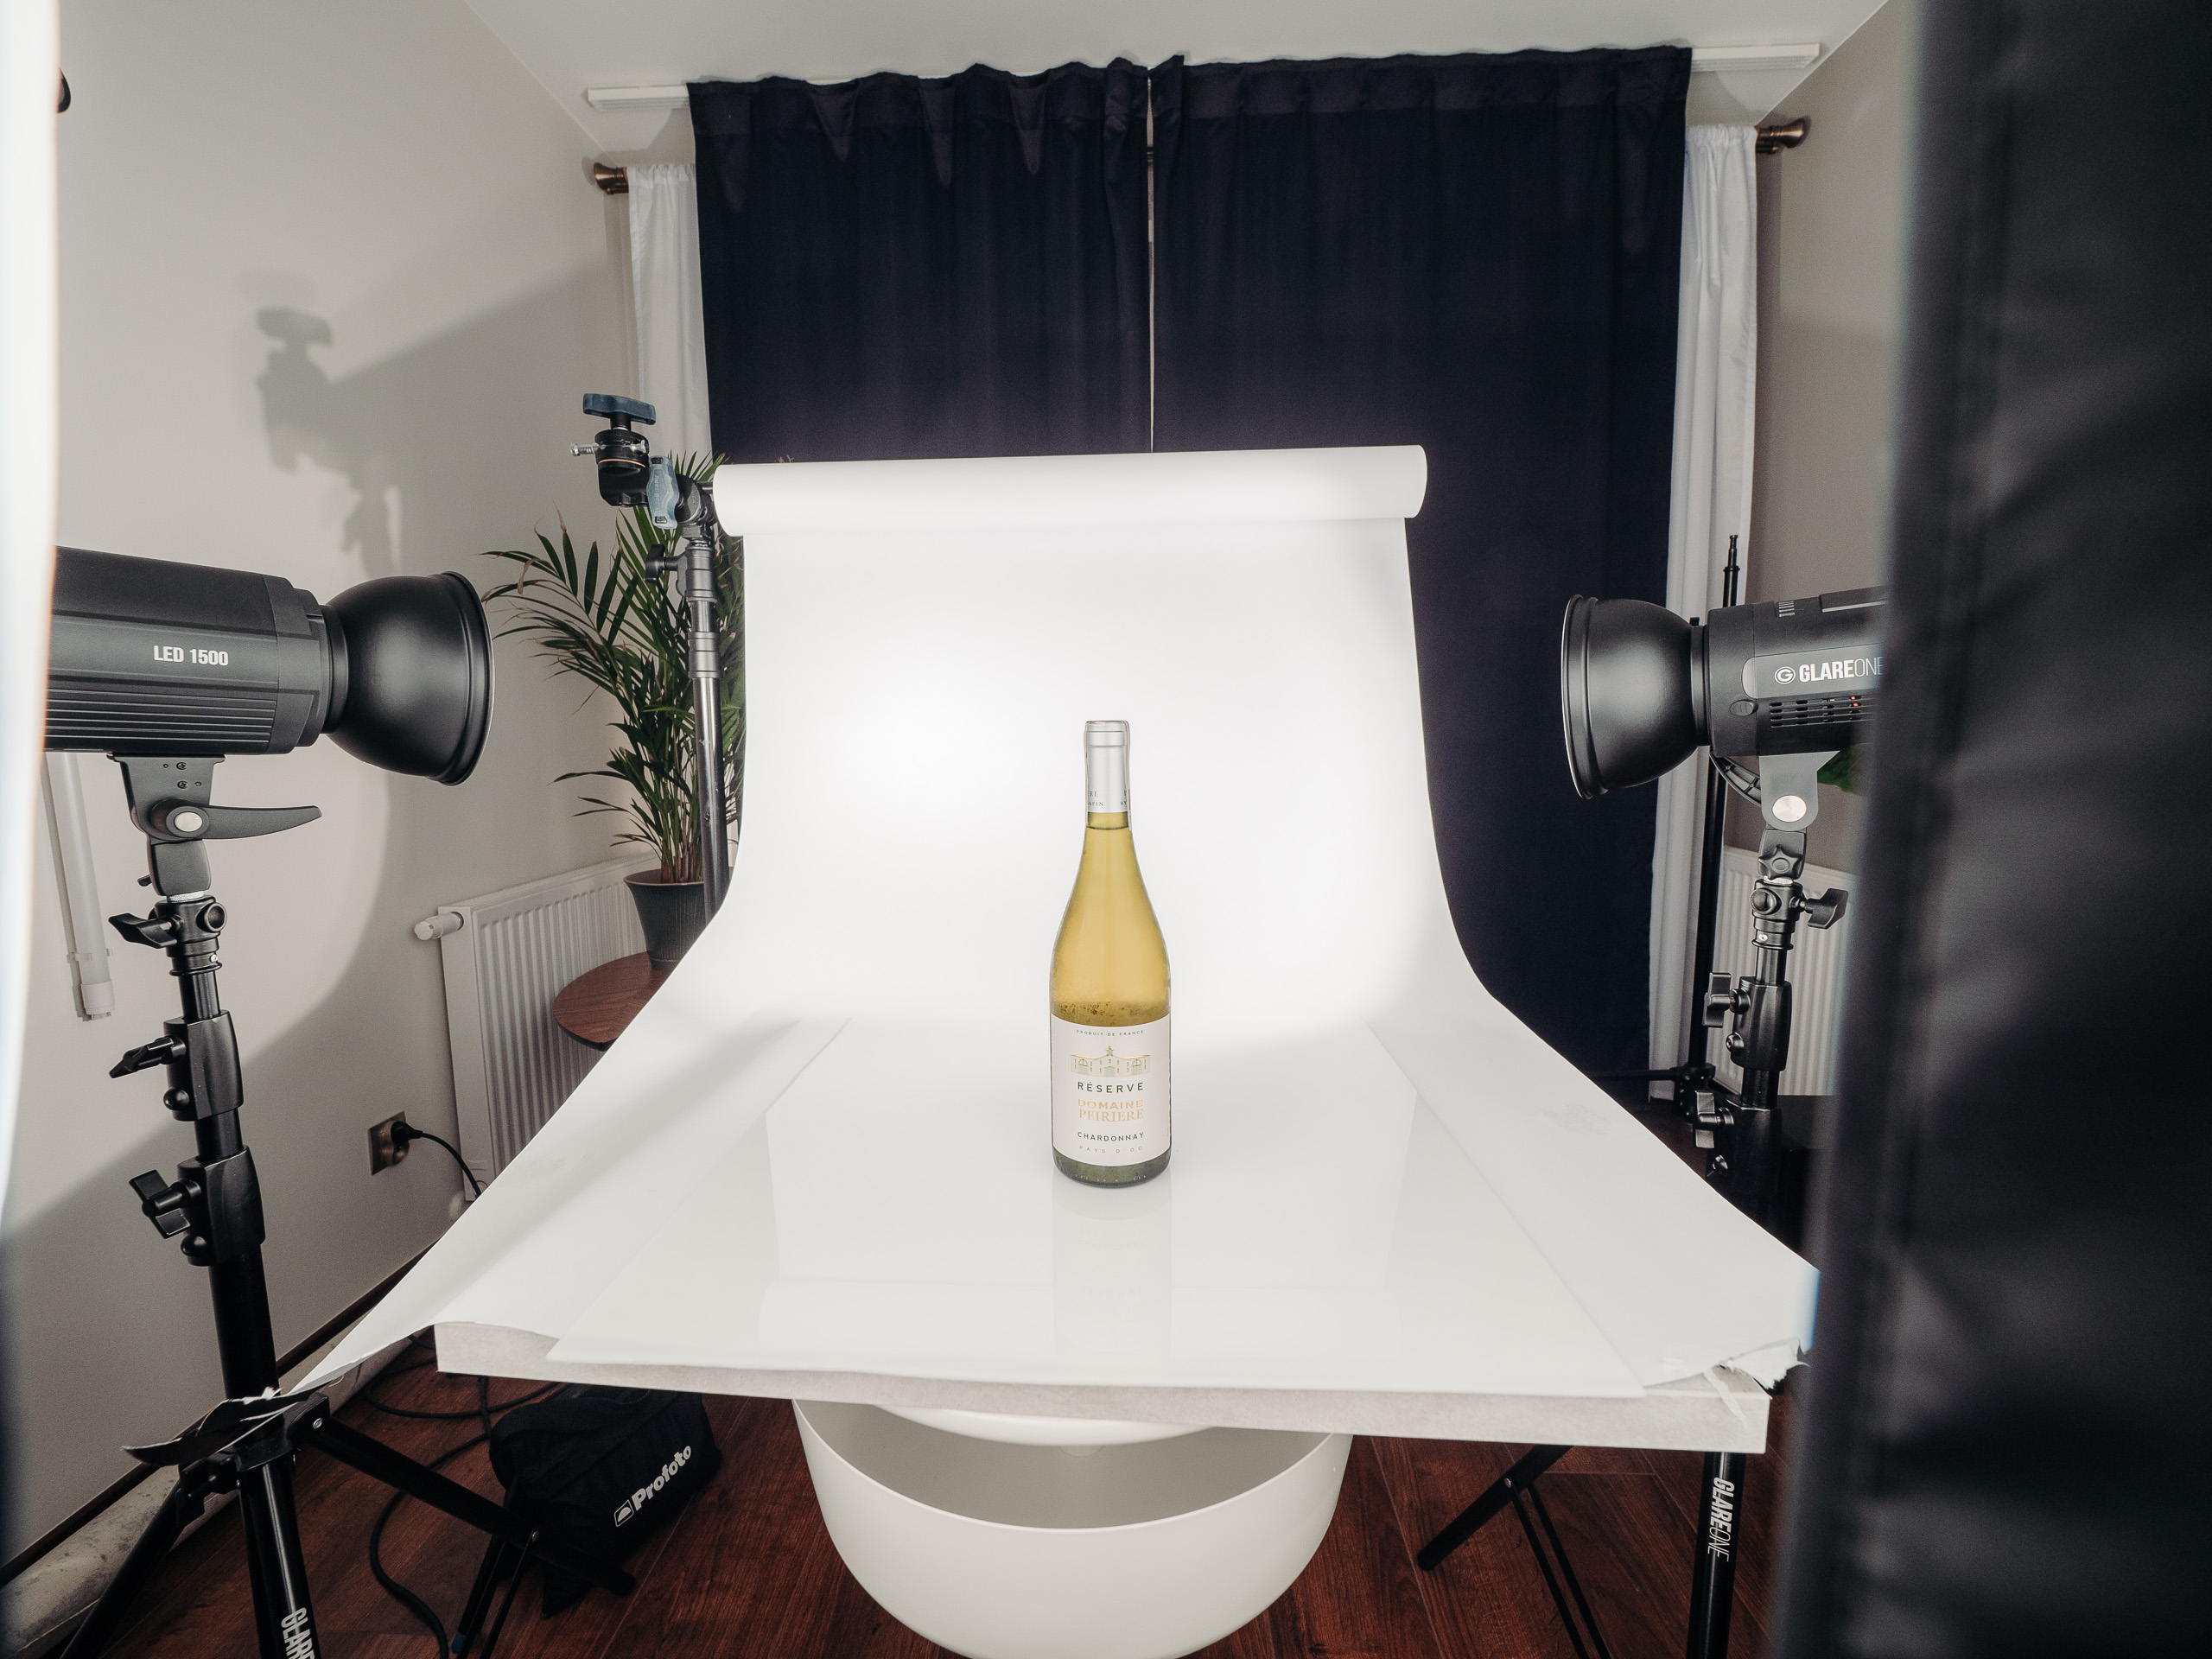
So, how many lights will you need? For small products, even two lights can suffice – one light can be used for the background, while the other, positioned above, illuminates the product. However, remember that this setup is suitable for really small items. For larger products, it’s best to have four lights in your studio. Two lights will illuminate the background, and the other two will light the product.
Unfortunately, I often hear that many companies decide to purchase only two lights and use them solely to illuminate the product, resulting in a well-lit product with a gray background. This means that each product needs to be cut out from the background, which takes time.
By illuminating the product with two lamps, we obtain a gray background. To make it perfectly white, such a photo requires some tedious cutting.
In this photo, I simply turned on two additional lamps for the background – it is perfectly white.
When taking product photos, you should set the lighting so that the background is on the verge of being overexposed – the RGB values should hover around 250-253. This way, by slightly moving the “Whites” slider to the right, you’ll achieve a perfectly white background, and any minor imperfections can be fixed with a few brush strokes in post-processing.
As for modifiers, I’m a fan of softboxes. Many people start with umbrellas, but in this type of photography, they won’t perform well. If the product is shiny, you’ll see the entire ribbing of the umbrella and an unattractive shape. In my opinion, a 60×90 cm softbox is the most versatile – it works well for small products, but if what you’re photographing is around 70 cm, it can handle that too. Only larger products will require 80×120 cm softboxes or bigger. A softbox directs the light, and any reflections in the product are not as harsh – they appear as simple white rectangles that can easily be toned down with a polarizing filter (on non-metallic surfaces) or turned into a gradient by placing a piece of white plexiglass or a diffusion panel in front of them.
What Type of Lights to Choose? The choice of lights depends on your preference. You can go for strobe lights or continuous LED lights with a Bowens mount. Energy-saving fluorescent lights are not the best option due to difficulty in modifying them and their lack of directional light. Strobe lights have the advantage that with a 200-300Ws power lamp, you can easily work with a shutter speed of 1/200s, an aperture of f/8, and a low ISO. Their downside is the difficulty in controlling the light if the photographer is inexperienced, as well as less precision in managing reflections, setting up flags, etc. The modeling light in studio strobes is a good guide, but the flash will always look slightly different.
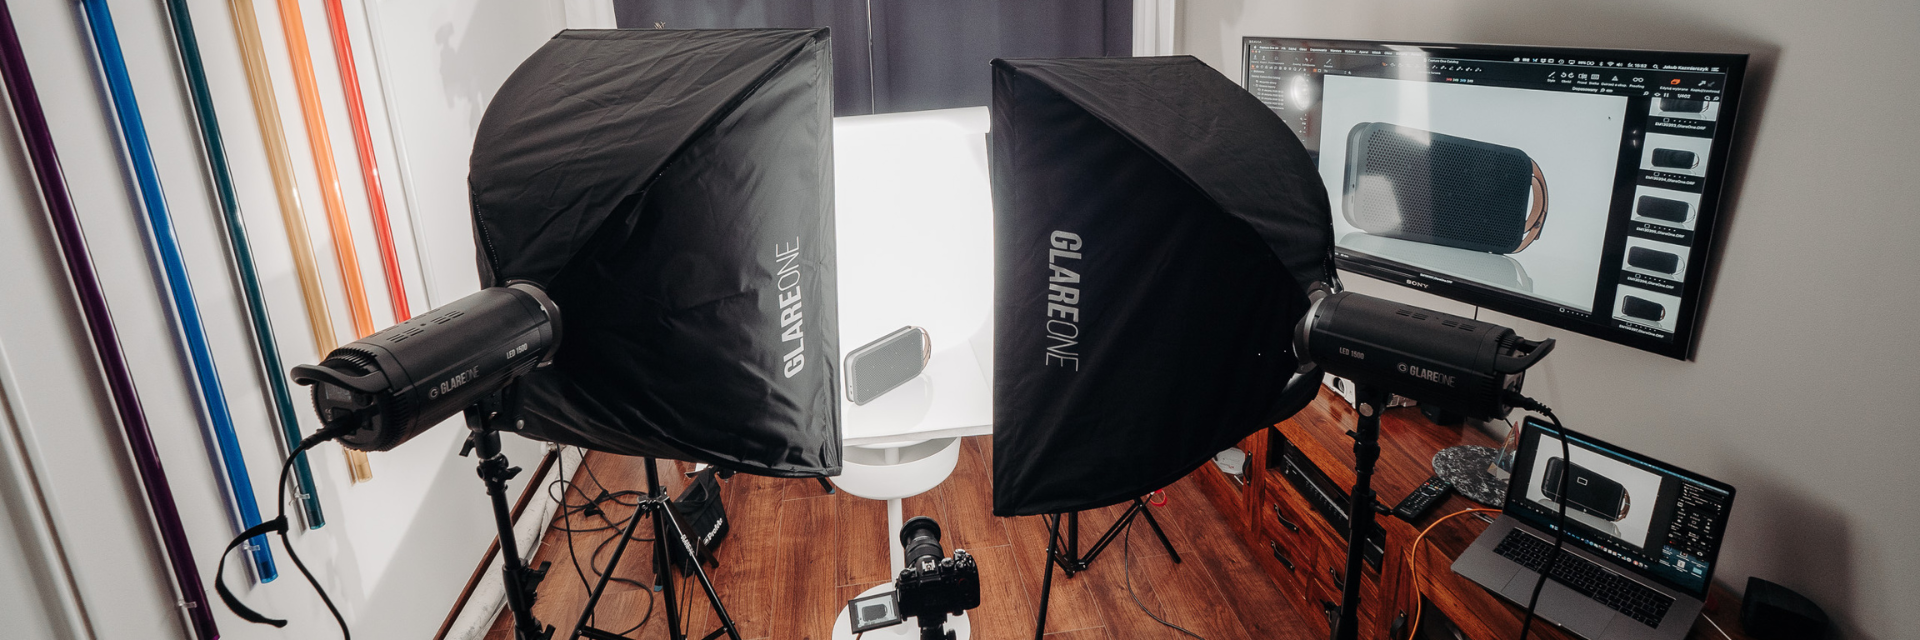
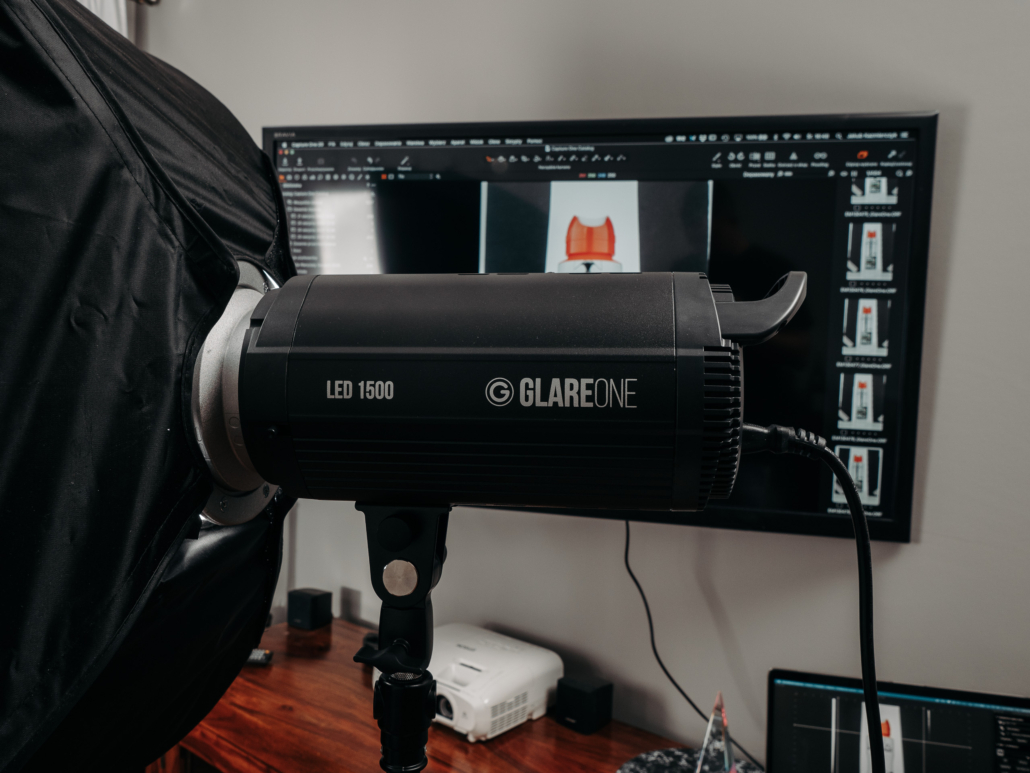
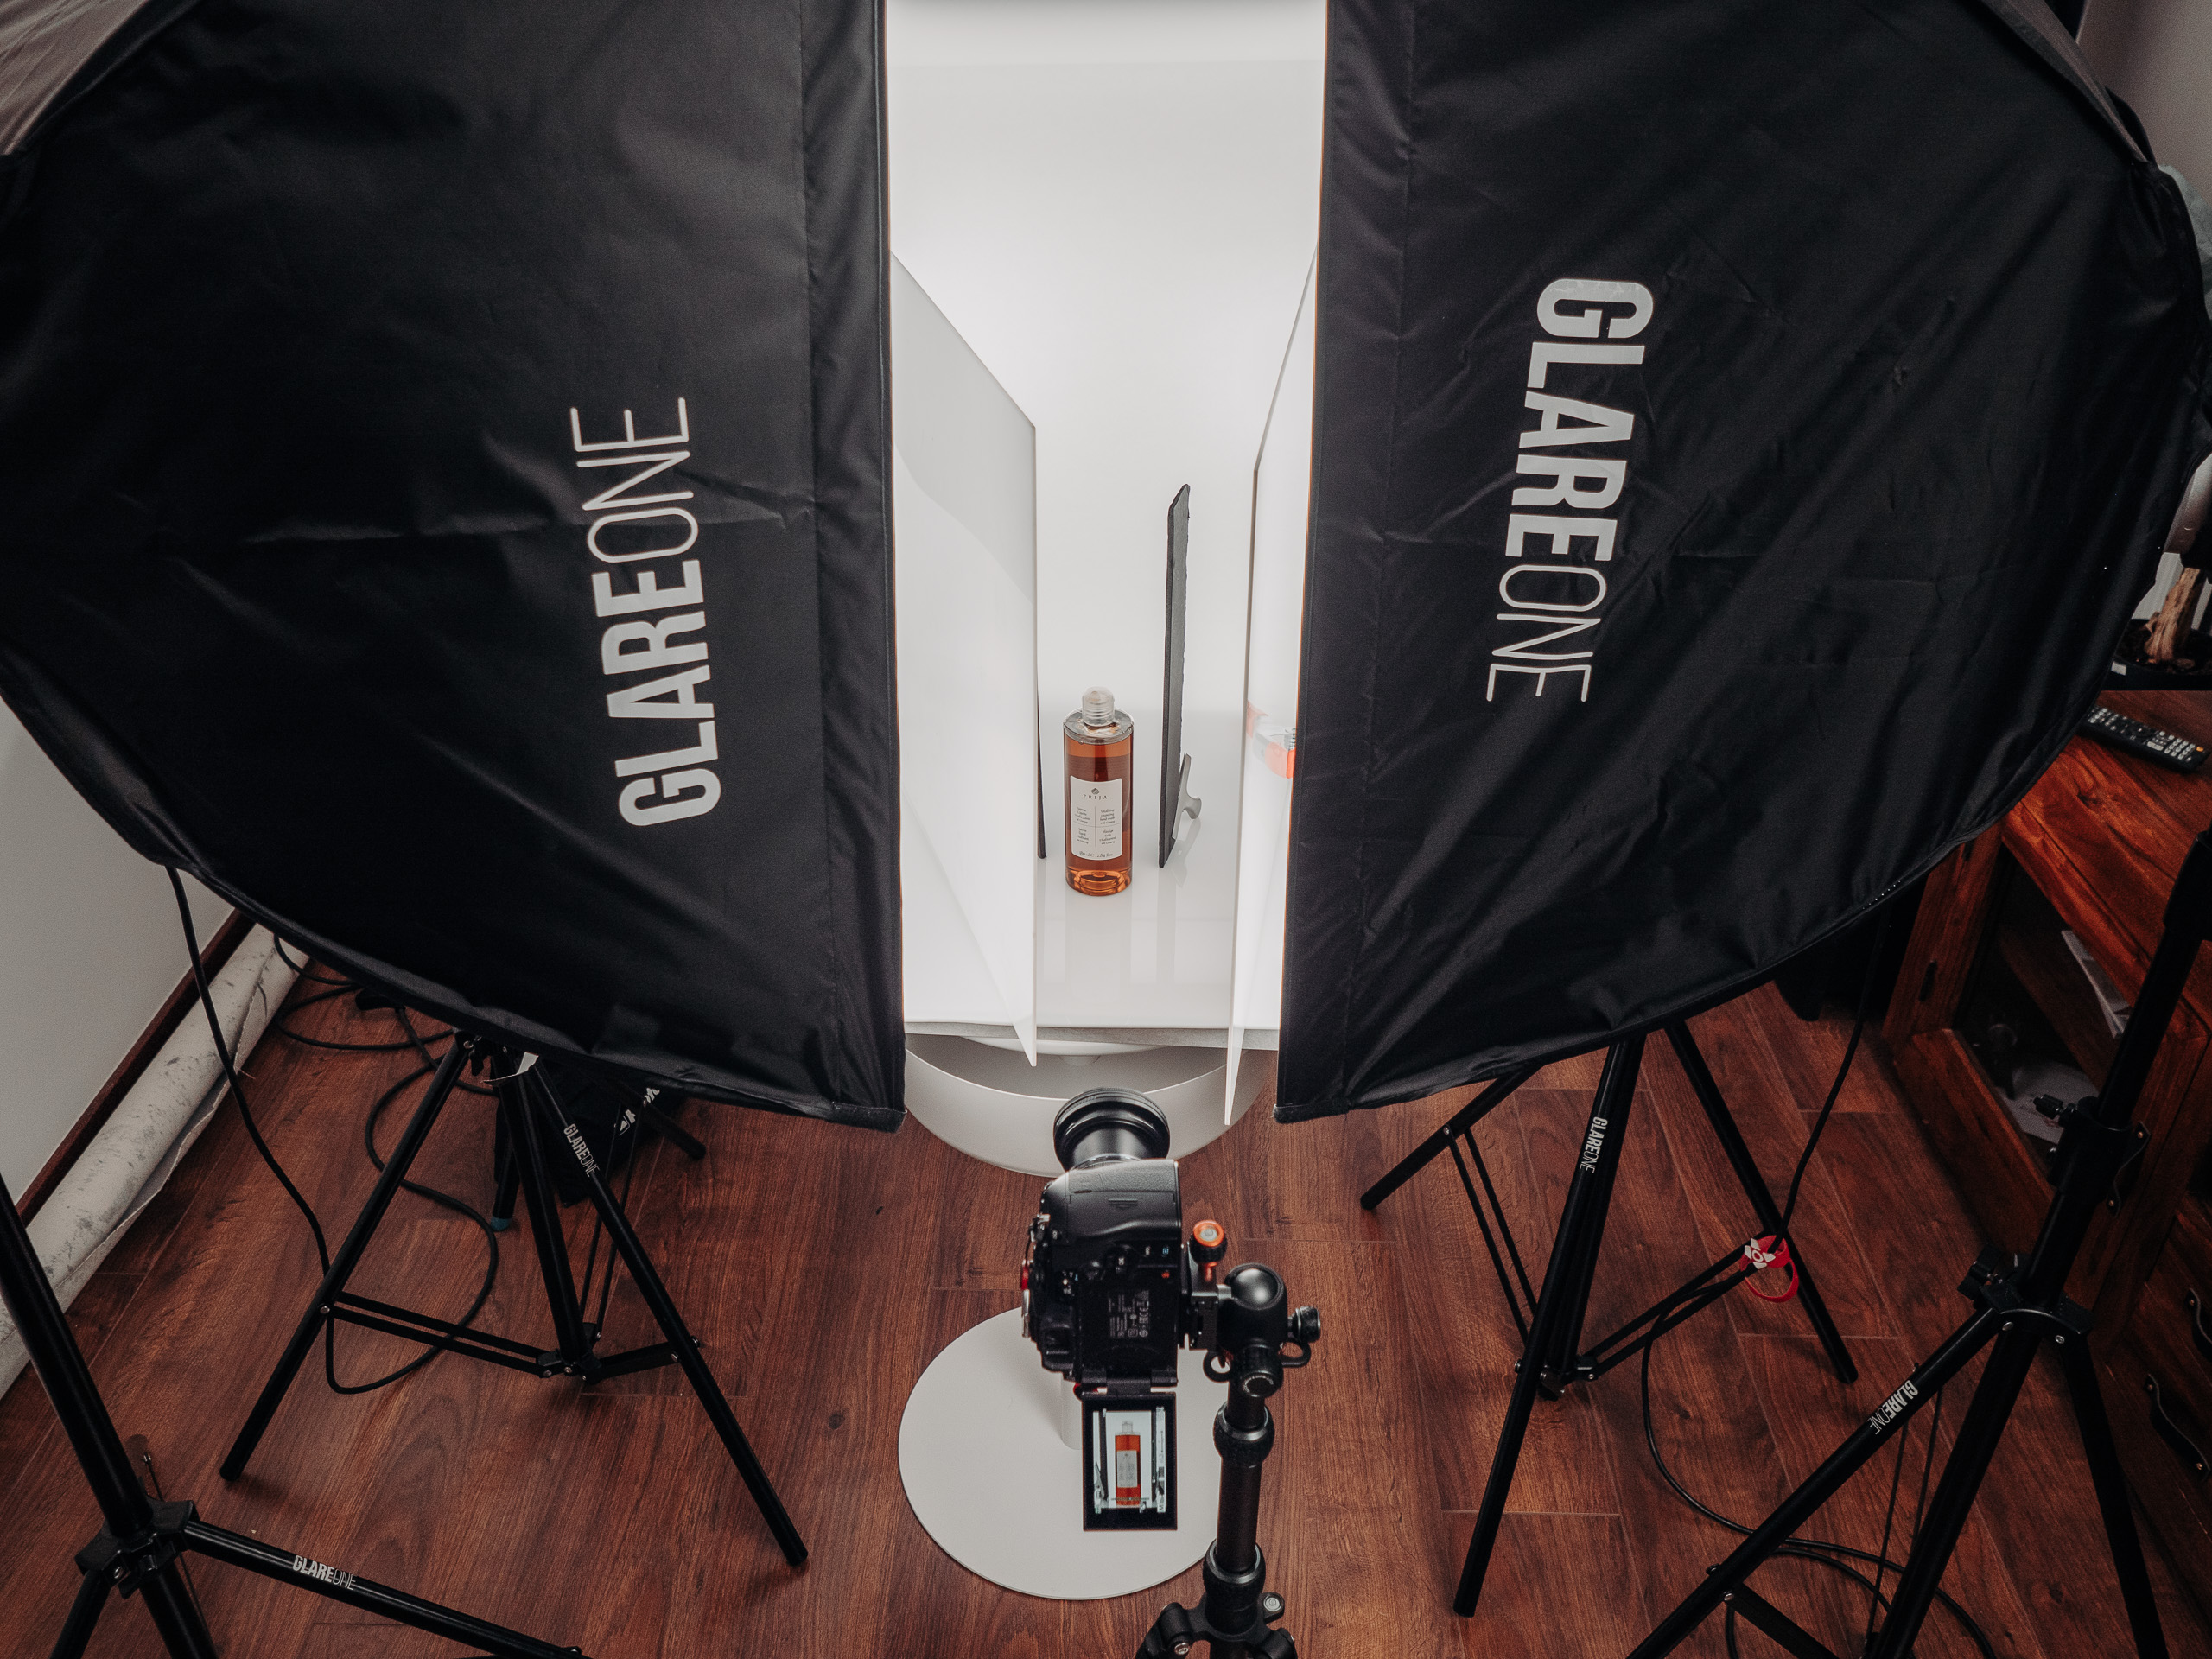
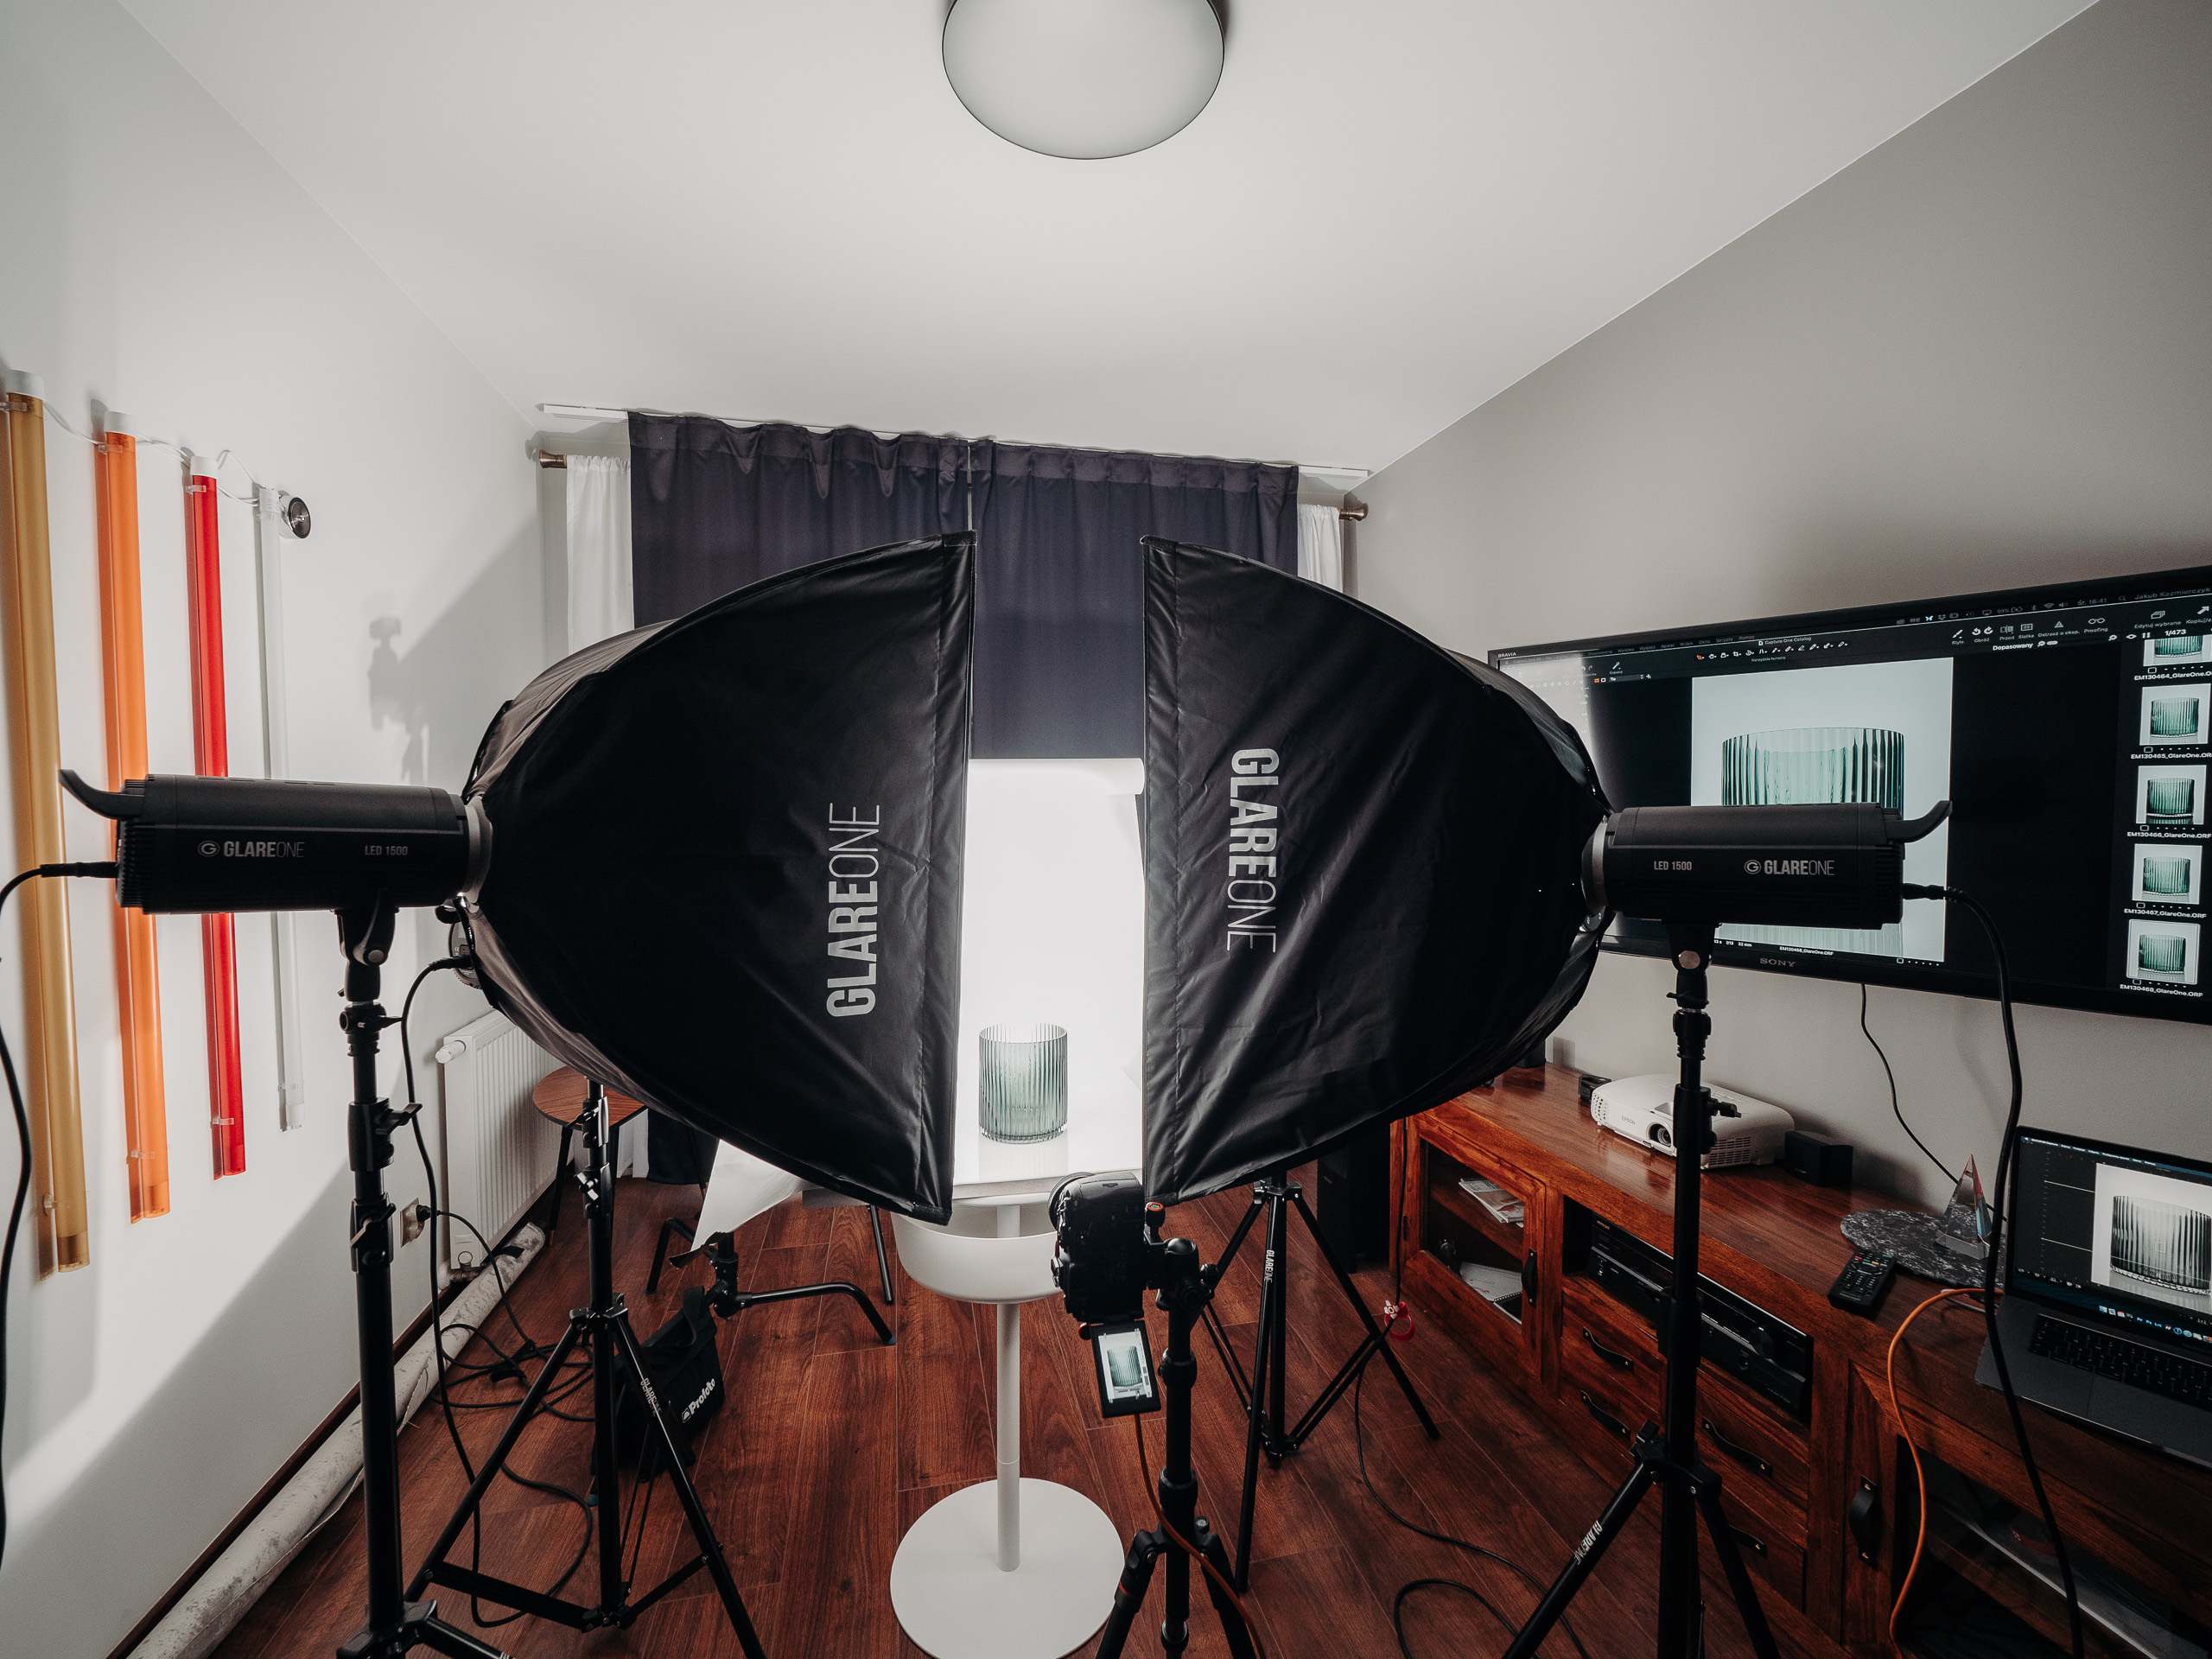
For the photos in the article, I used a total of three GlareOne LED1500 lamps and one GlareOne LED 600D. It is good that the lamps illuminating the product itself are stronger than those illuminating the background, because when the light passes through the diffusion planes, it loses intensity.
Continuous light is incredibly easy to control – what you see on your camera screen is exactly what you’ll get when you press the shutter. Adjusting the power of the lights, the distribution of shadows, and the edge definition is immediately visible, making it very straightforward to set up the lighting correctly. However, you’ll definitely need a tripod because, in product photography for e-commerce, you should maintain a large depth of field, which means you’ll be using apertures around f/8-16. This, in turn, will result in shutter speeds around 1/10-1/60 second. A tripod is essential not only for maintaining consistency between shots but also to avoid any potential camera shake.
For this article, I used GlareOne lights – the LED1500 and LED600D. The LED1500 has a power of 150 watts, which translates to an equivalent light output of a 1500-watt halogen – that’s quite a lot. You can use two of these lights to illuminate the product, fitting them with softboxes, which significantly diffuse the light. For the background, you can effectively use LED600D lights with standard reflectors – this setup provides more light, making the 60 watts of power sufficient.
Which camera to use for product photography?
The camera itself isn’t extremely critical in product photography. The key is to have a camera with interchangeable lenses, as the lens plays a much more significant role. What should you look for when choosing a camera? From my perspective, the most important features are a tilting screen (to the sides, not just up/down) and tethering. Both features greatly streamline the workflow and help avoid back pain. During my shoots, I have tethering enabled to Capture One with highlight clipping set to 250, allowing me to see if the exposure is correct immediately after taking the shot.
As mentioned, the lens is far more significant, although much depends on the products being photographed. If you’re shooting larger products, even a “kit” lens will suffice. At f/8-16, it provides decent quality, and the range of 18-55/14-42/28-70 mm is entirely adequate. However, if you want to take it a step further, it’s worth investing in a higher-end lens. Lenses like 12-40 mm f/2.8, 17-55 mm f/2.8, 24-70 mm f/2.8, or 12-100 mm f/4, 24-105 mm f/4 are excellent choices. They offer much better quality than the cheapest ones included with the camera, have a shorter focusing distance, and better-corrected optical aberrations.
If you are photographing small products, a macro lens is an excellent choice. Most macro lenses offer very good quality across the entire frame and, most importantly, allow you to get very close to the photographed object, which is very useful when shooting details. For this article, I used Olympus 12-40 mm f/2.8 Pro and 60 mm f/2.8 Macro lenses on an Olympus OM-D E-M1 Mark III camera.
Working with continuous light, our settings are adjusted slightly differently than with flash. I adjusted the aperture within the range of f/8-16, set the ISO to the lowest native setting, which is 200, and the shutter speed ranged between 1/80 and 1/13 seconds, depending on the product, aperture, and whether I had a polarizing filter on.
The GlareOne LED600D lamp illuminating the background was set to 100%, the GlareOne LED1500 for the background was at 35%, while the GlareOne LED1500 lamps in the softboxes were mostly at 100% power. Let’s take a look at some examples.
Product photography – portuguese rooster
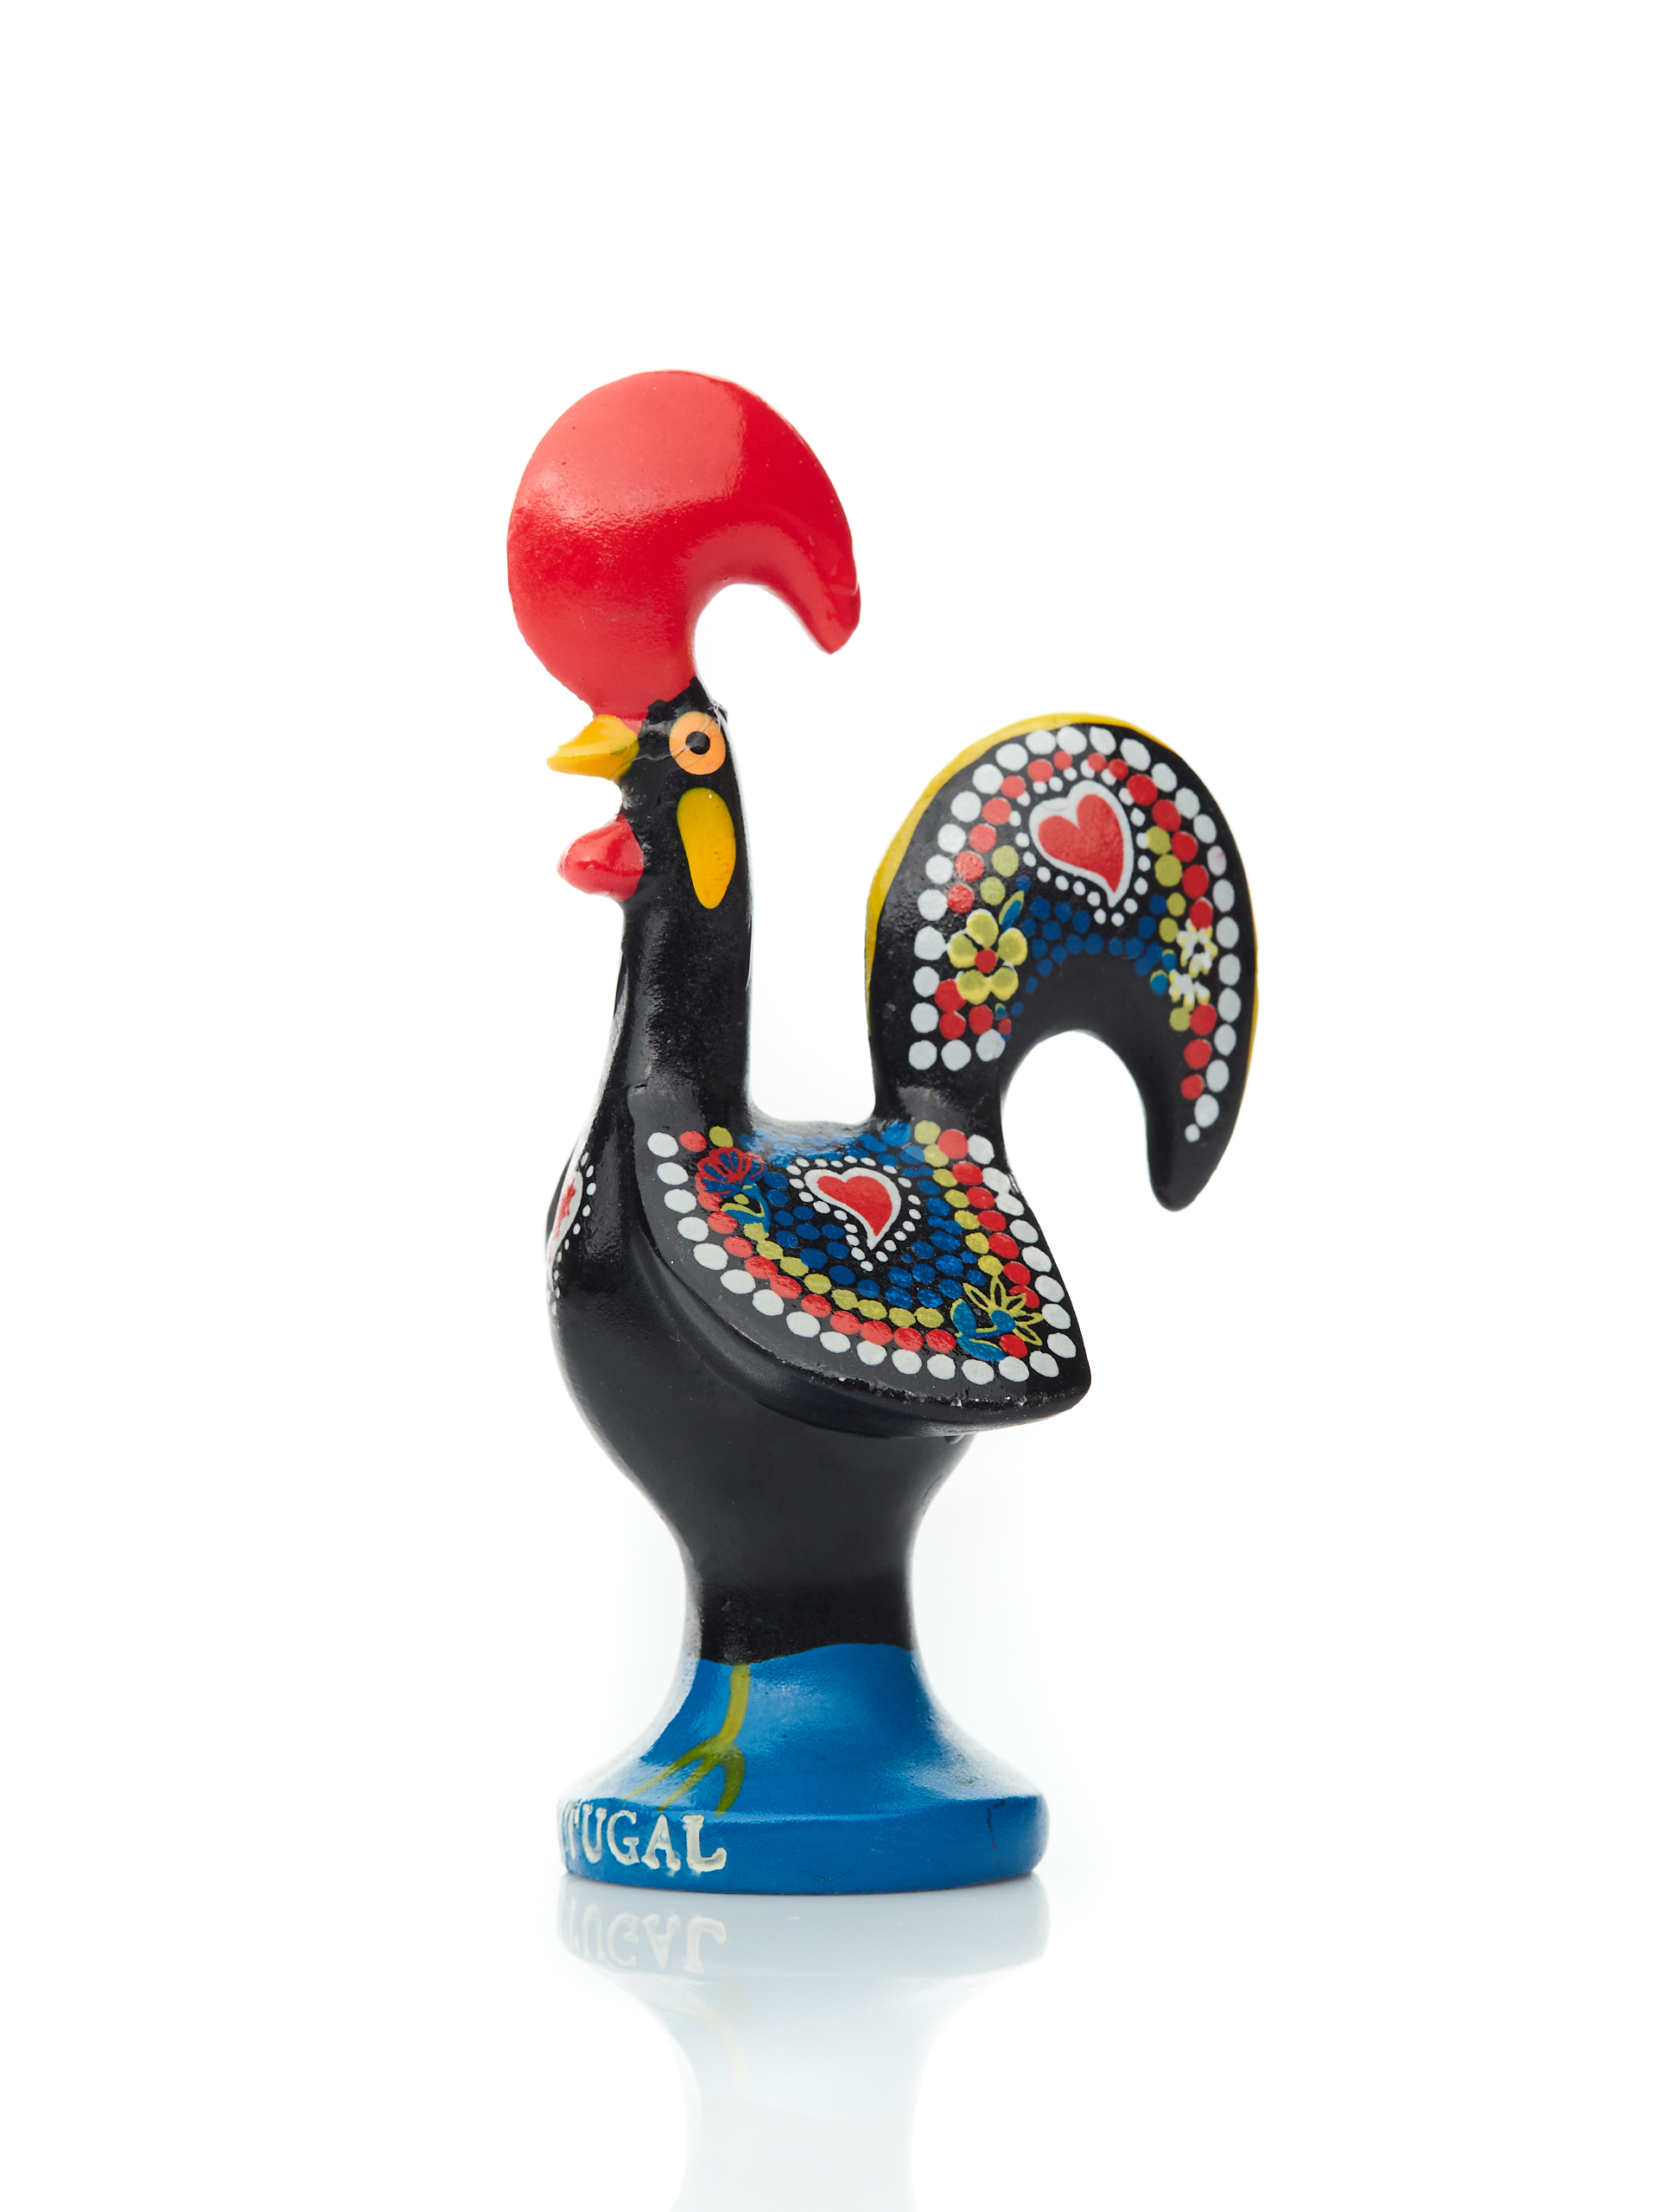
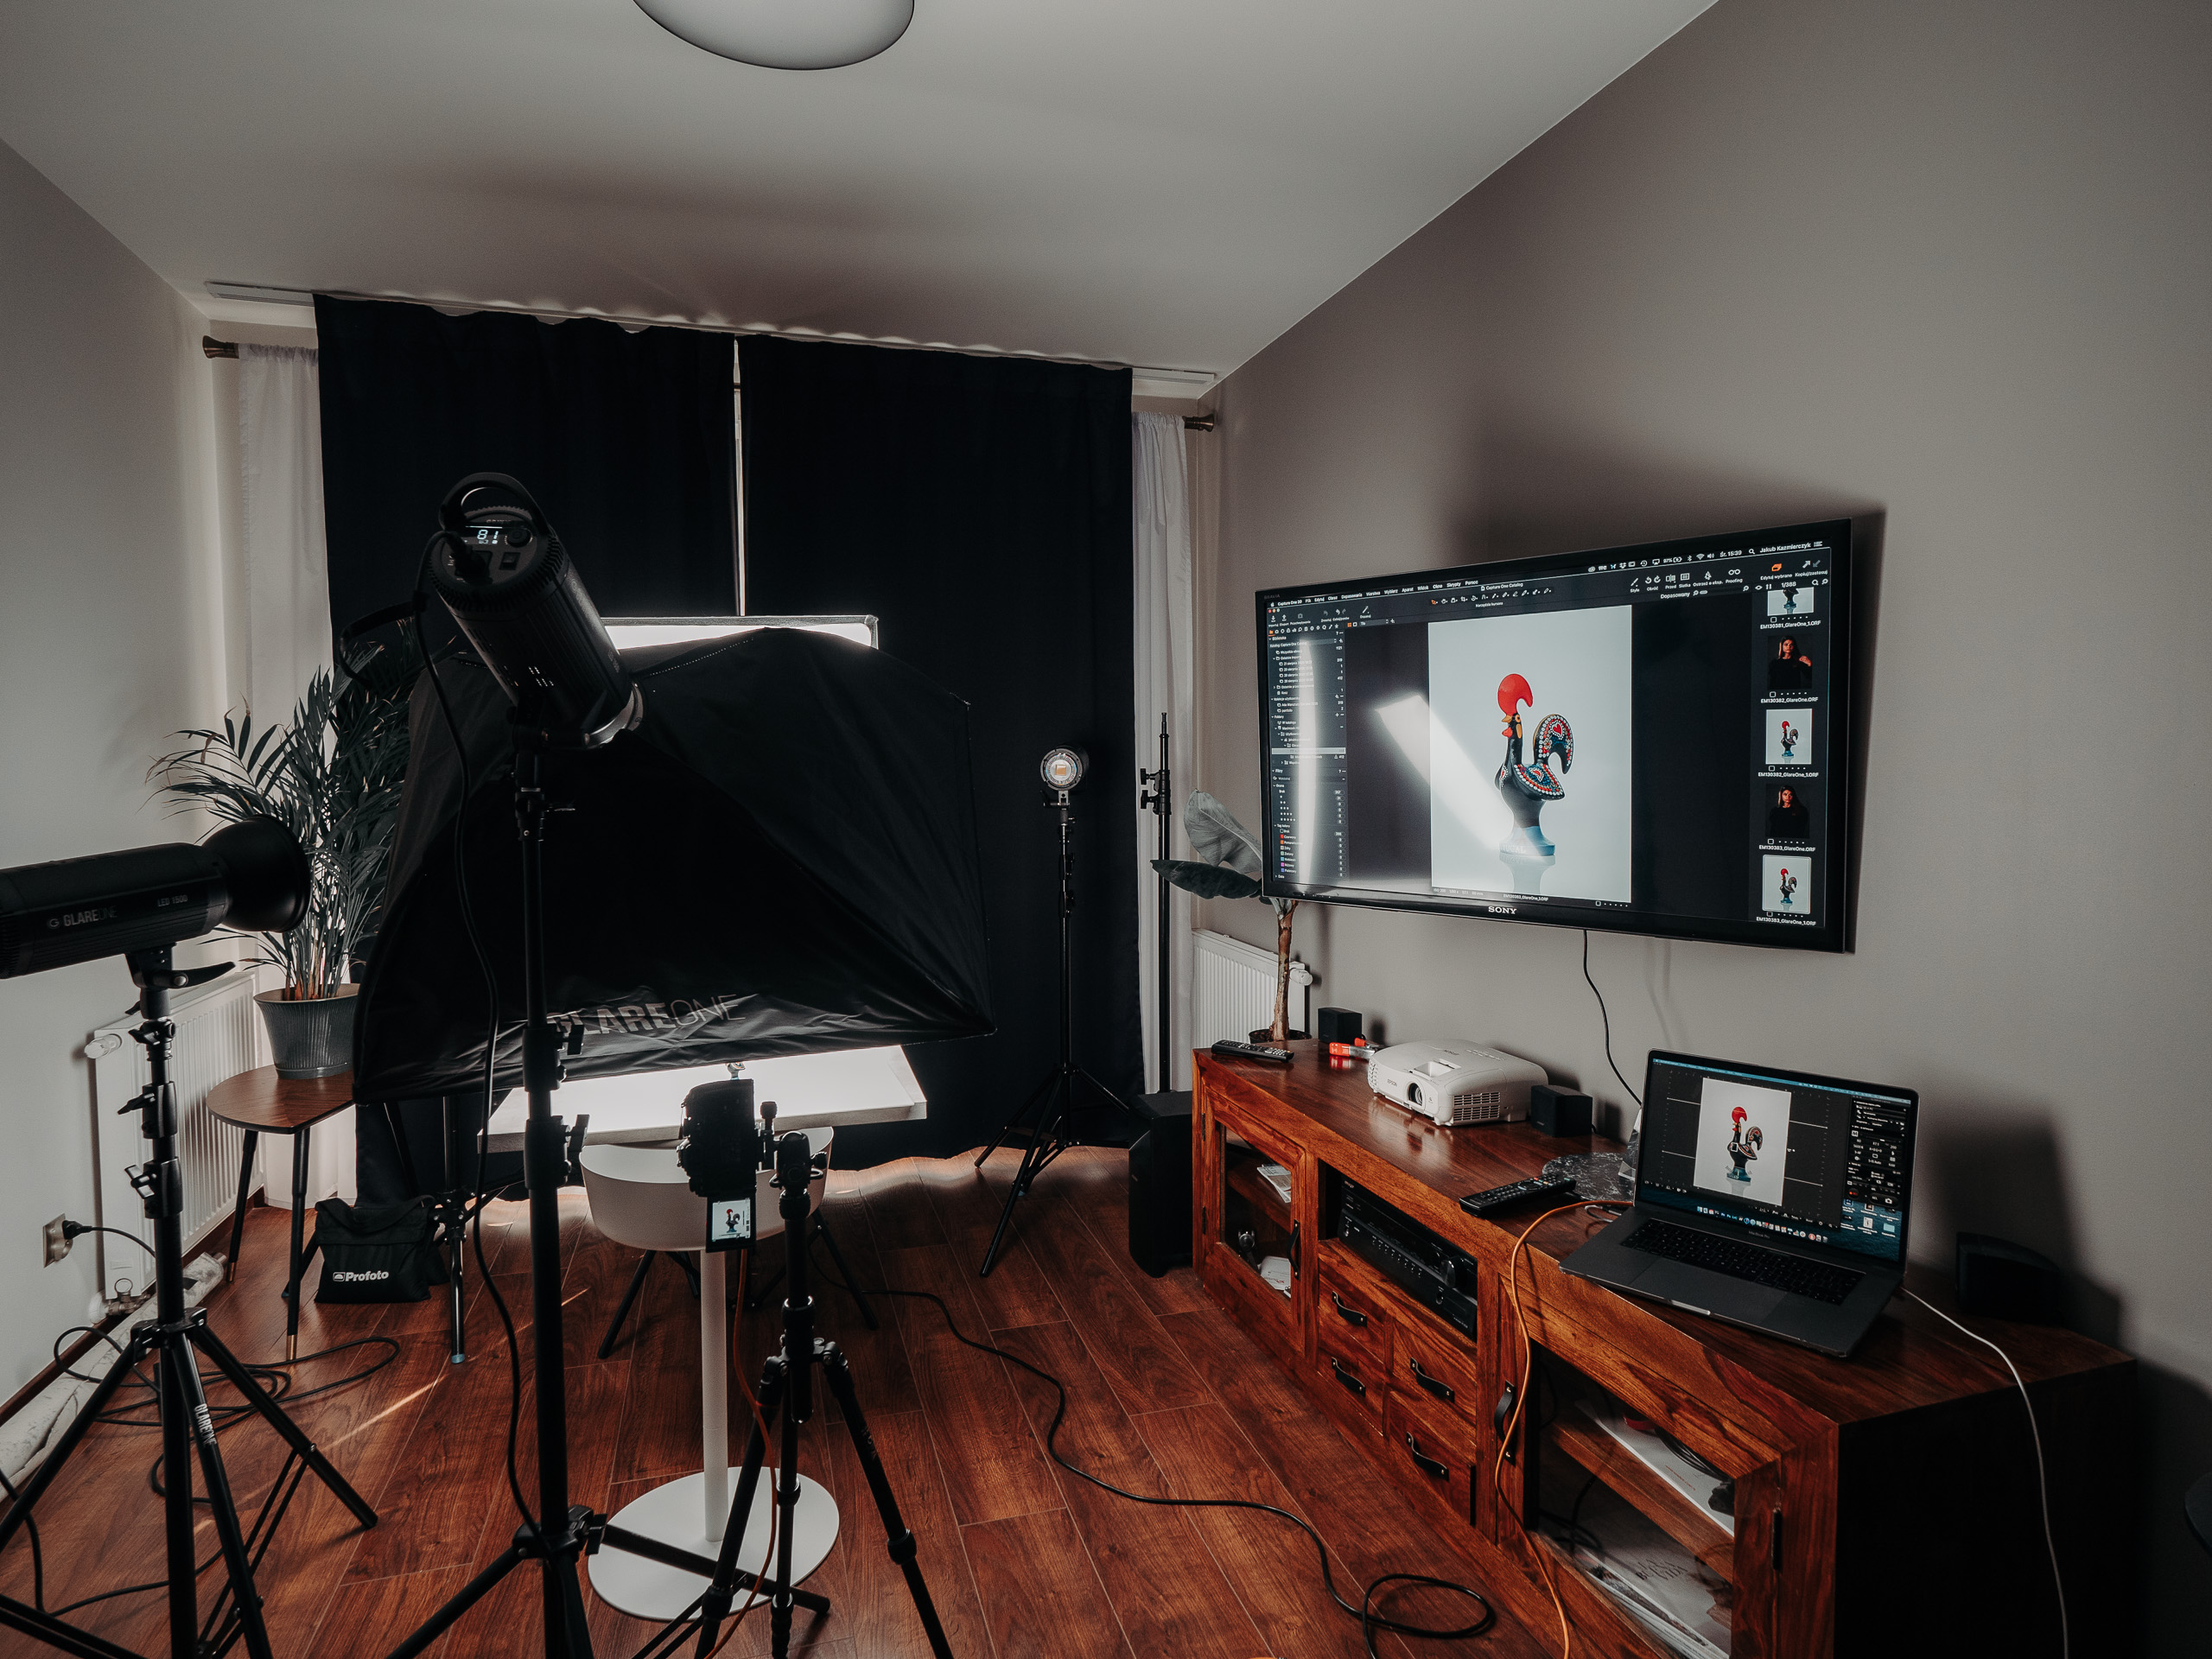
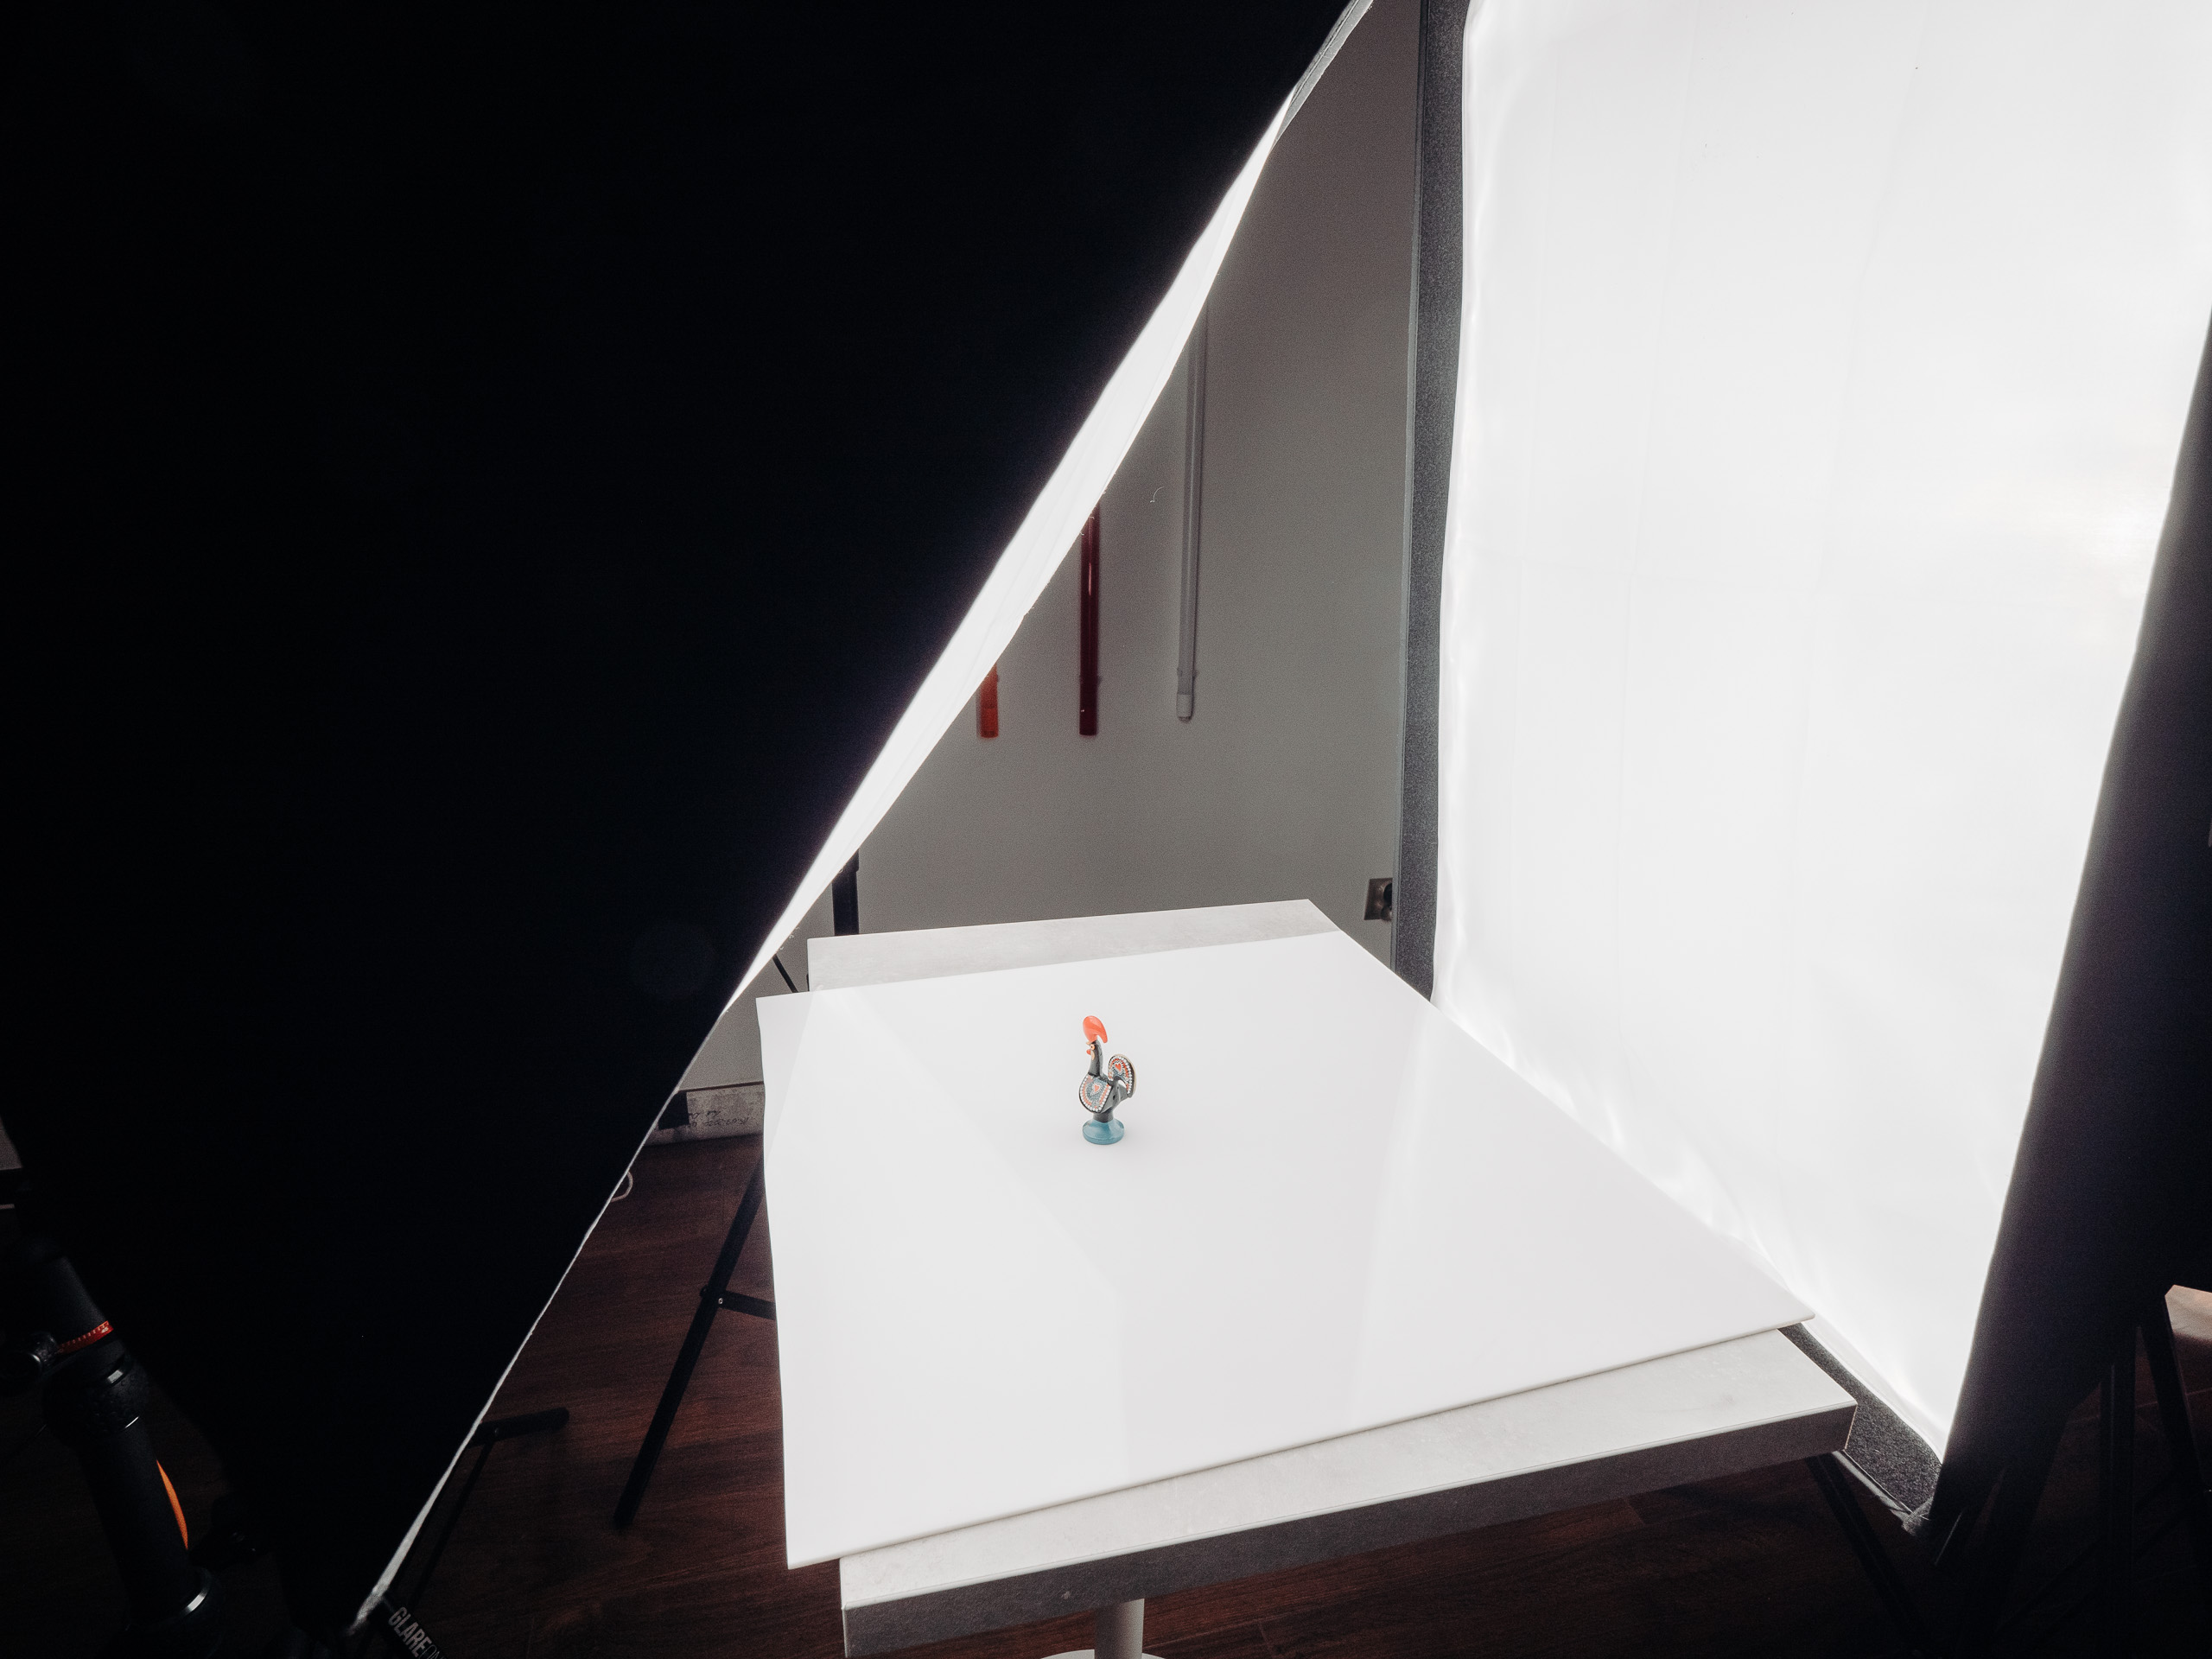
I started with a small, relatively easy-to-photograph product. Due to its size, I could use only two lights, opting for the GlareOne LED1500 model. Both lights were equipped with 60×90 cm softboxes. I placed the rooster on a sheet of white plexiglass, which provided an aesthetically pleasing reflection. The background was created using the softbox itself, resulting in a perfectly white background. I positioned the second light above the rooster. For such a small product, the lighting was sufficient, and thanks to the placement of the light, the entire product was evenly illuminated. The photo was very straightforward to take.
Product photography – Bluetooth speaker
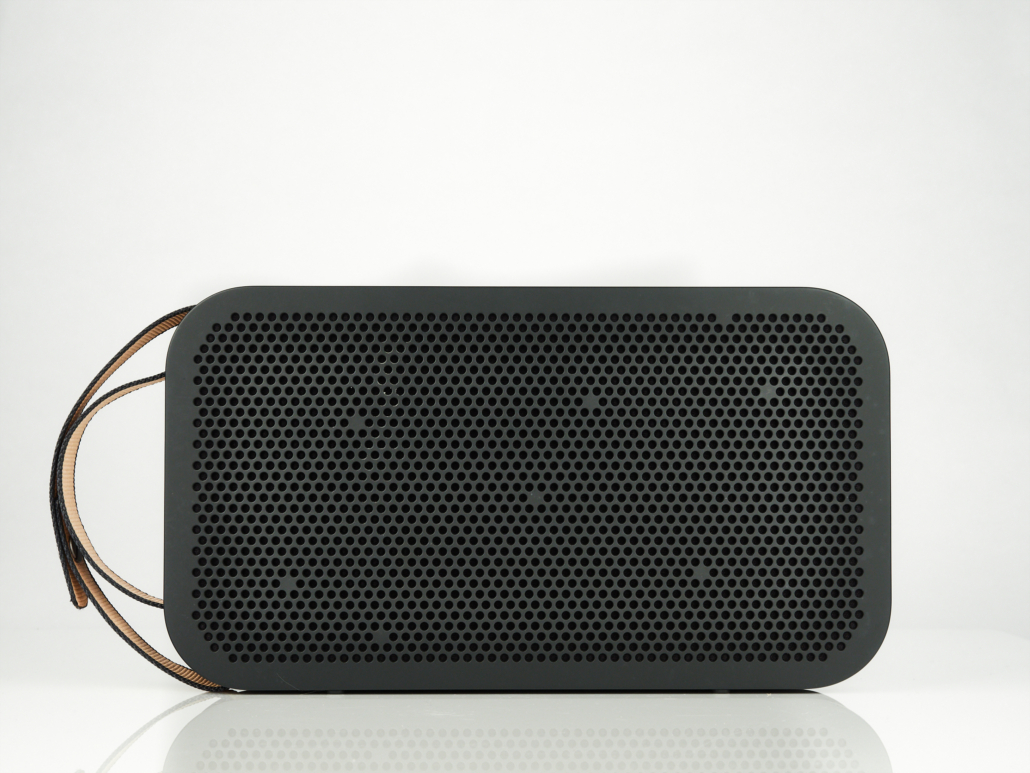
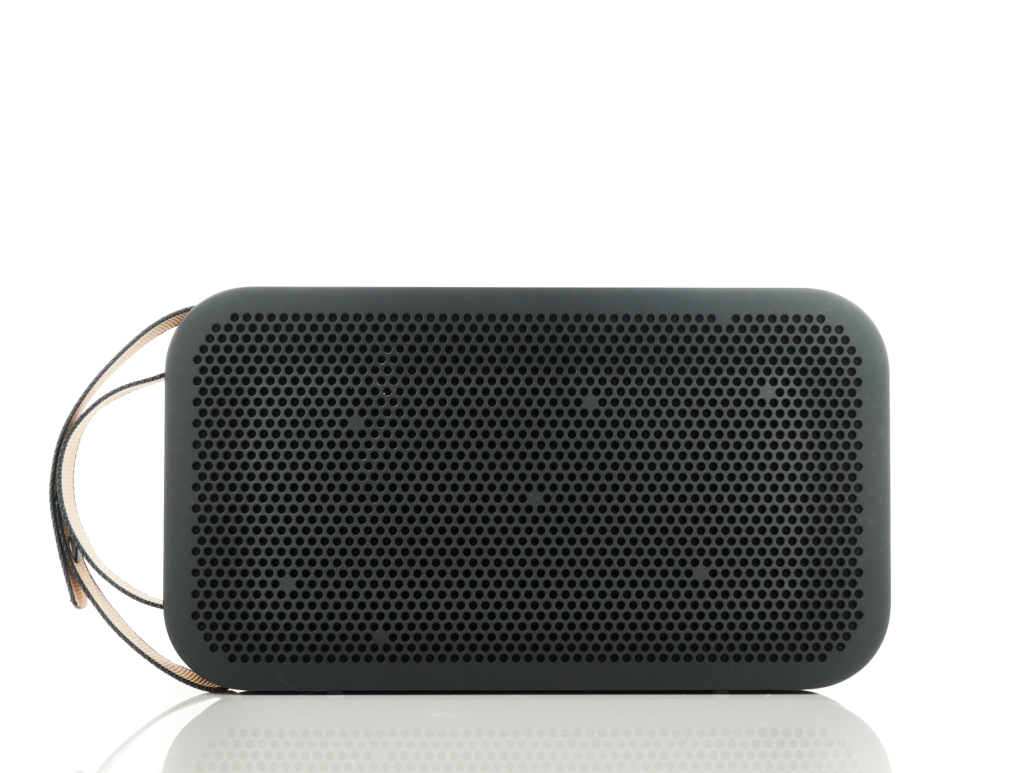
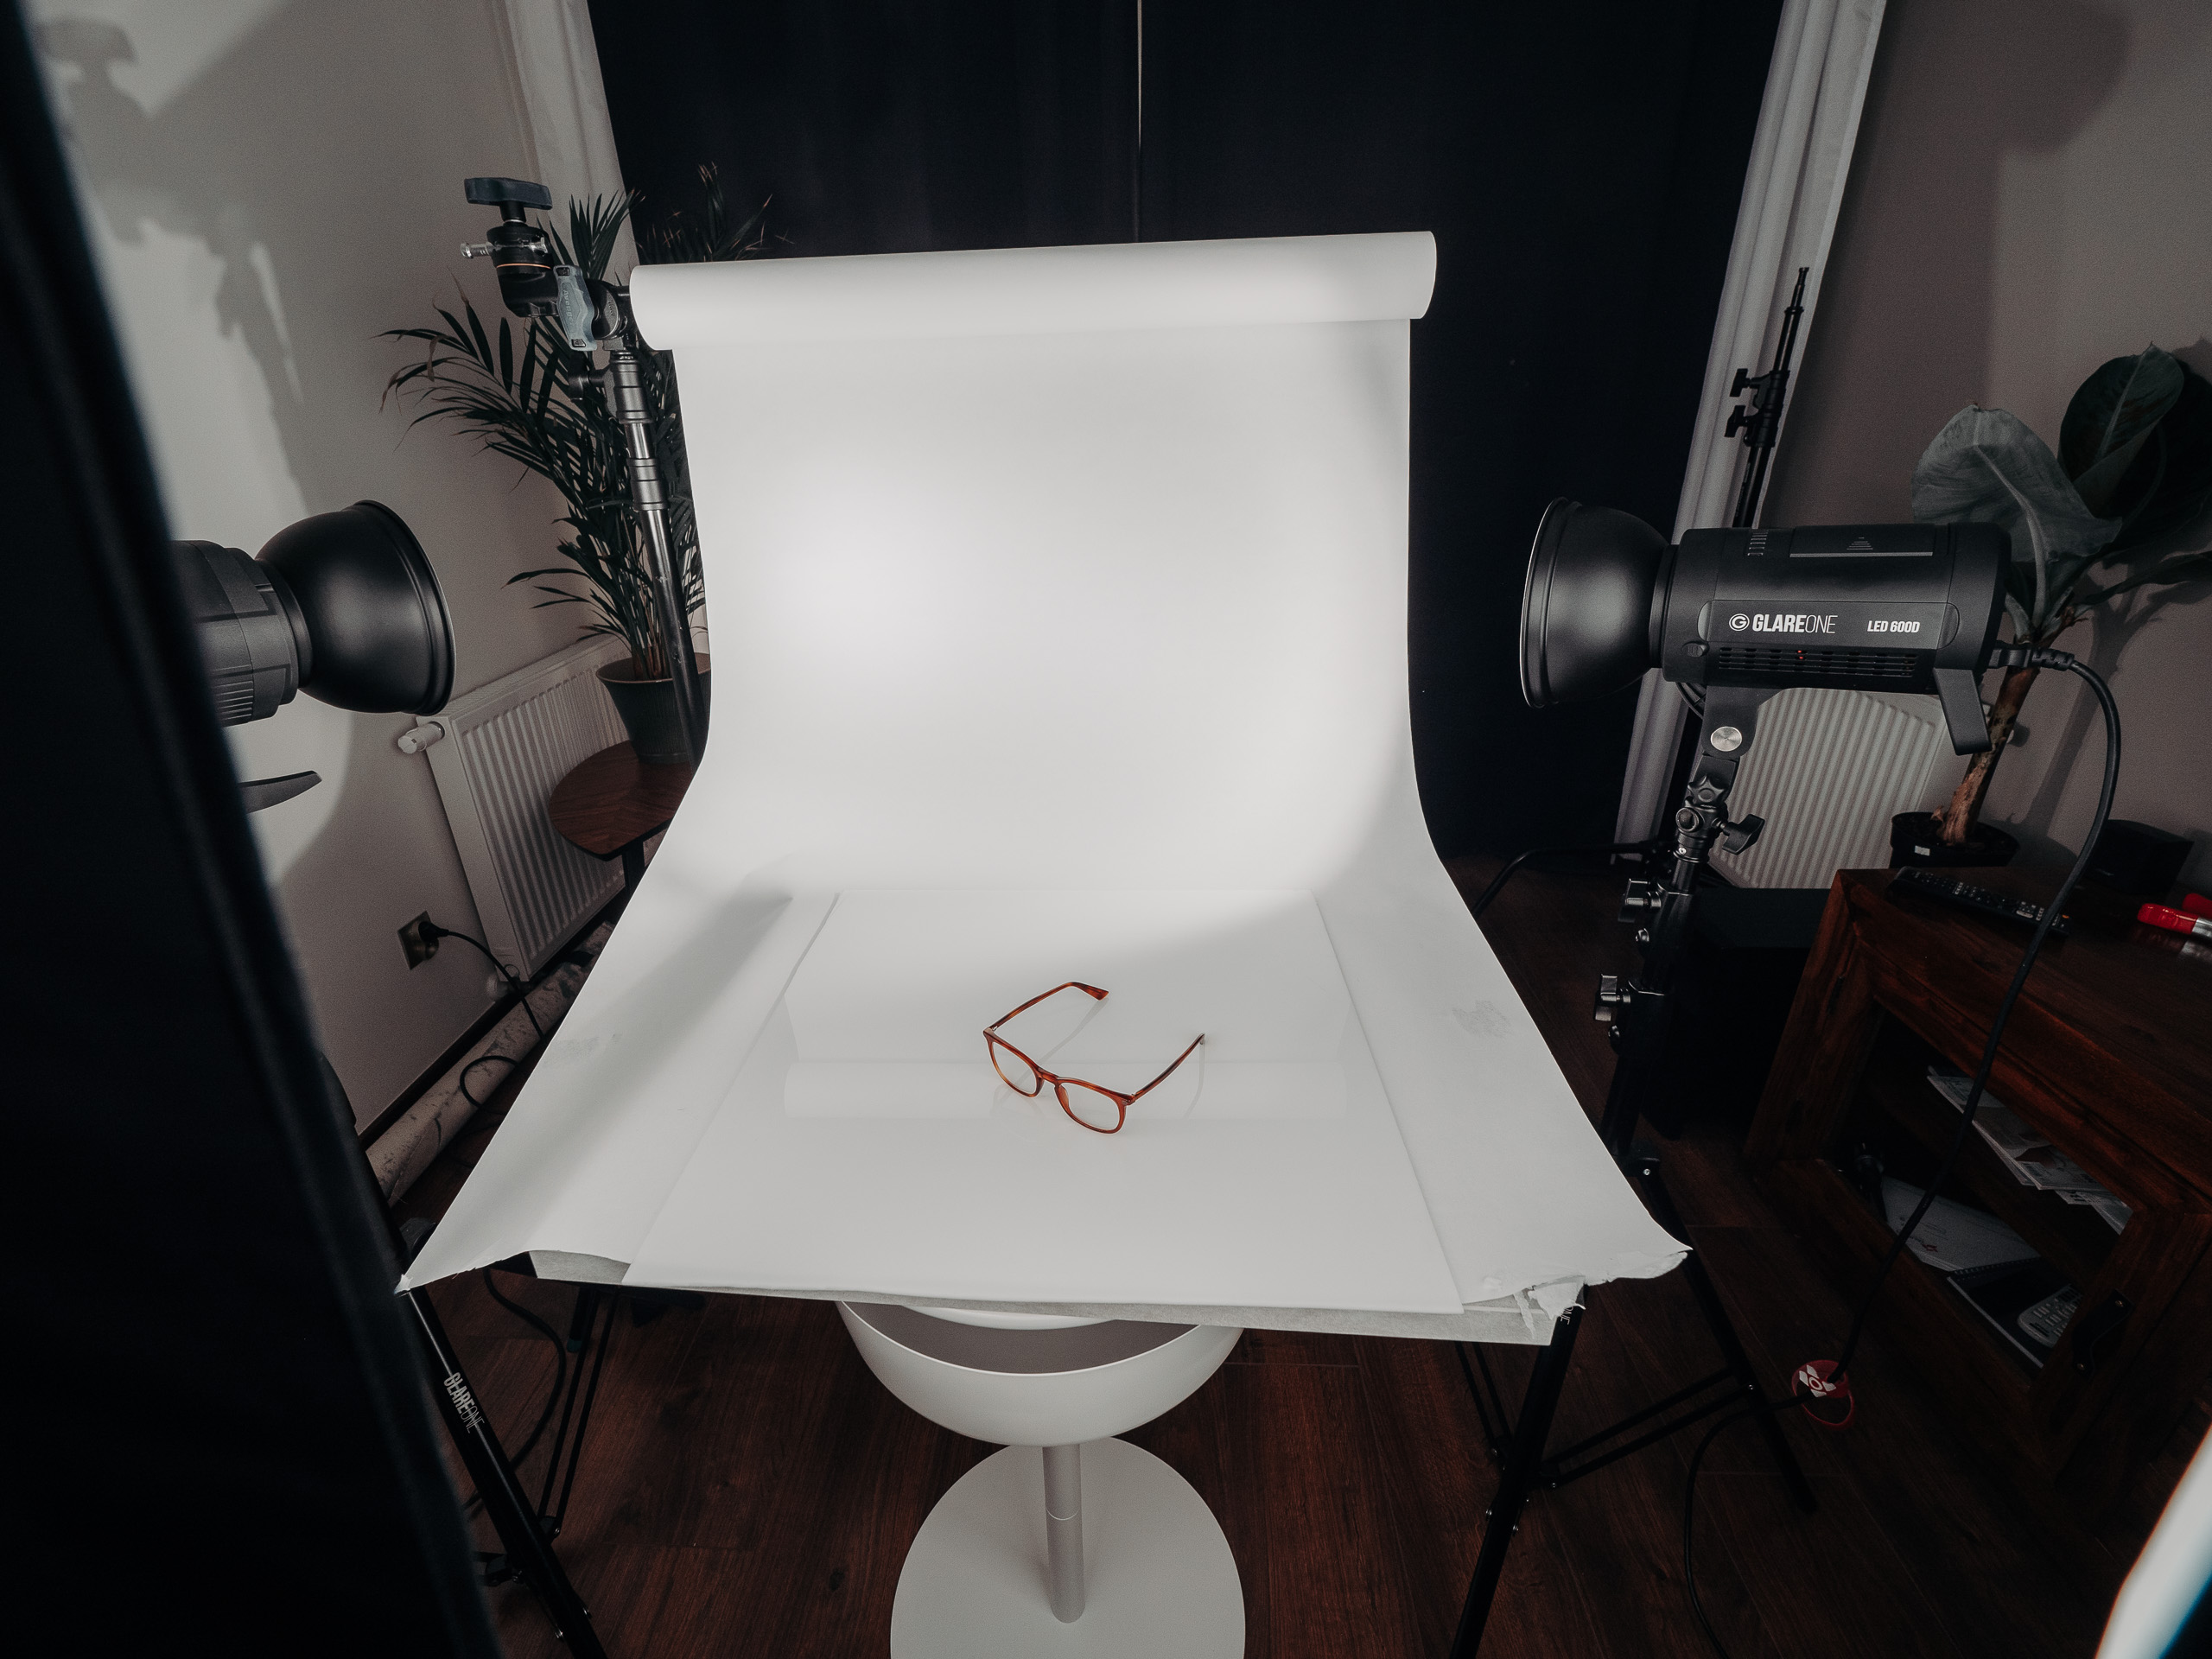
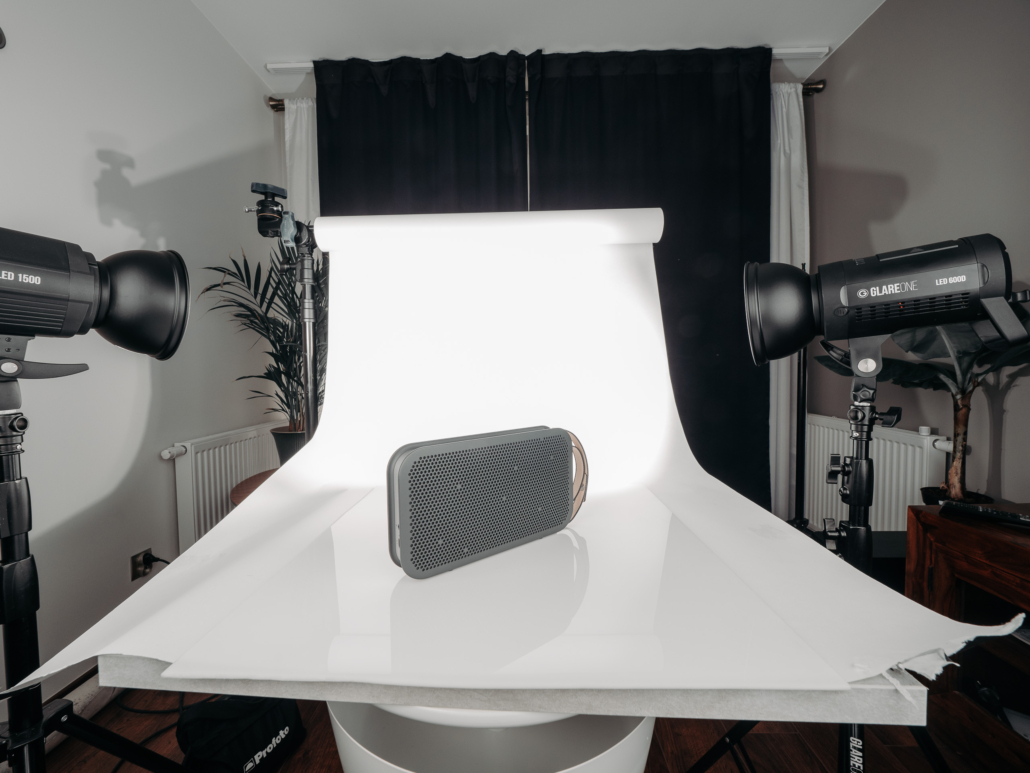
For photographing the next product, the entire setup changed significantly. Two lights were no longer sufficient, and I needed a bit more space for the lens to capture the entire product. I hung the background on a stand, using a regular roll of plotter paper. You can purchase a roll one meter wide and 50 meters long for about 60 PLN. The background should be slightly set back from the product itself to independently light the product and the background. The light from the lamps on the background should not spill onto the product, and the line of light/shadow should start just behind the product, as shown in the photo below. This prevents issues with overexposure of the further parts of the photographed object and avoids a darker area behind the product.
In this photo you can see that the light from the lamps onto the background does not directly touch the product being photographed, but begins just behind it. Even though there are glasses in the photo, I also used exactly the same tactic with the speaker.
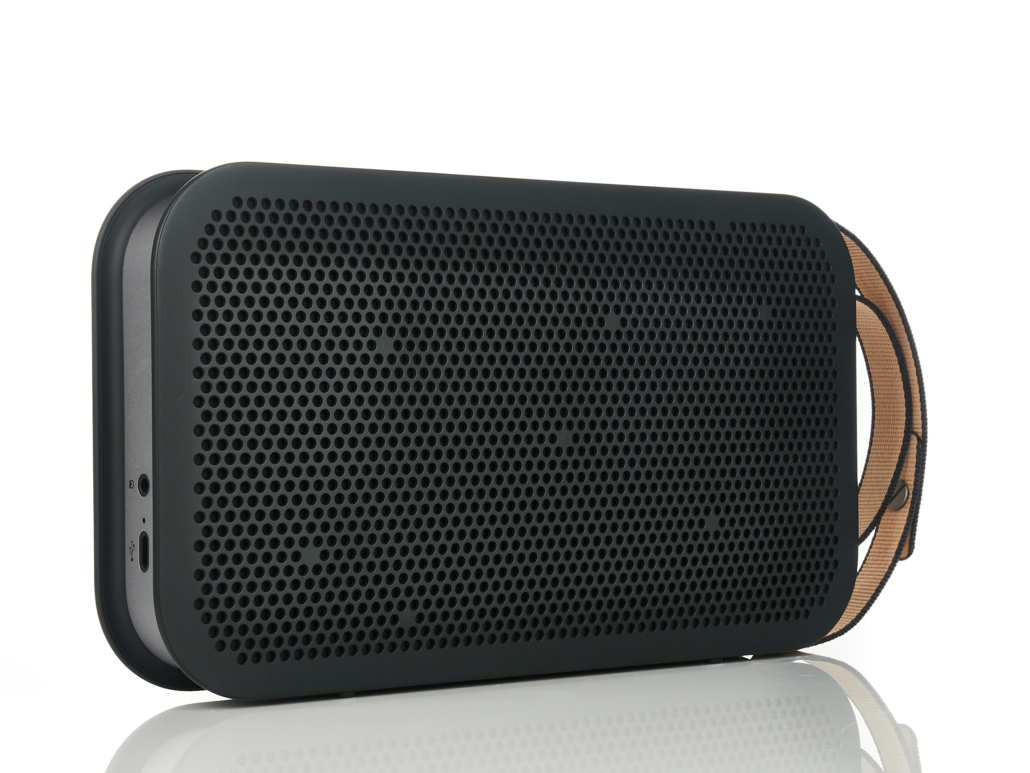
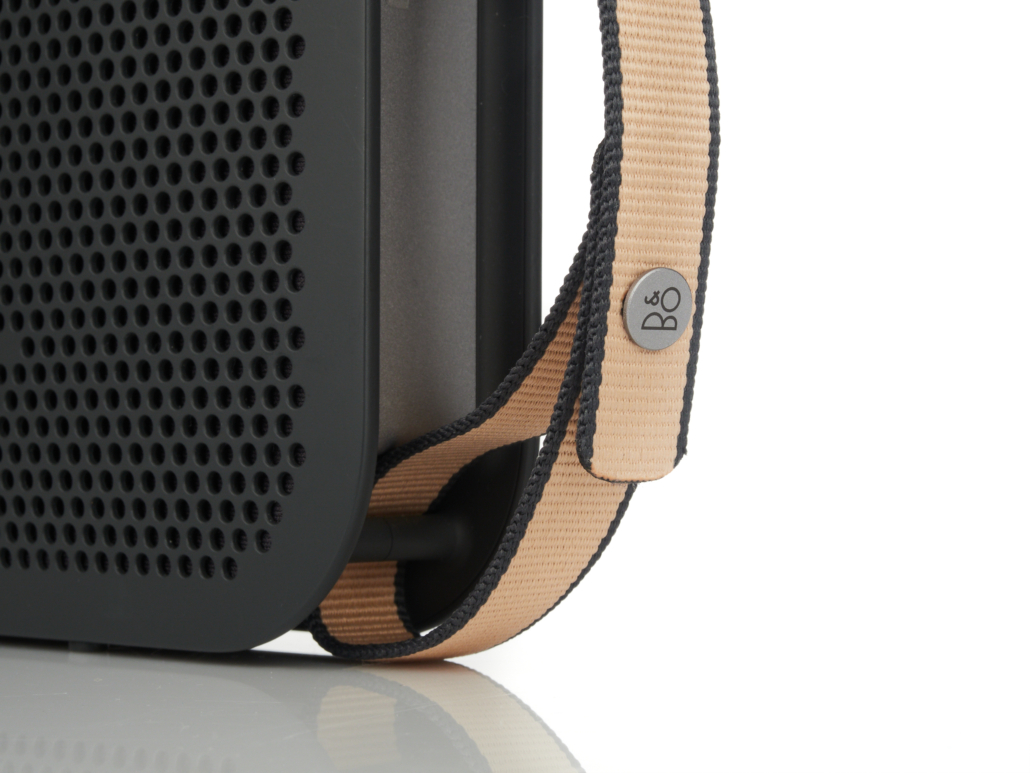
I positioned the main lights, GlareOne LED1500, on both sides of the product. Each had a 60×90 cm softbox attached, ensuring very even lighting on the product, showcasing it effectively. In this type of photography, you shouldn’t play too much with shadows – the photos should faithfully represent what you’re selling. Since the product had a matte finish, there was no need for any barn doors or a polarizing filter. It’s worth mentioning that the speaker looks slightly different from each side. It has distinctive elements, so it was necessary to showcase them in the photos from various angles and pay attention to details. When photographing details, you can afford a slight background blur, but forget about f/1.4 – I used f/8, which, with a close-up shot, still blurs the background significantly while keeping the product clear.
Product photography – glasses
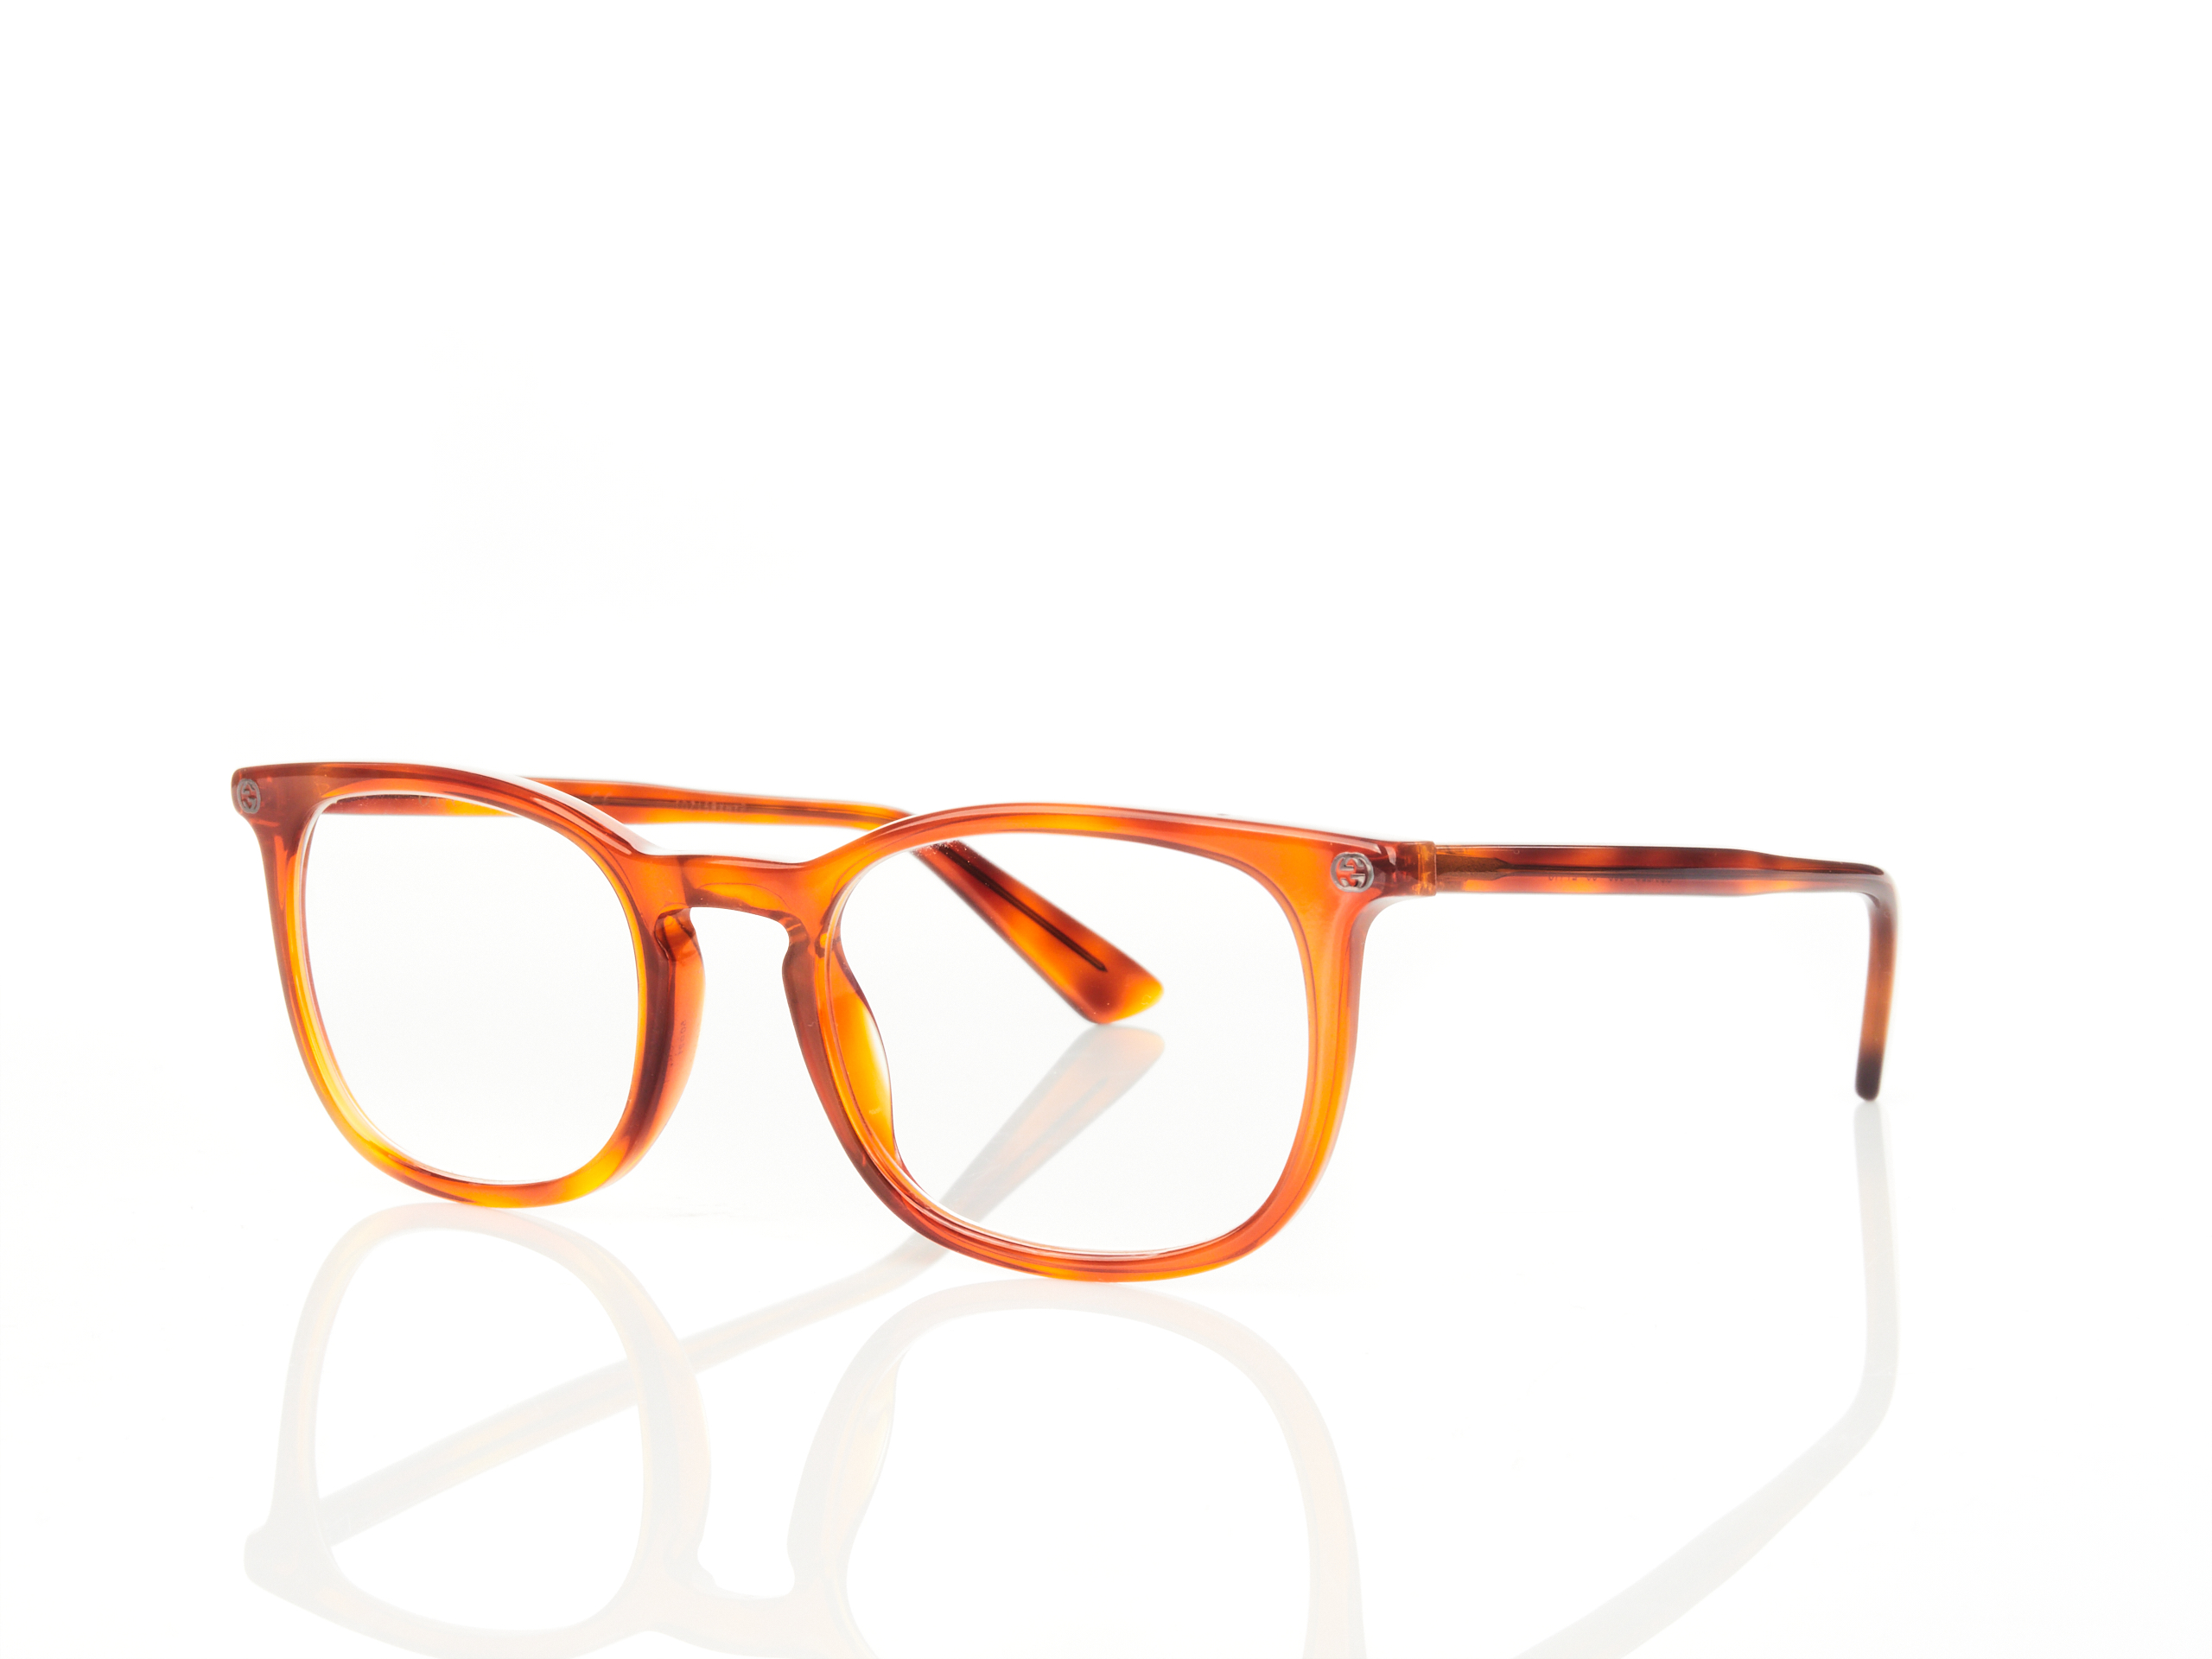
Photographing glasses may seem challenging, but with a smart approach, it shouldn’t cause you much trouble. In this case, you need to position the glasses in a way that avoids direct reflections of the softbox in the lenses. First, set up the glasses in the frame to your liking. If you see strong reflections in the lenses, manipulate the lamp so that the softbox simply exits the reflection. However, if you can’t achieve the desired results, try using a polarizing filter. It should at least partially eliminate the reflection.
When photographing glasses, I didn’t change the lighting setup – two lamps still illuminated the background, while two more with softboxes were directed at the product.
Taming reflections in product photography
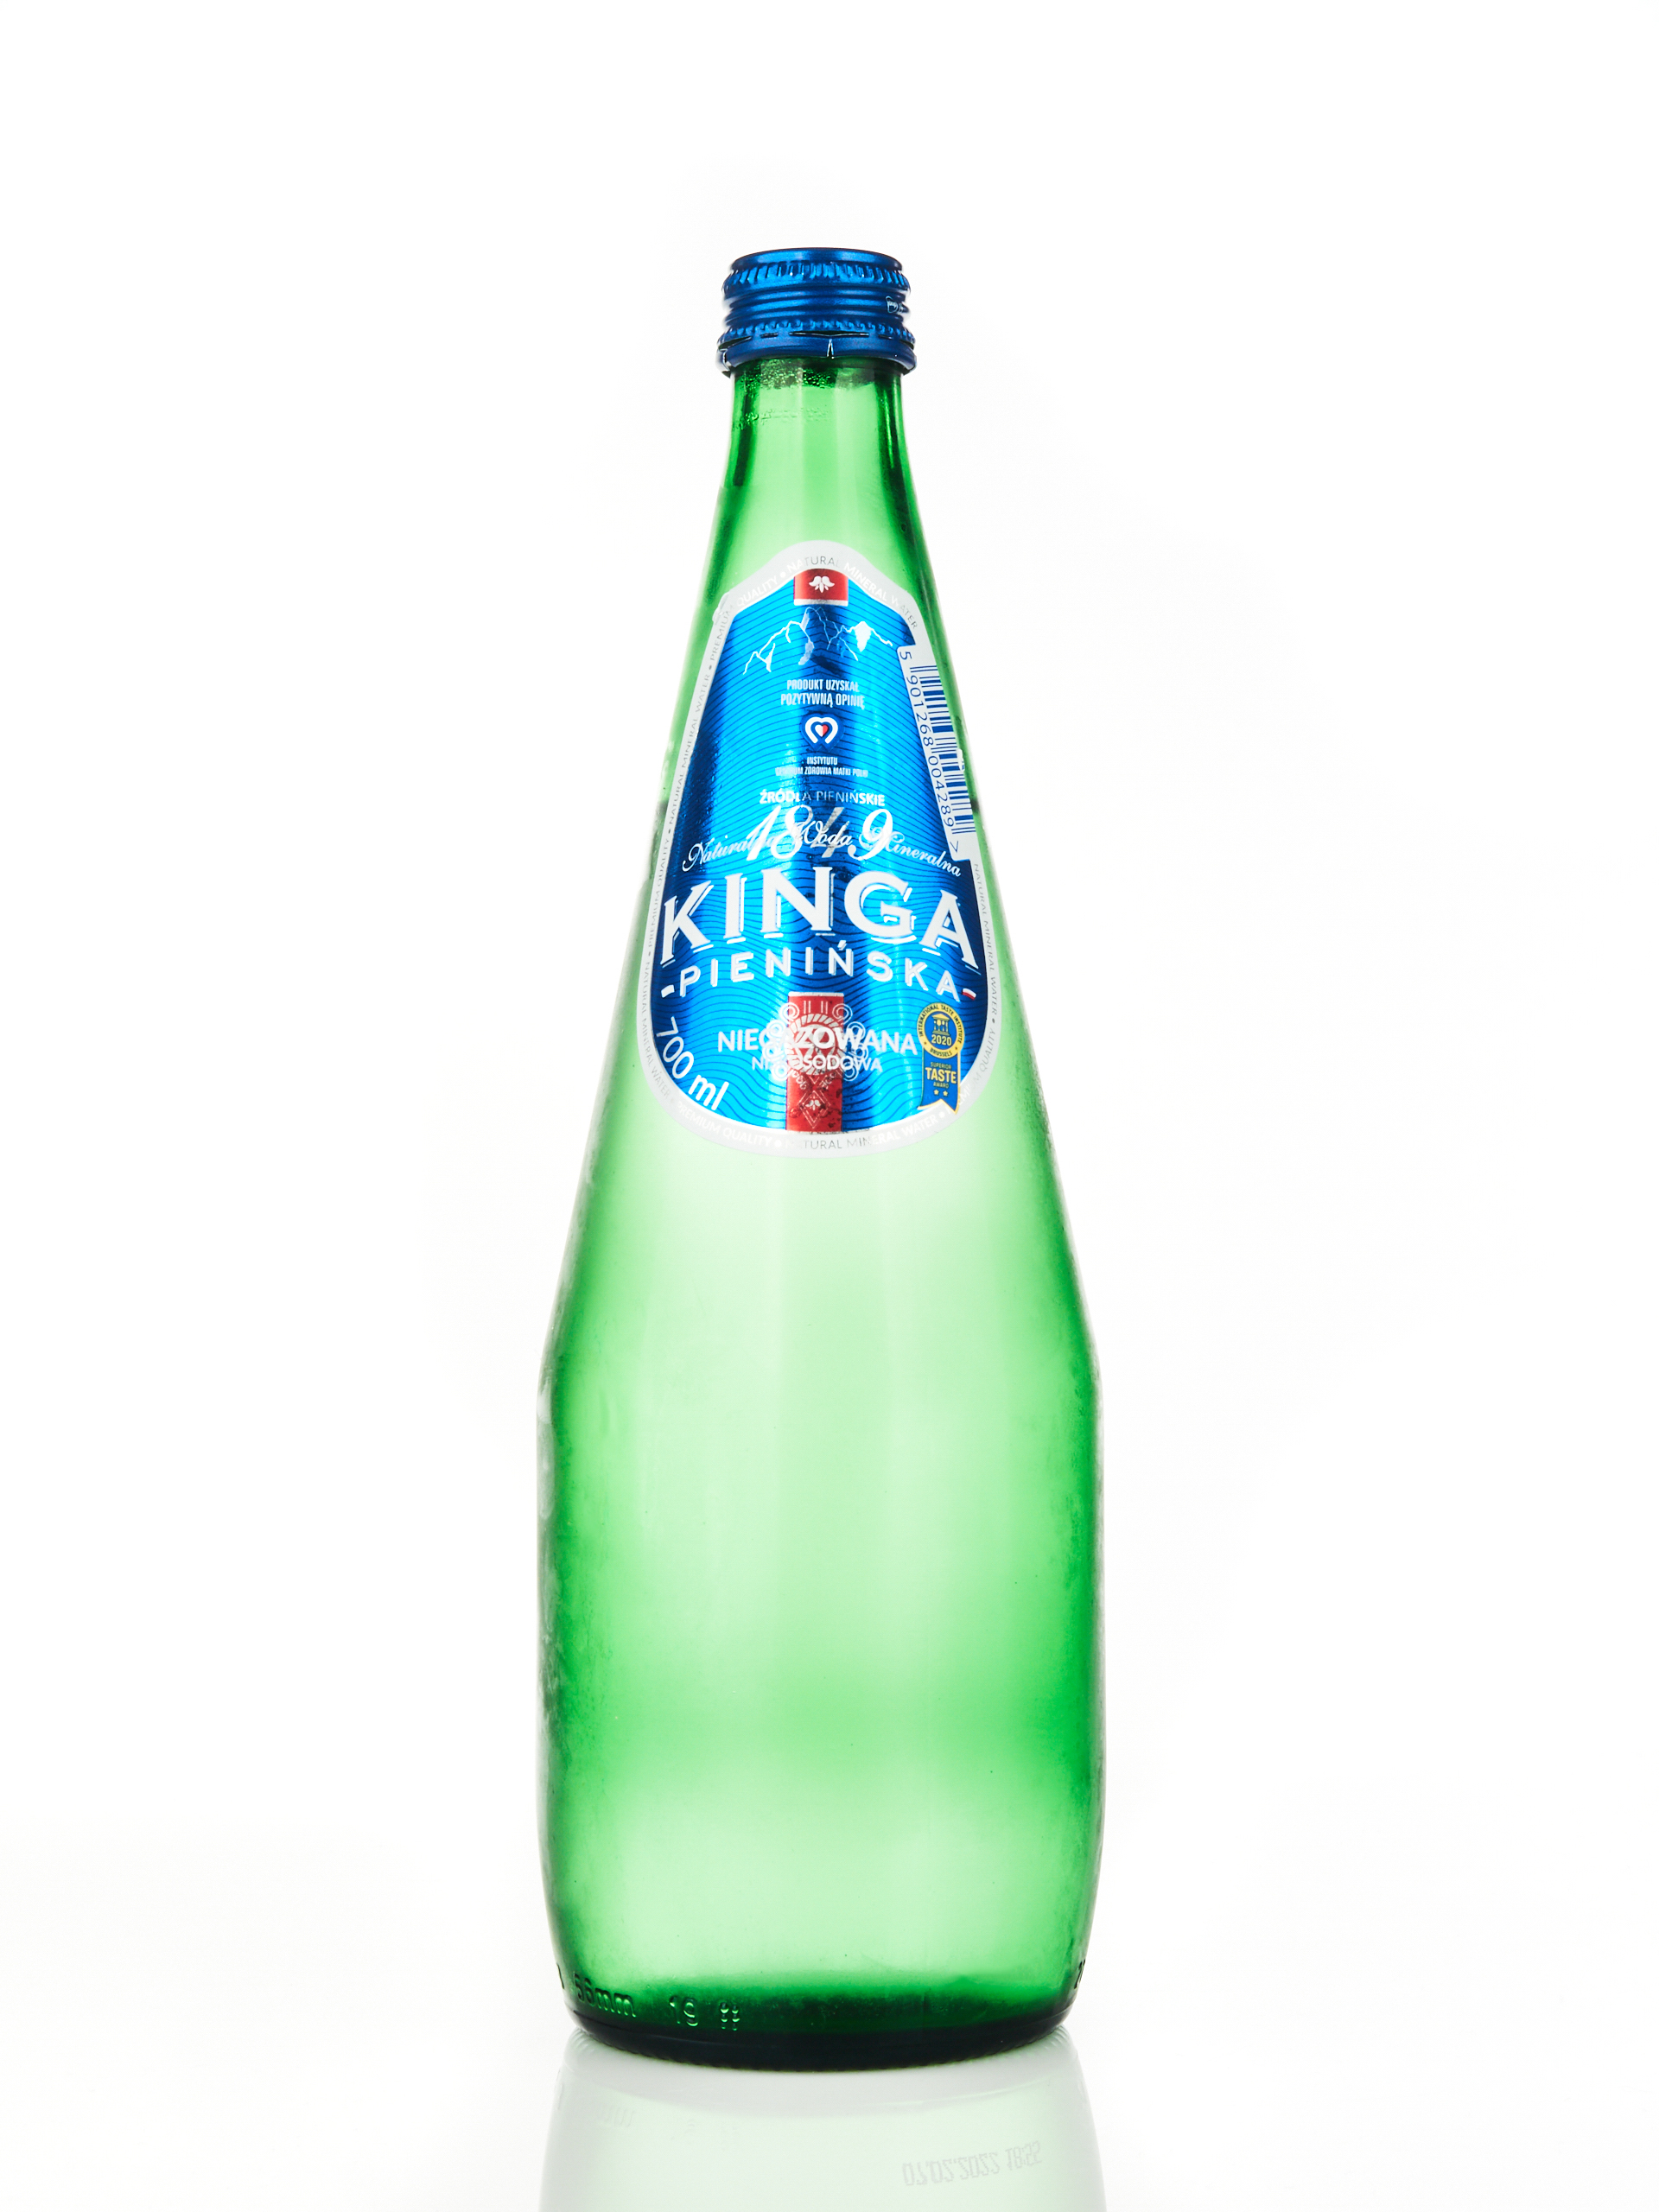
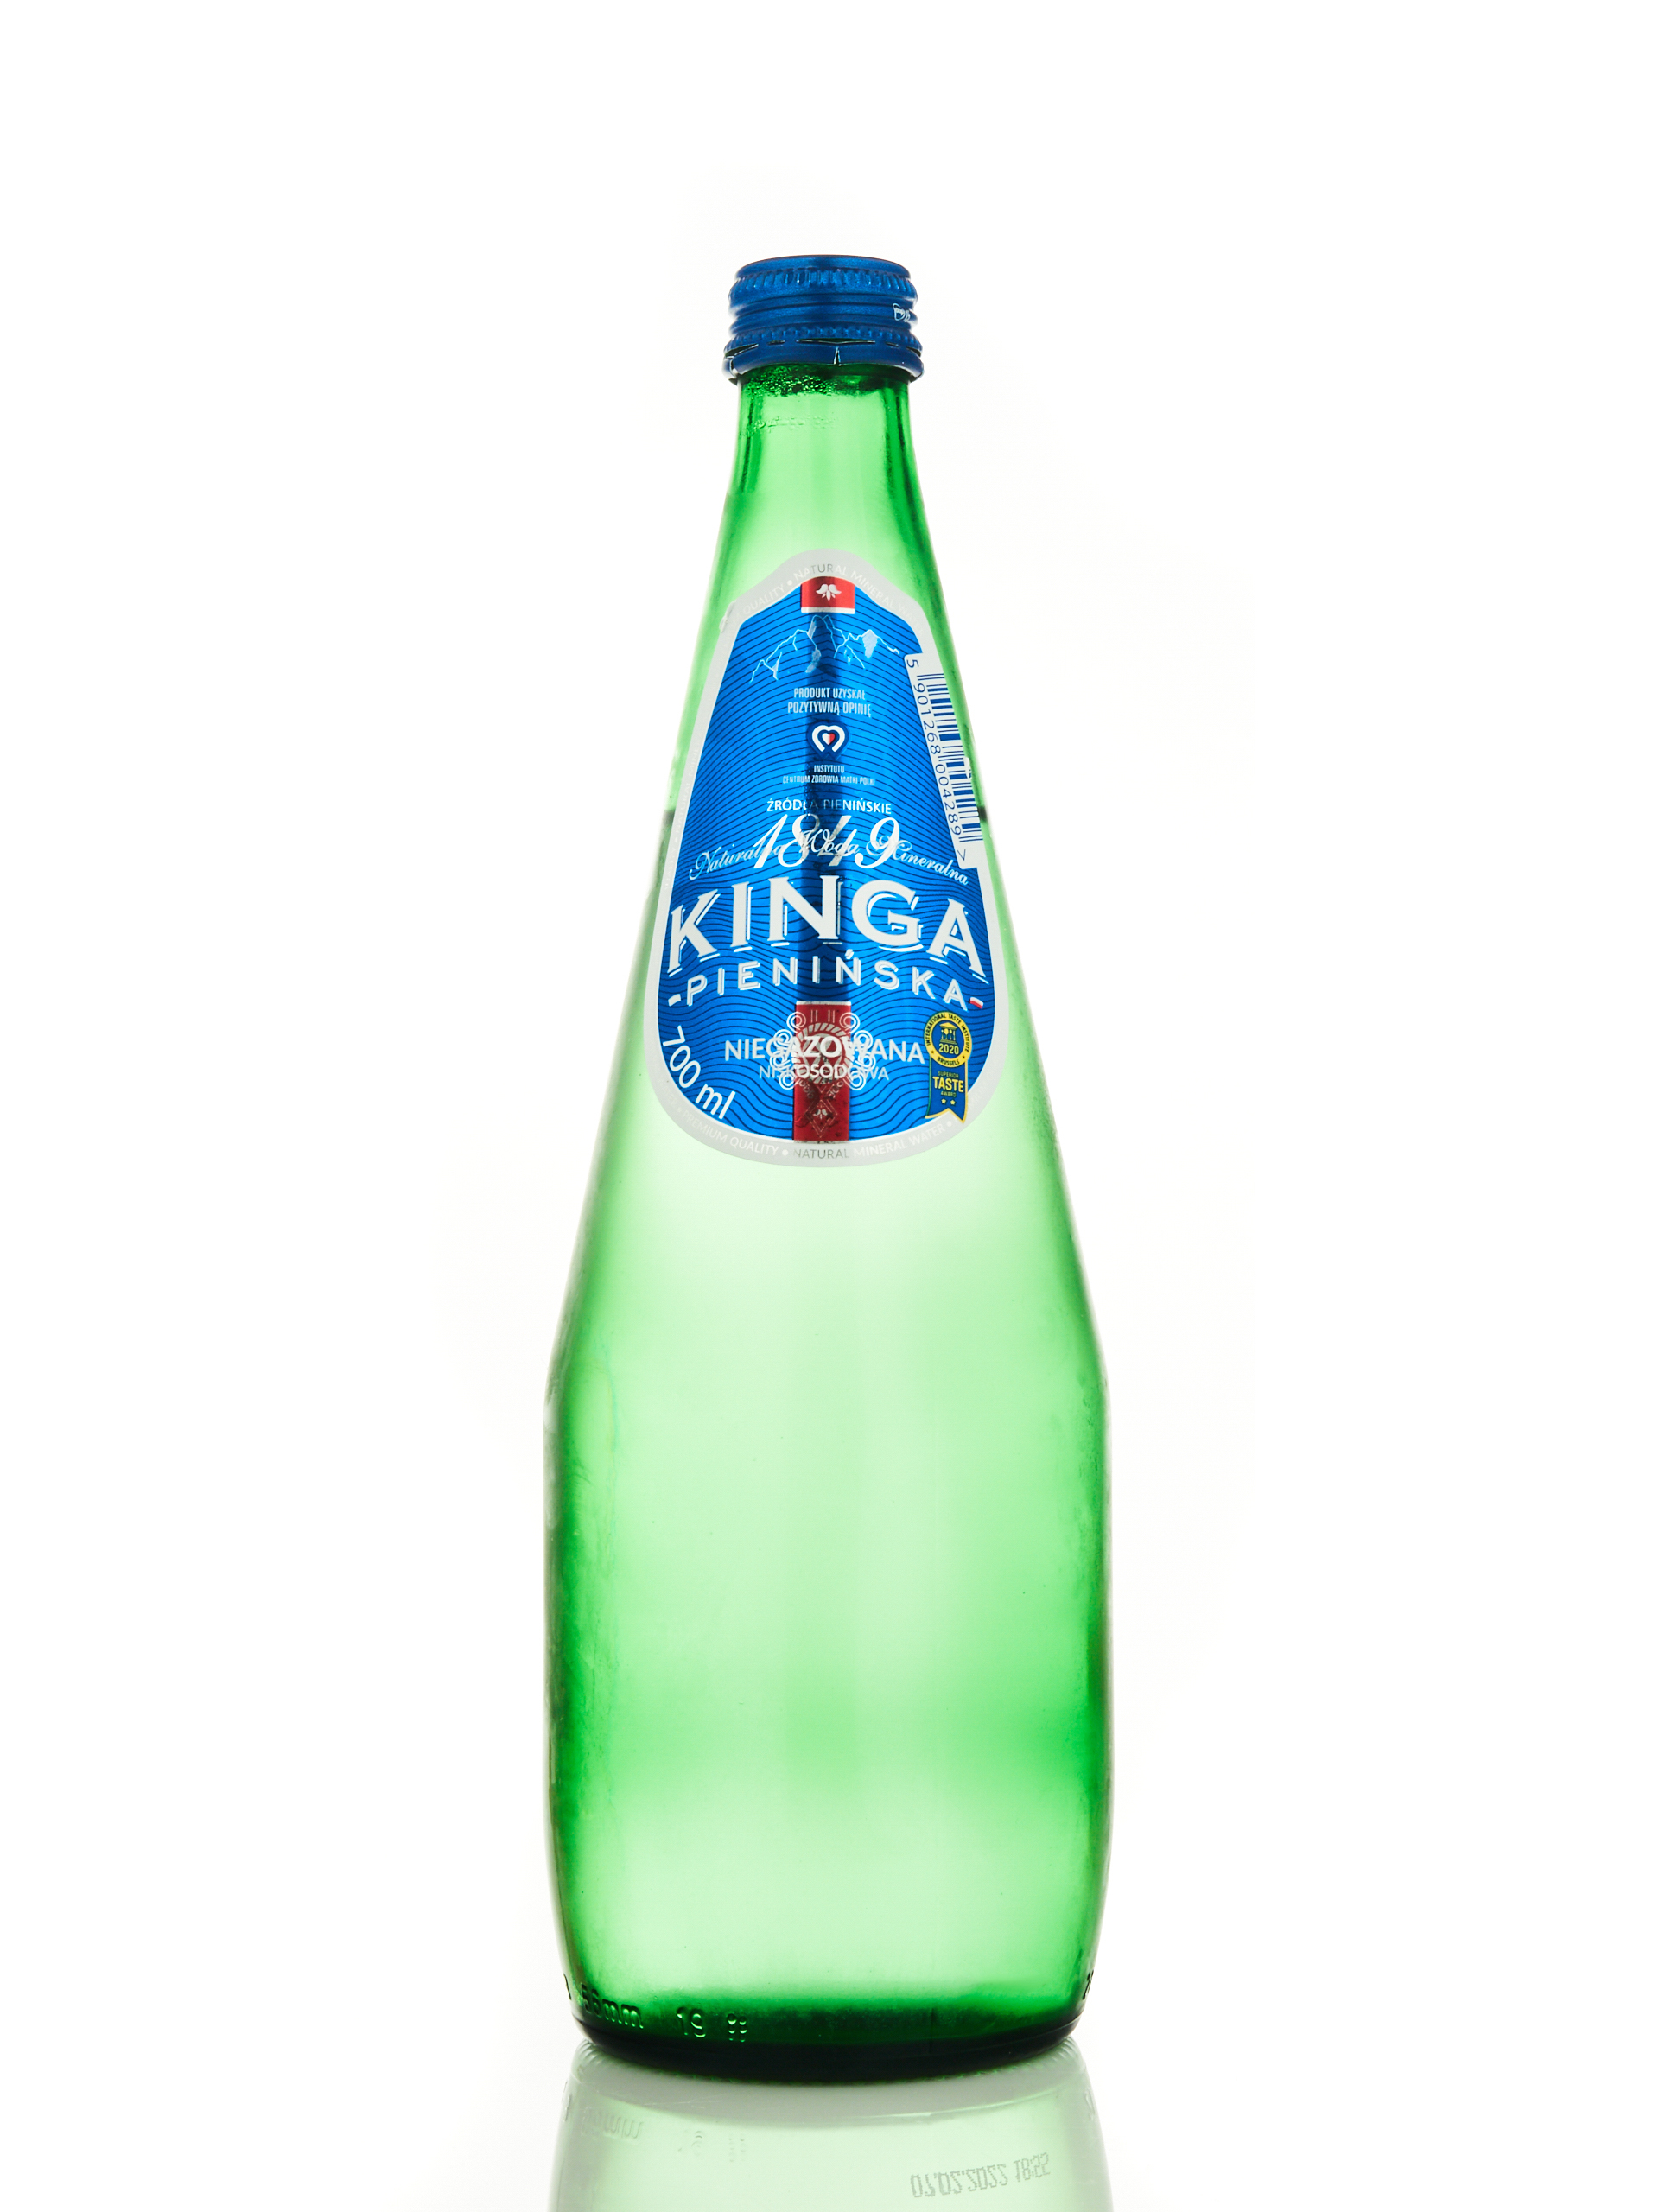
When photographing various types of bottles, you may encounter strong reflections from softboxes. While they can look aesthetically pleasing, in some cases, they need to be significantly reduced. Here are a few tricks to help you out! My basic lighting setup hasn’t changed, but additional accessories will play a more significant role here.
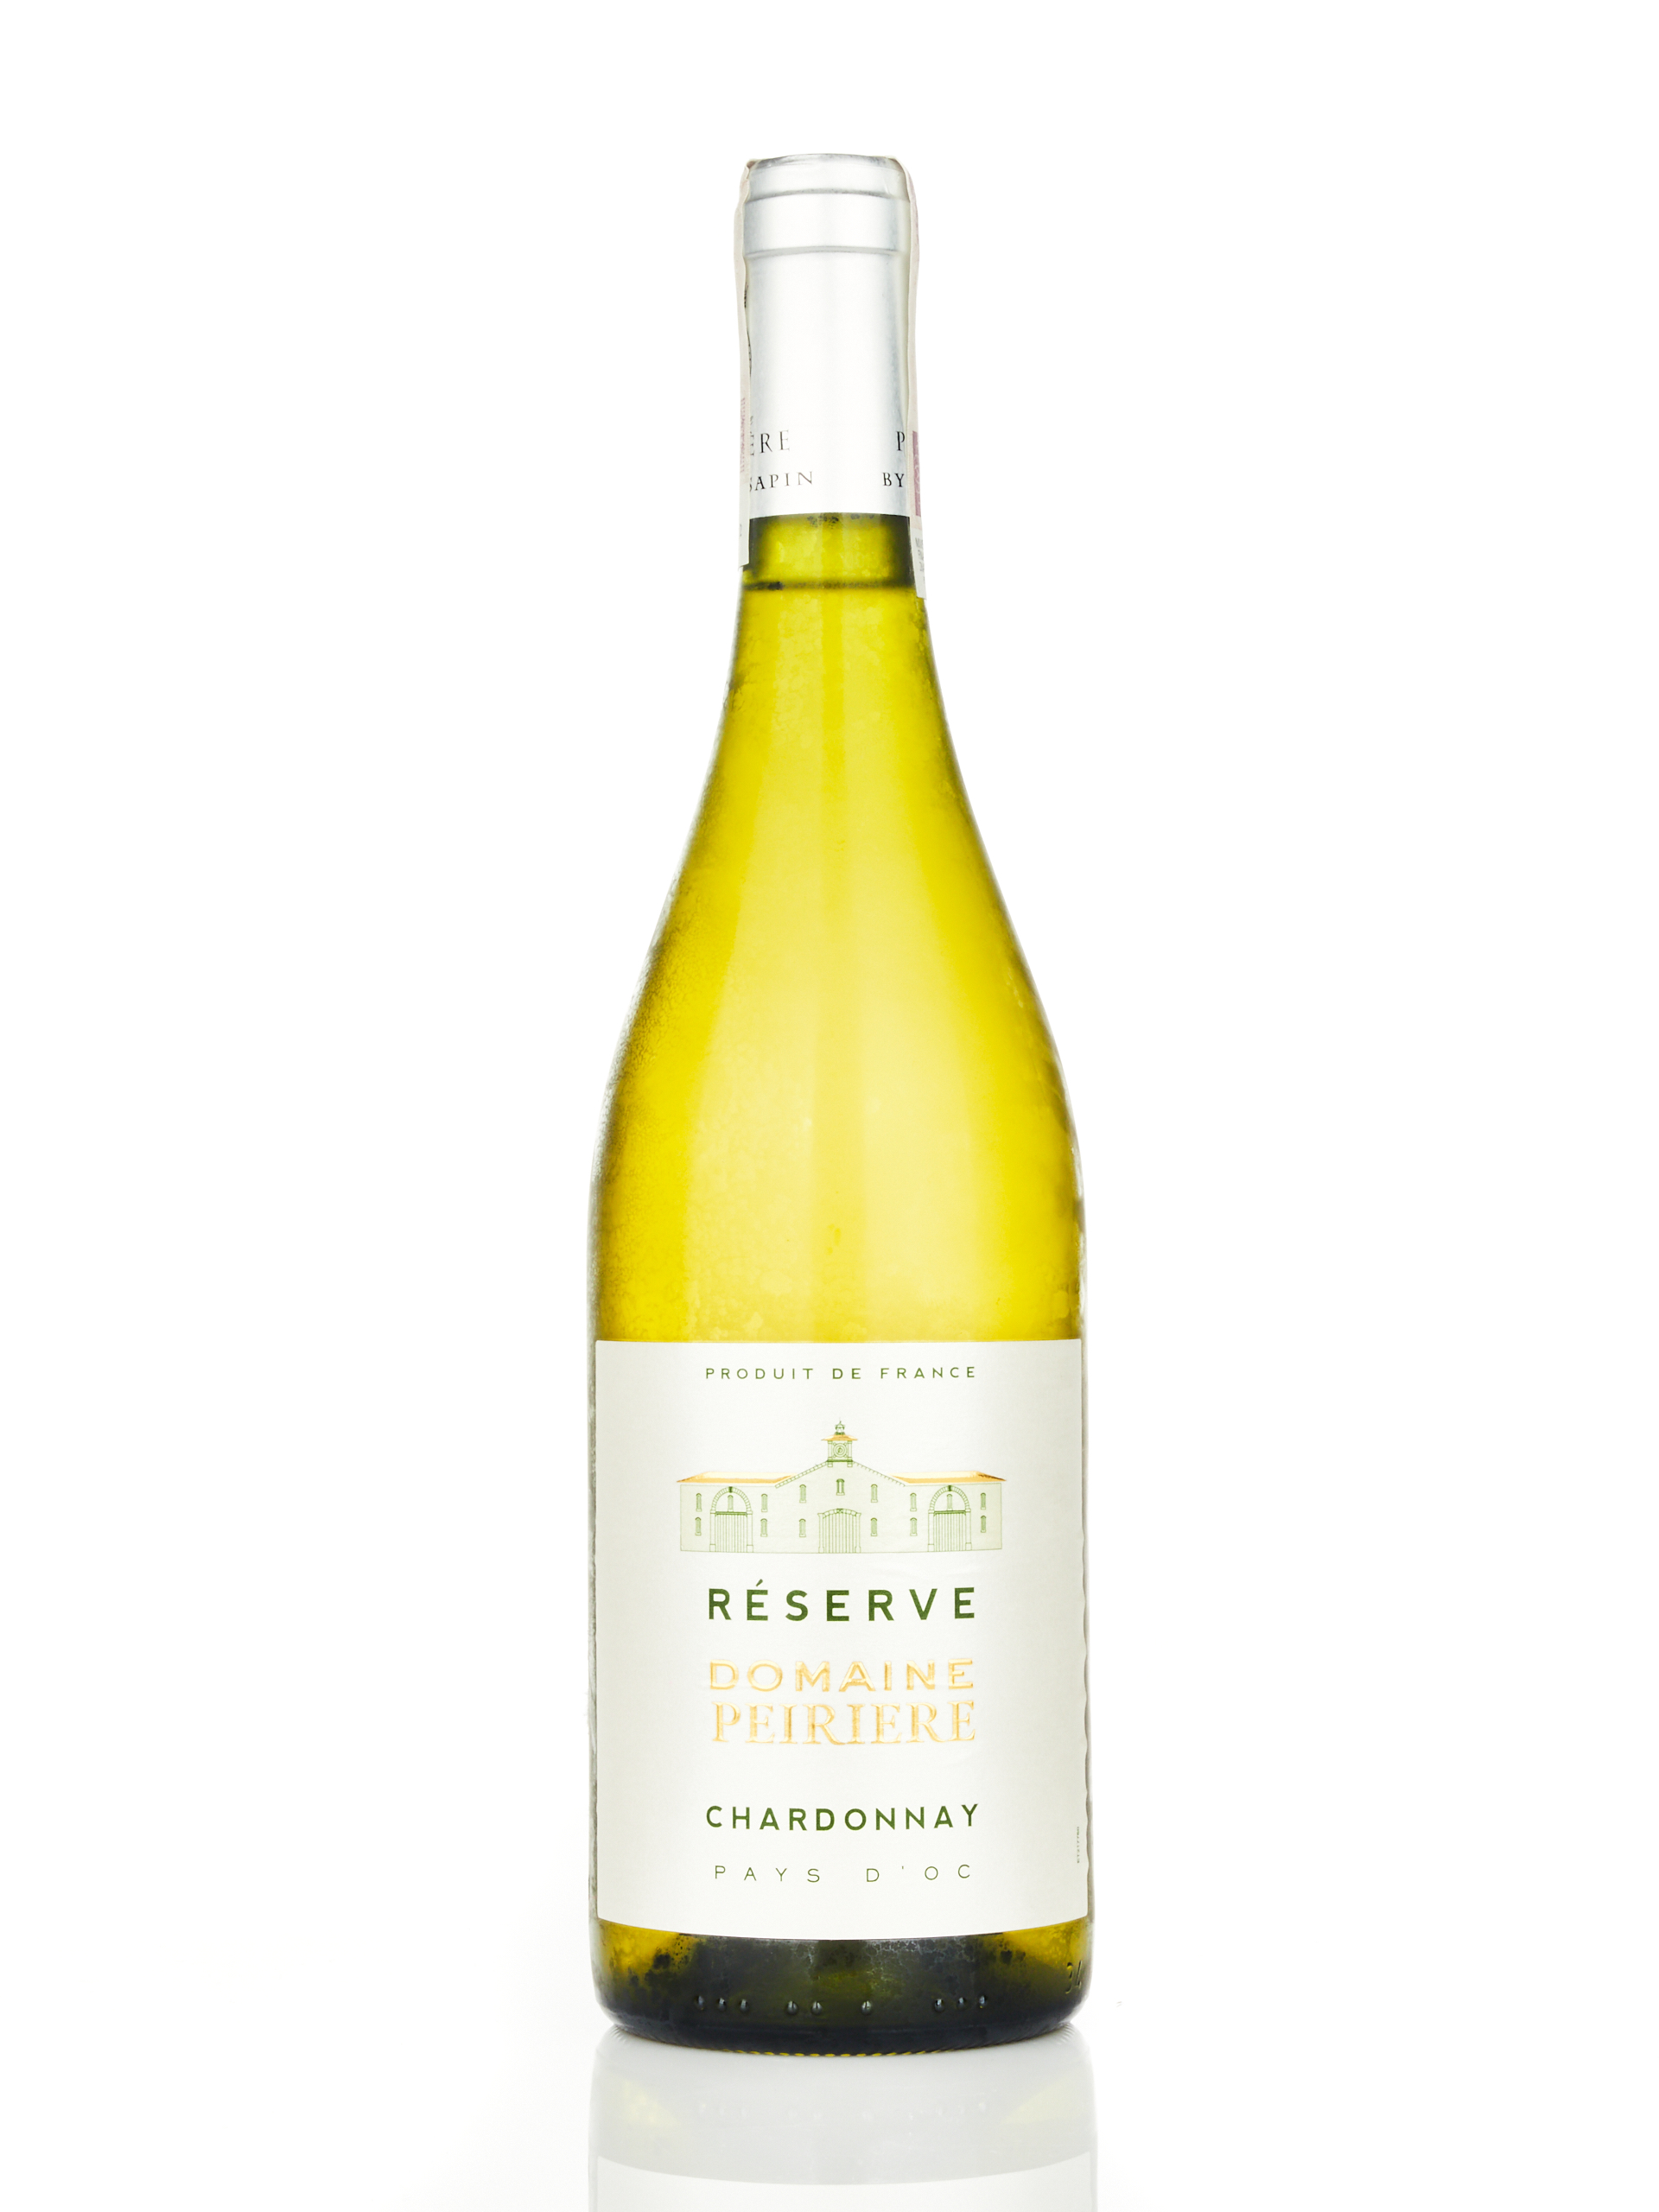
If you’re photographing beverages that should be served cold, don’t hesitate – put them in the fridge. When you take them out, they will appear matte because tiny water droplets will form on the bottle, making your task easier. I used this trick when photographing white wine, which should be served cold.
I didn’t use any additional distractions in this photo. Even though the reflections of the softboxes in the bottle are not obtrusive, the label is a bit too bright.
In this photo I added two pieces of white plexiglass on both sides. Thanks to them, the light drew a nice gradient and the label faded nicely.
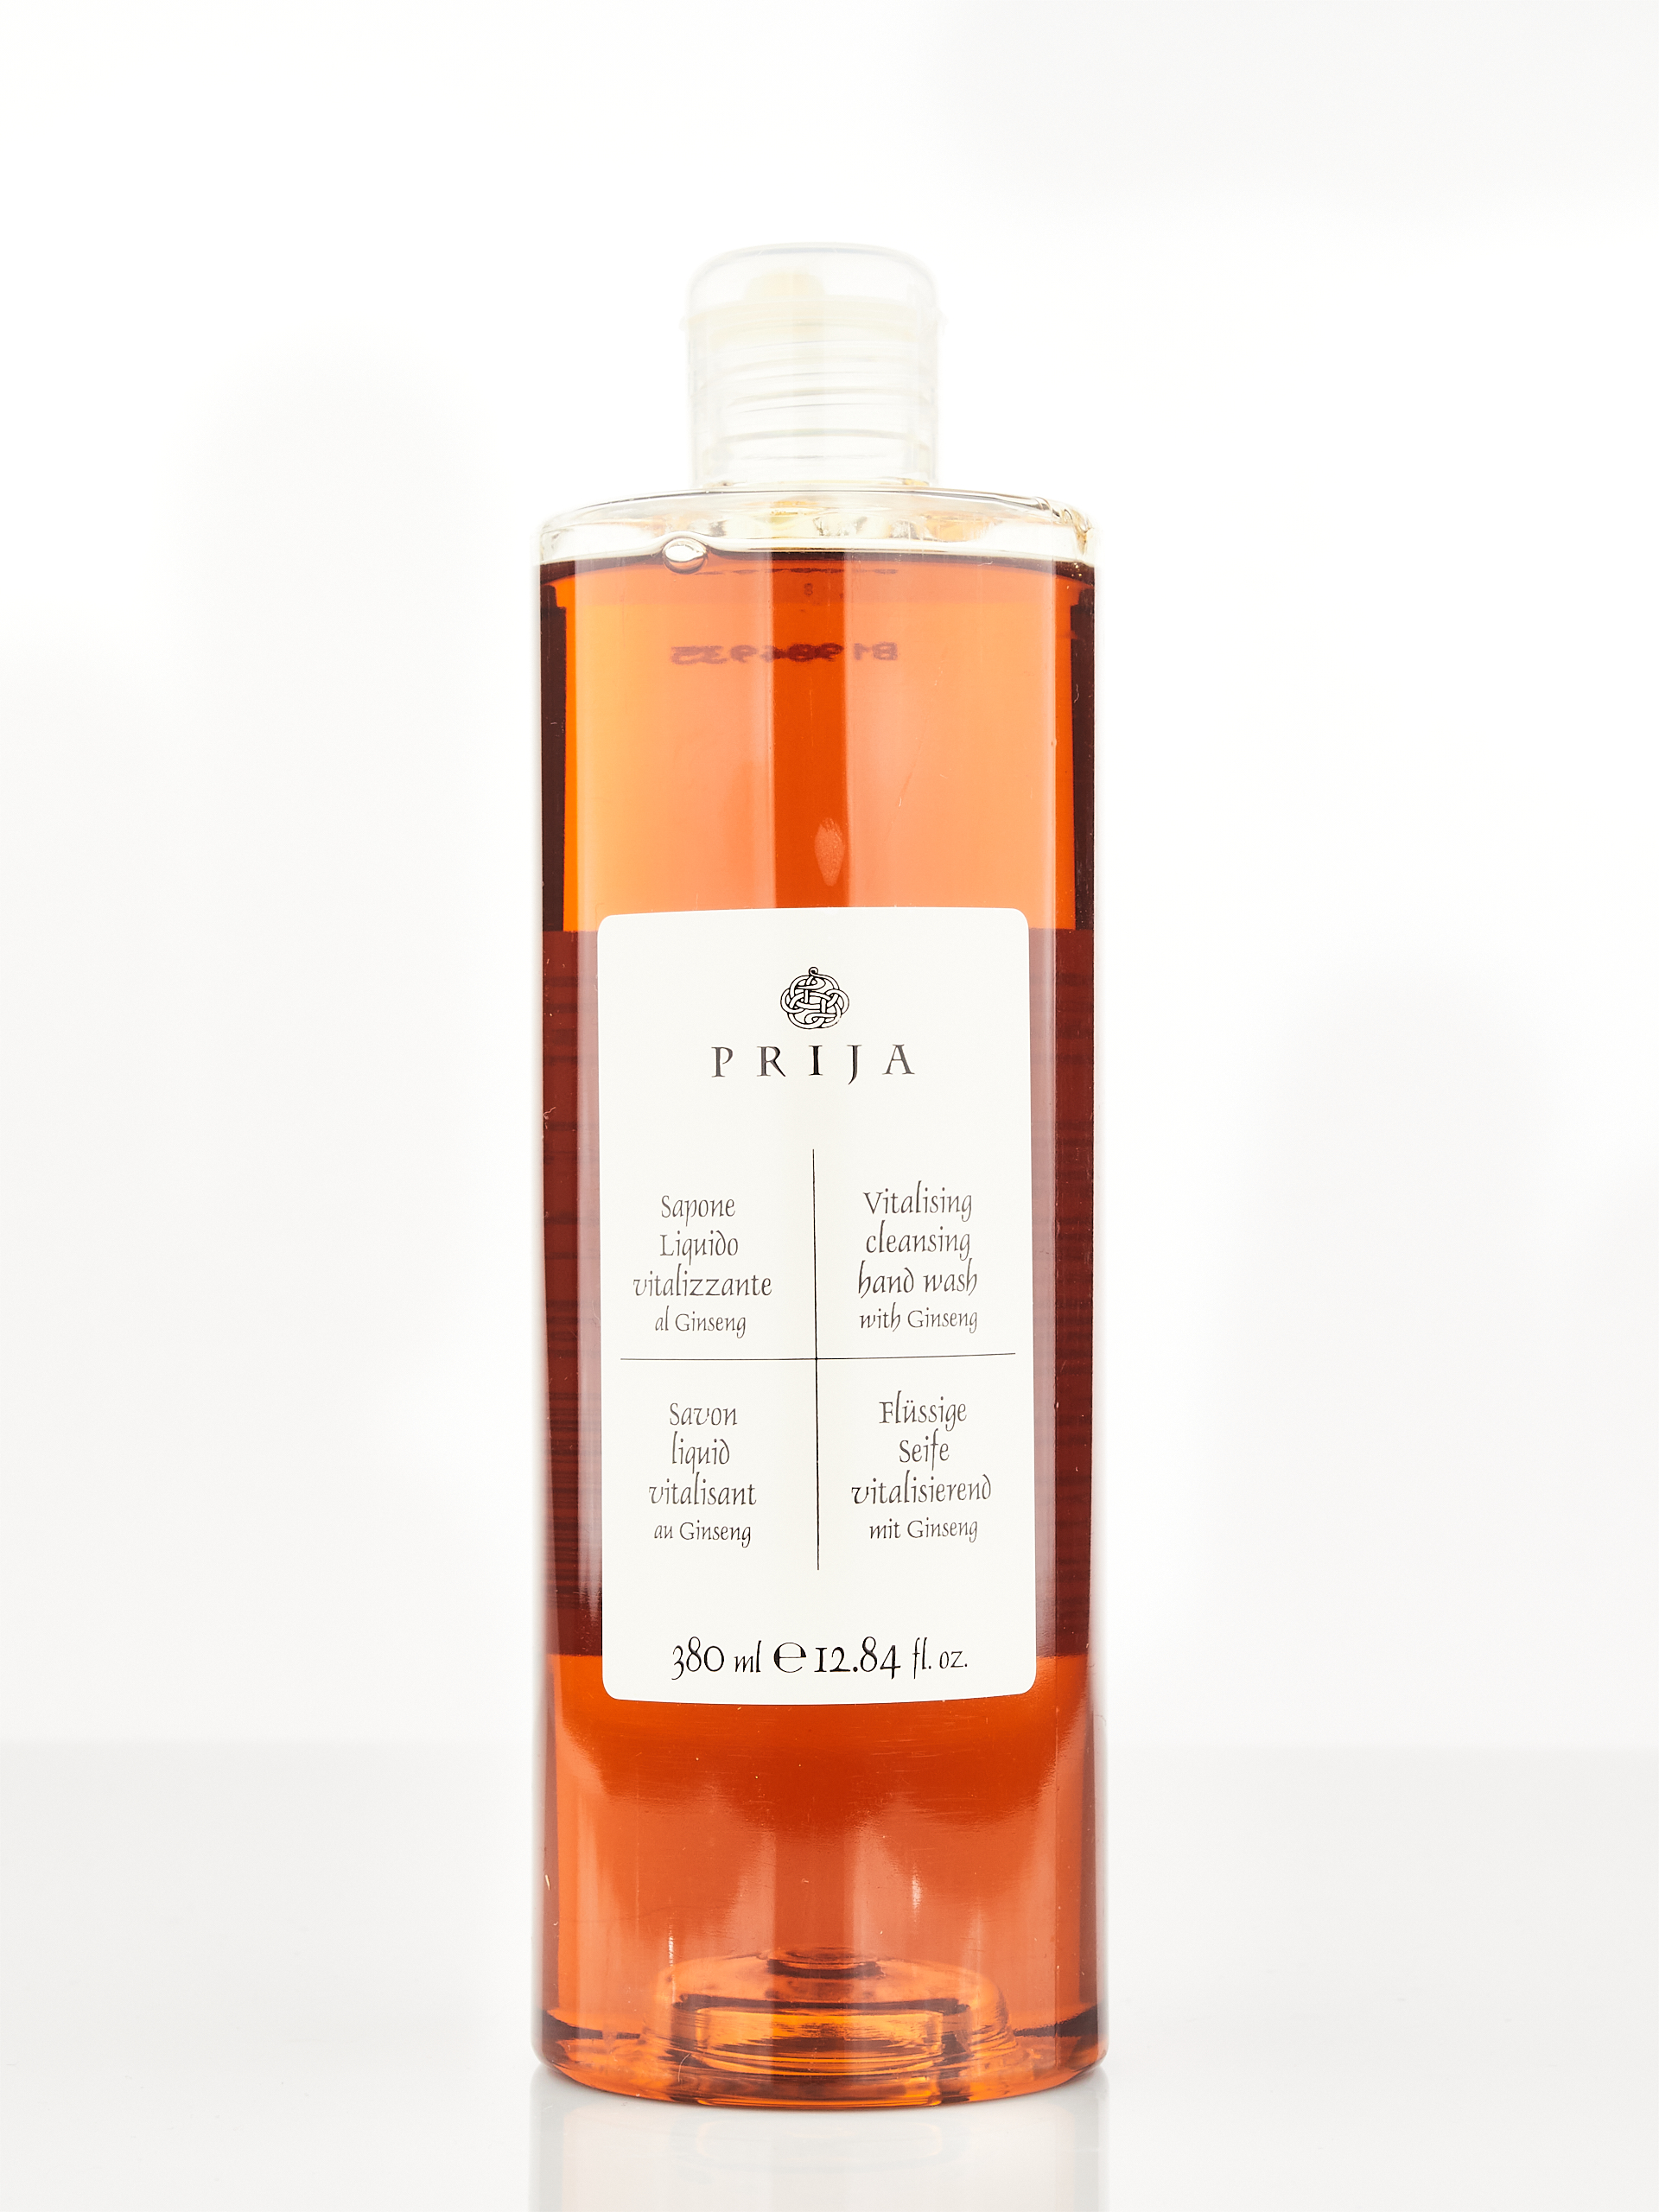
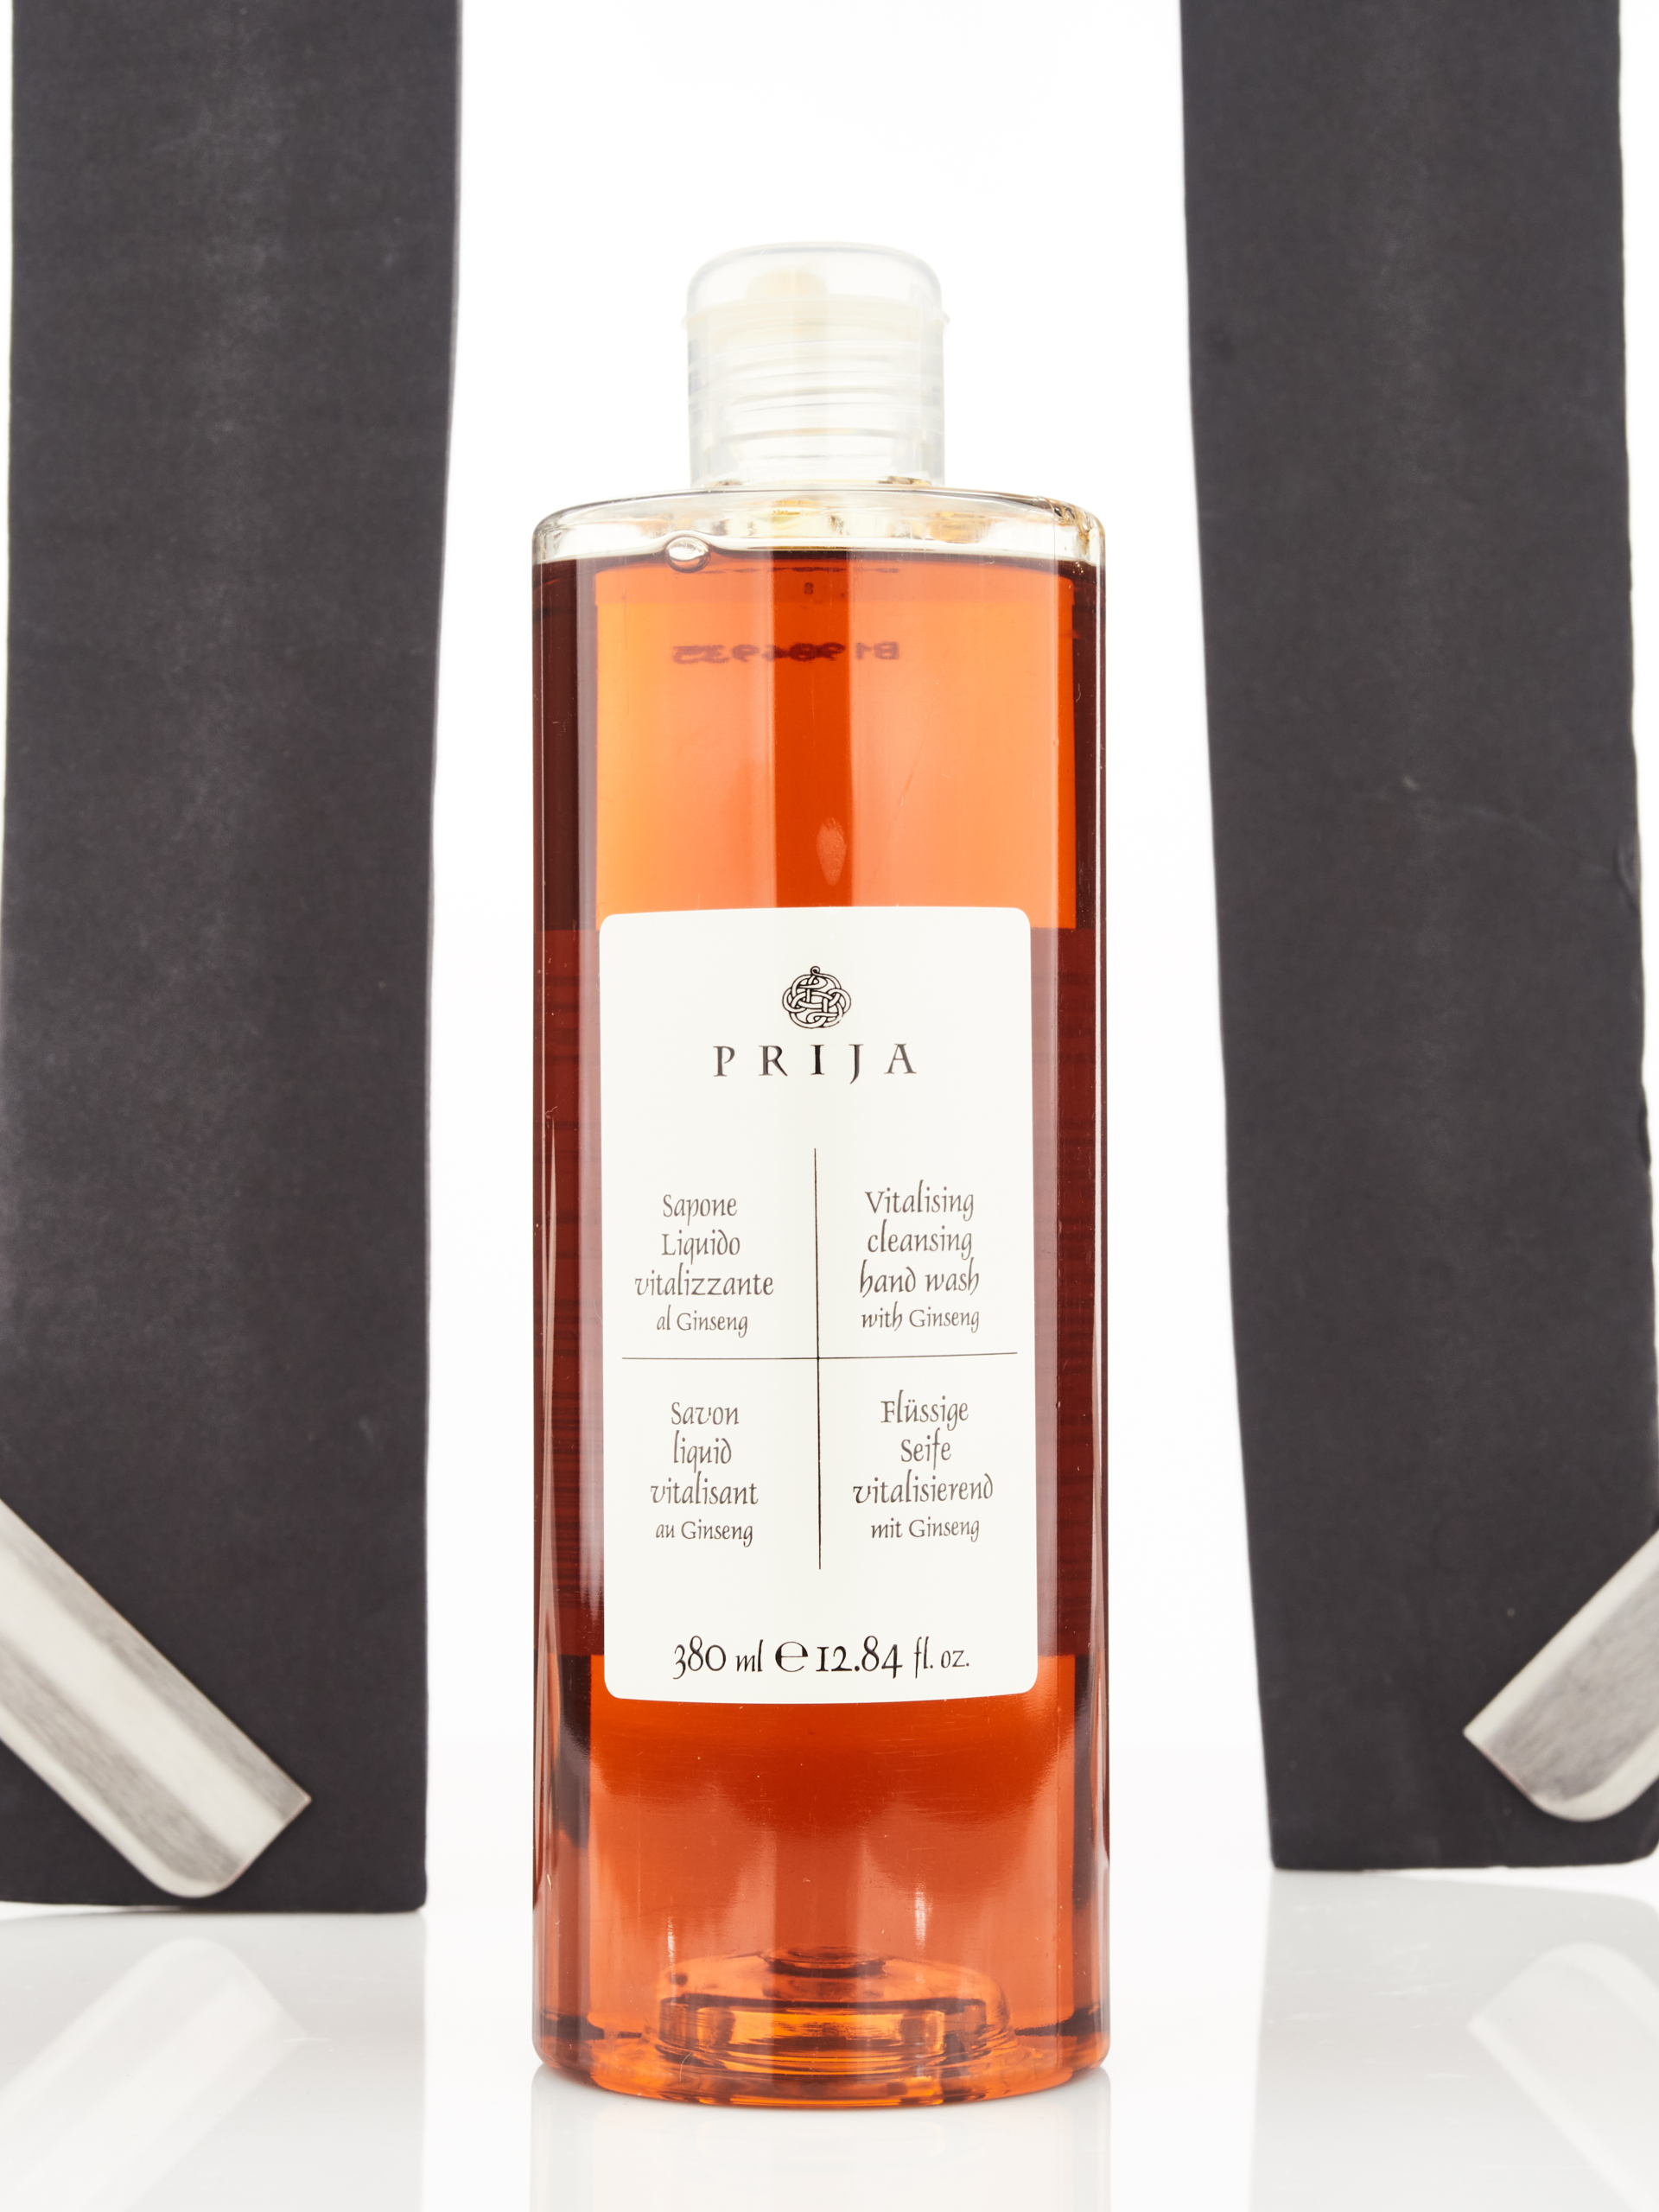
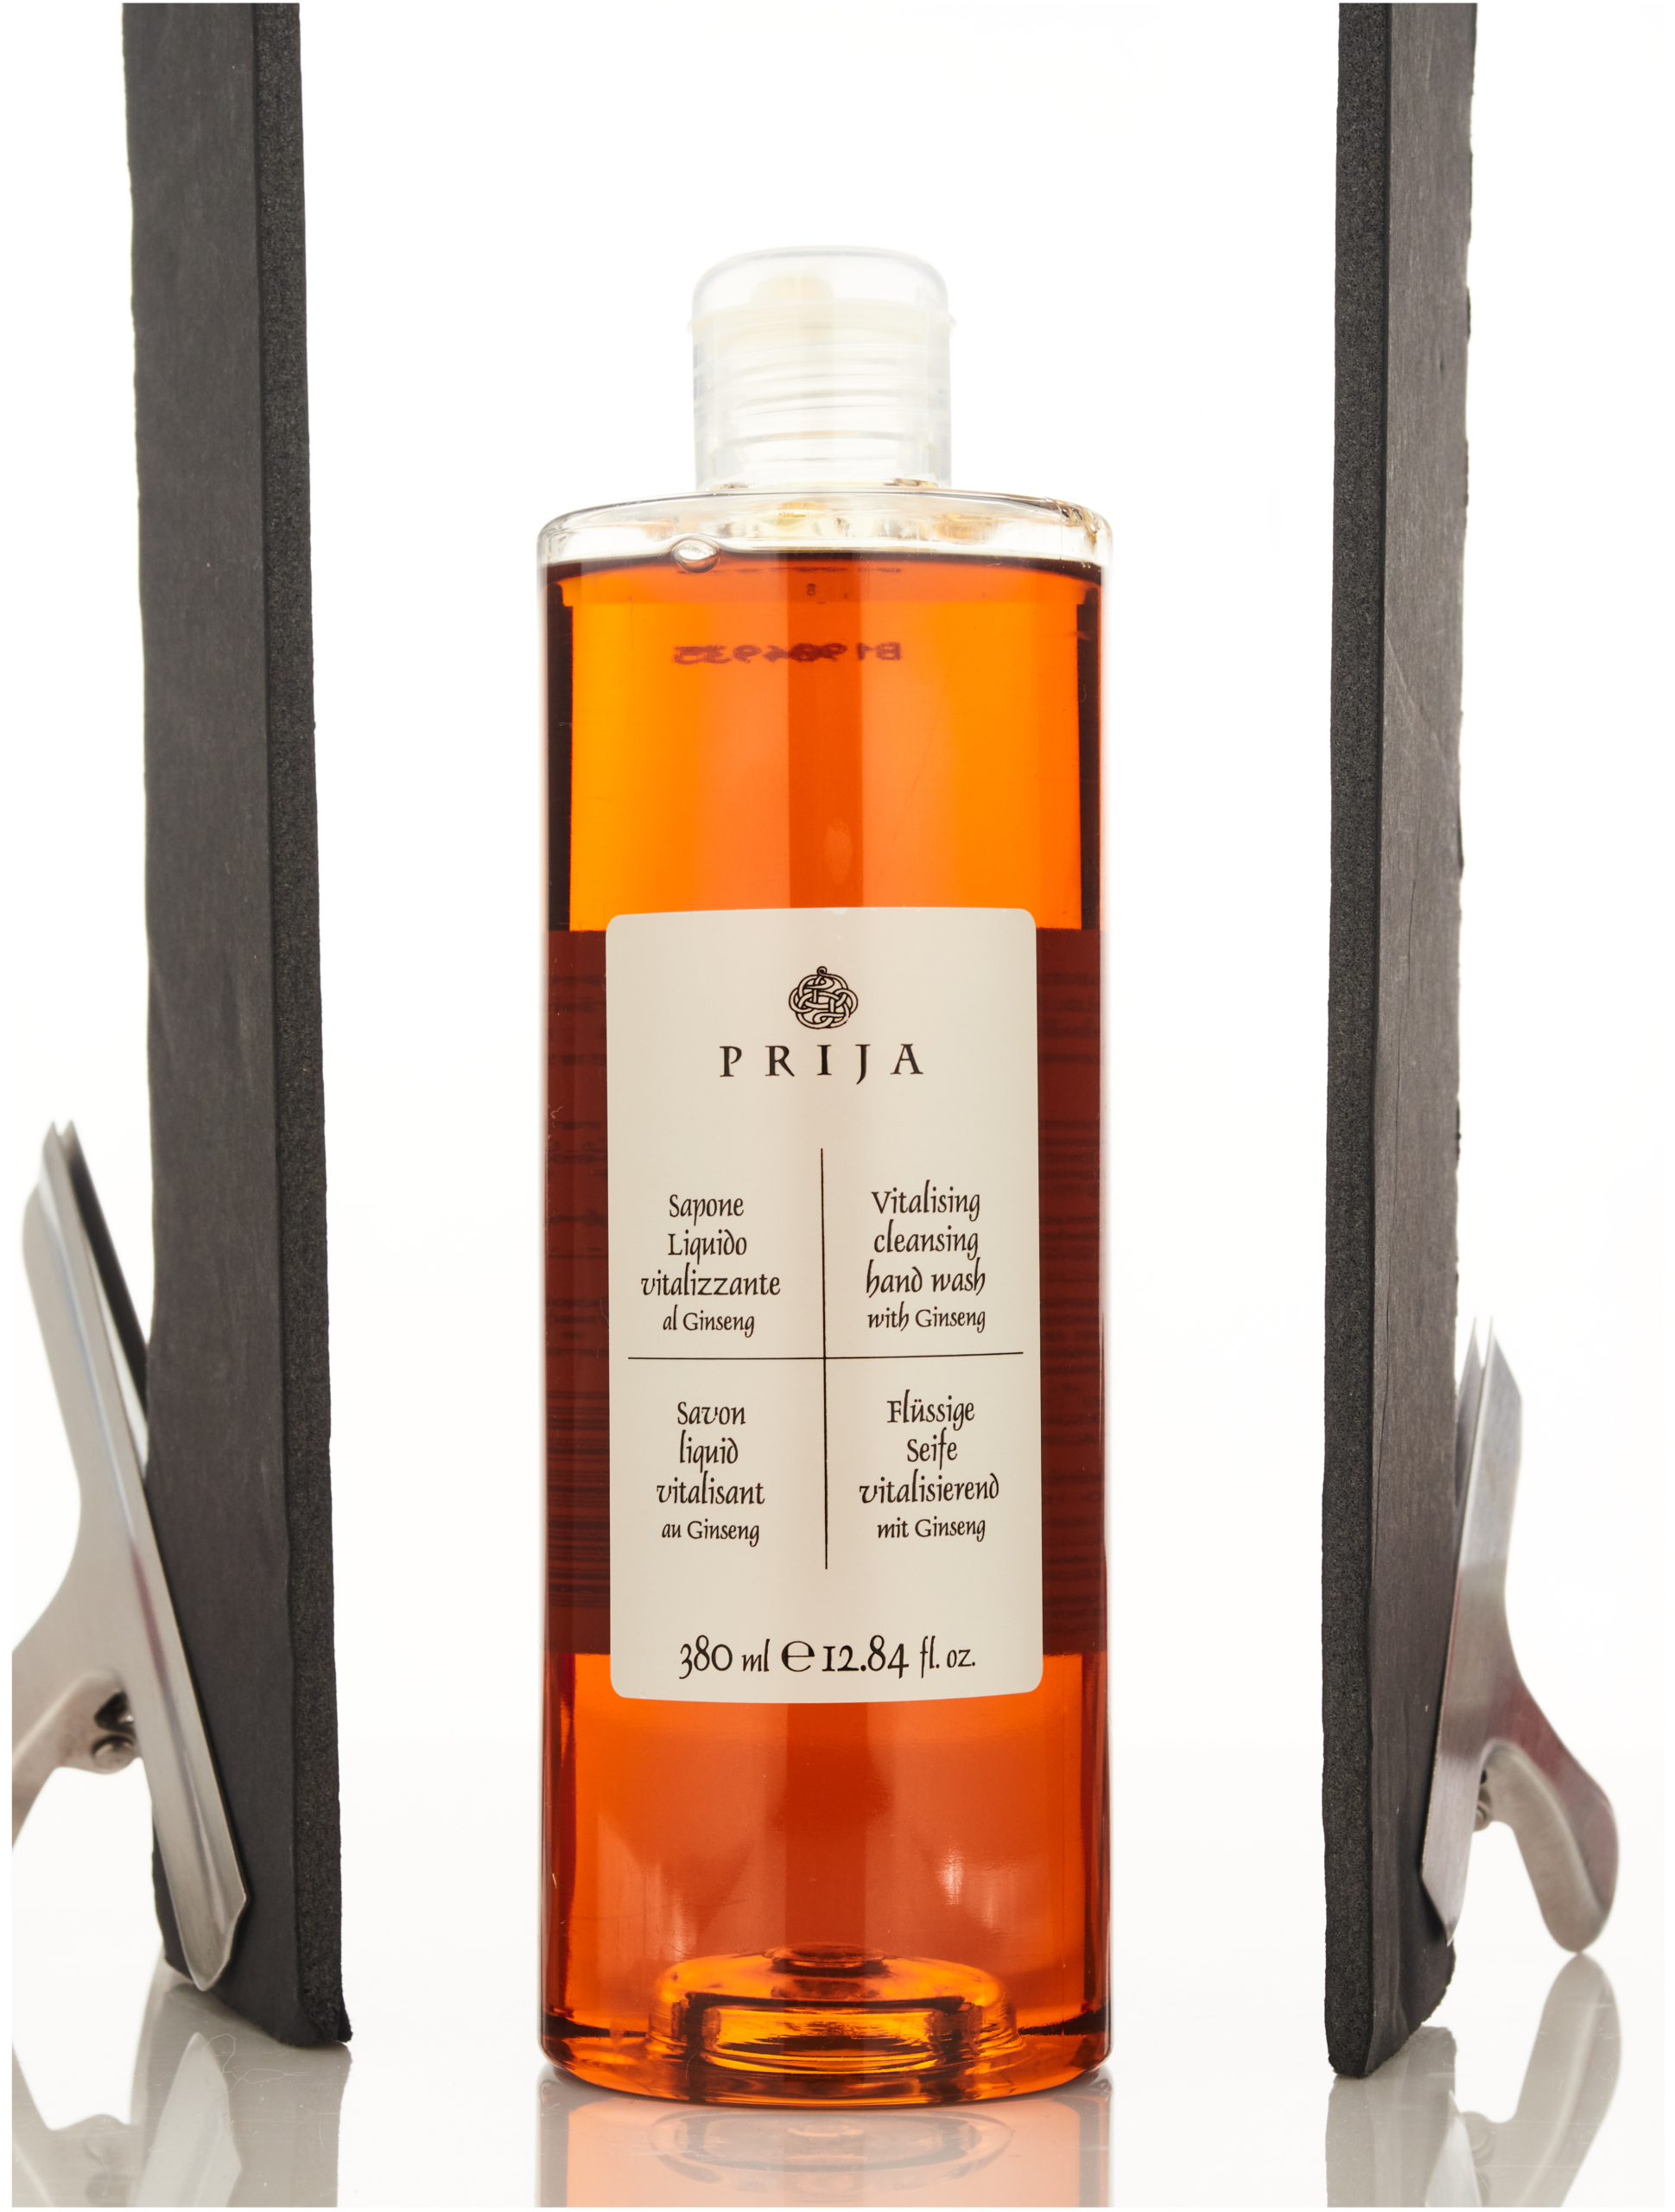
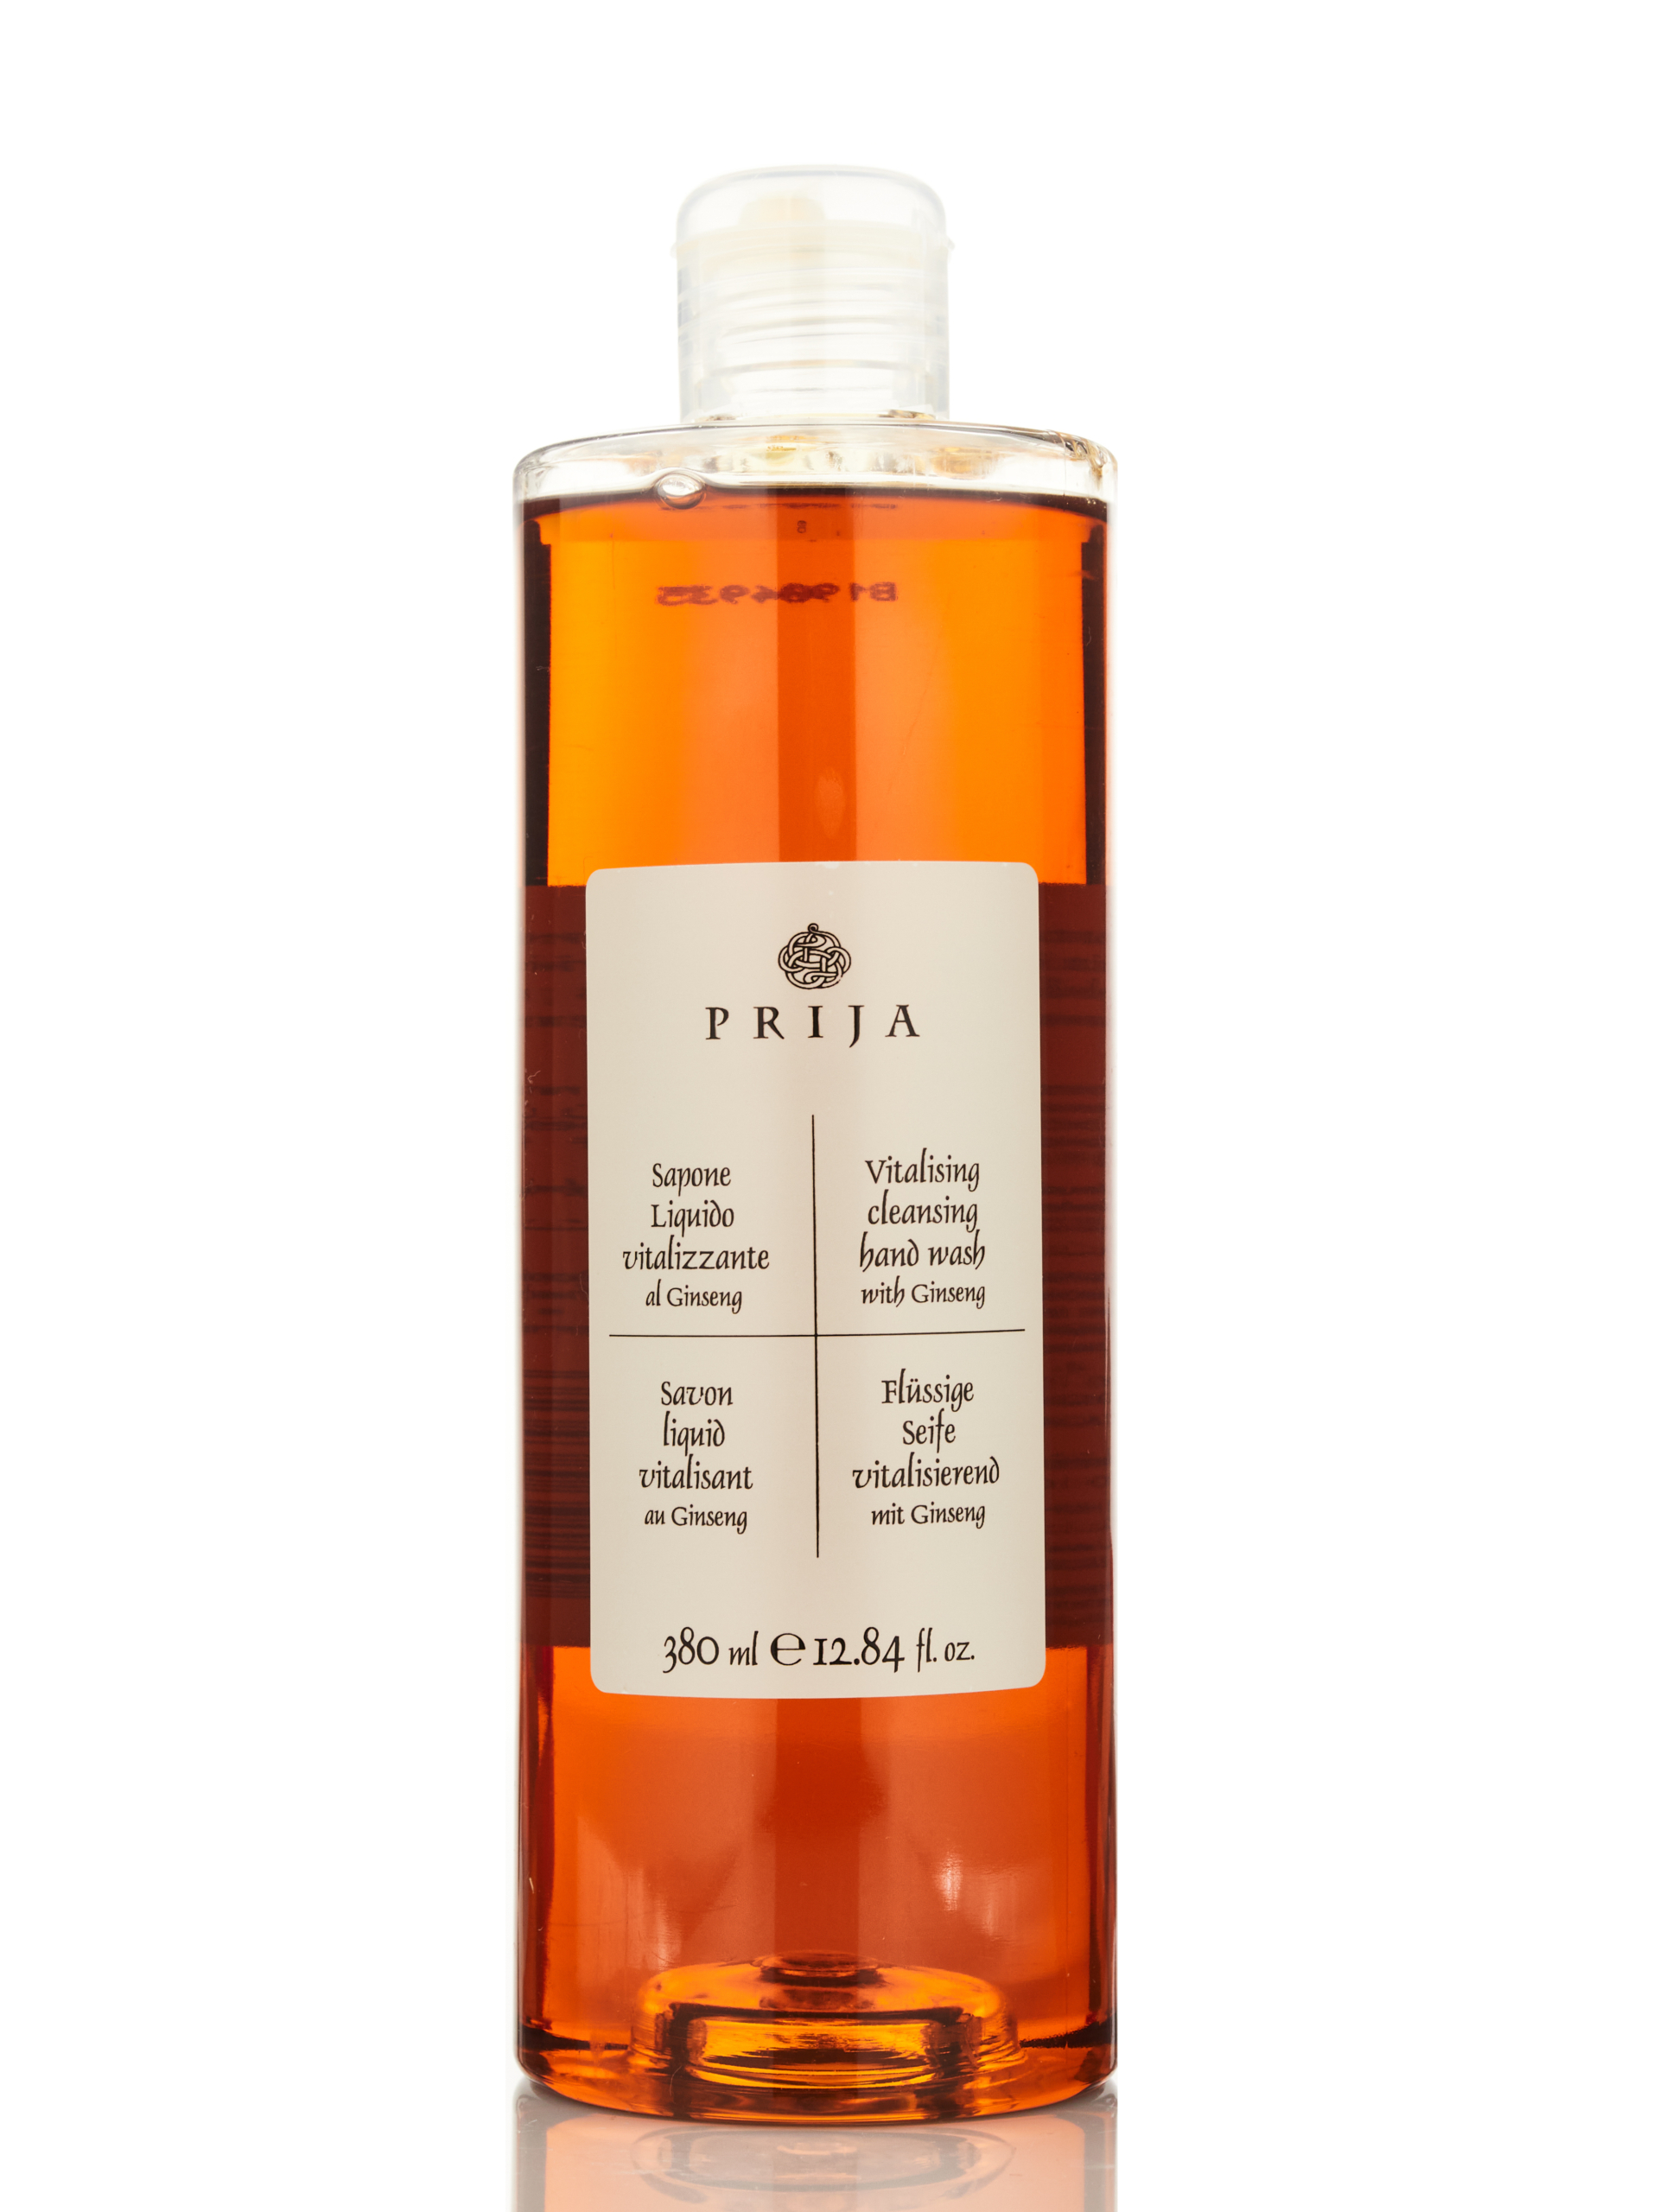
The last “patient” was a shower gel bottle. It’s not made of very high-quality plastic, which further complicated the task. The softboxes reflected very strongly in it, creating long, white rectangles along the entire bottle. The polarizing filter didn’t quite handle them, so another method had to be added. I added diffusers – again, two pieces of plexiglass, which I placed close to the bottle. The softboxes were angled towards the plexiglass, creating a nice gradient. To outline the edges, I also added two pieces of black modeling foam on either side of the product. I completed the setup with a polarizing filter, and it was ready!
The photo without any interference, with basic lighting, looked bad – the reflections of the softboxes were too strong and the edges were invisible.
Adding black tumblers defined the edges nicely, but the polarizing filter couldn’t deal with the softbox reflections.
Adding additional diffusions added nice gradients to the product and the black tumblers outlined the edges.
Finally, the black valves and their reflections were removed in post-production.
Product photography of glass
Glass is not easy to photograph. When photographed against a white background, it often disappears, unsightly reflections appear, and it loses its transparency. However, there is one proven method for dealing with this. Glass simply loves backlighting. When starting to photograph glass, first turn on only the lights at the back; you’ll see the texture of the product and assess whether front lighting is needed at all. When you go to a store with glassware, you’ll often see various products displayed on transparent shelves and illuminated from behind, usually with white plexiglass. That’s a good clue.
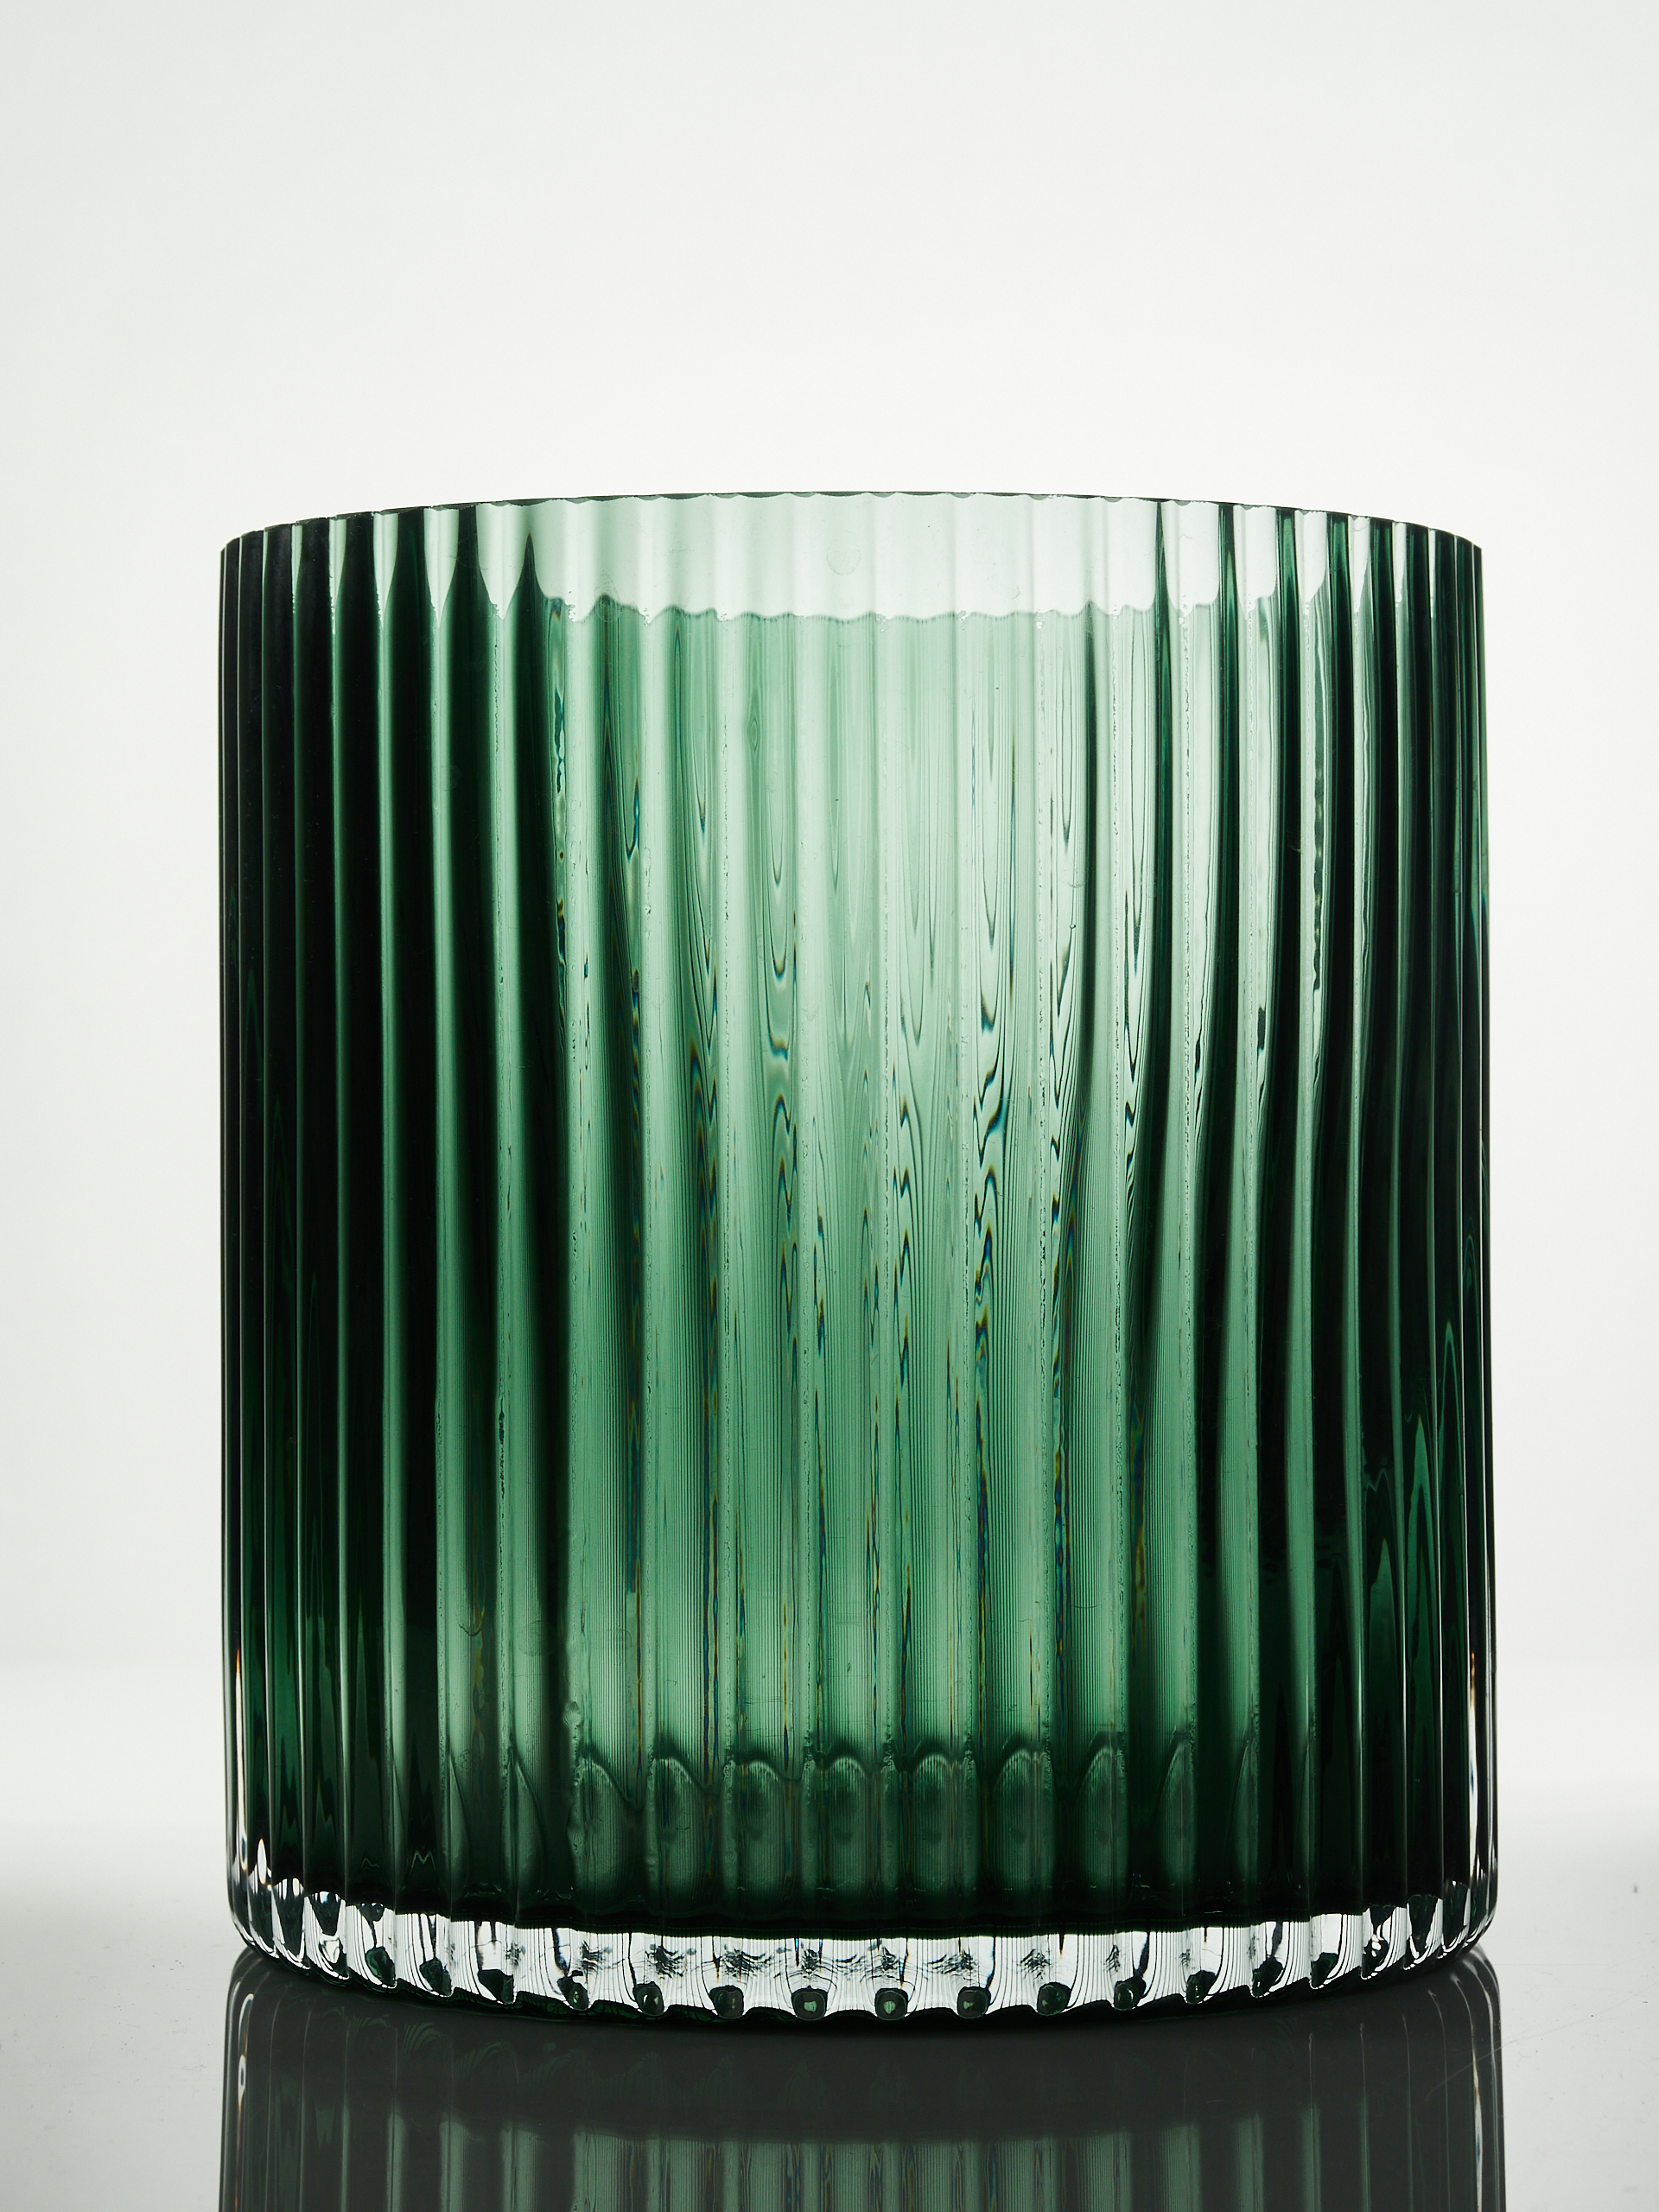
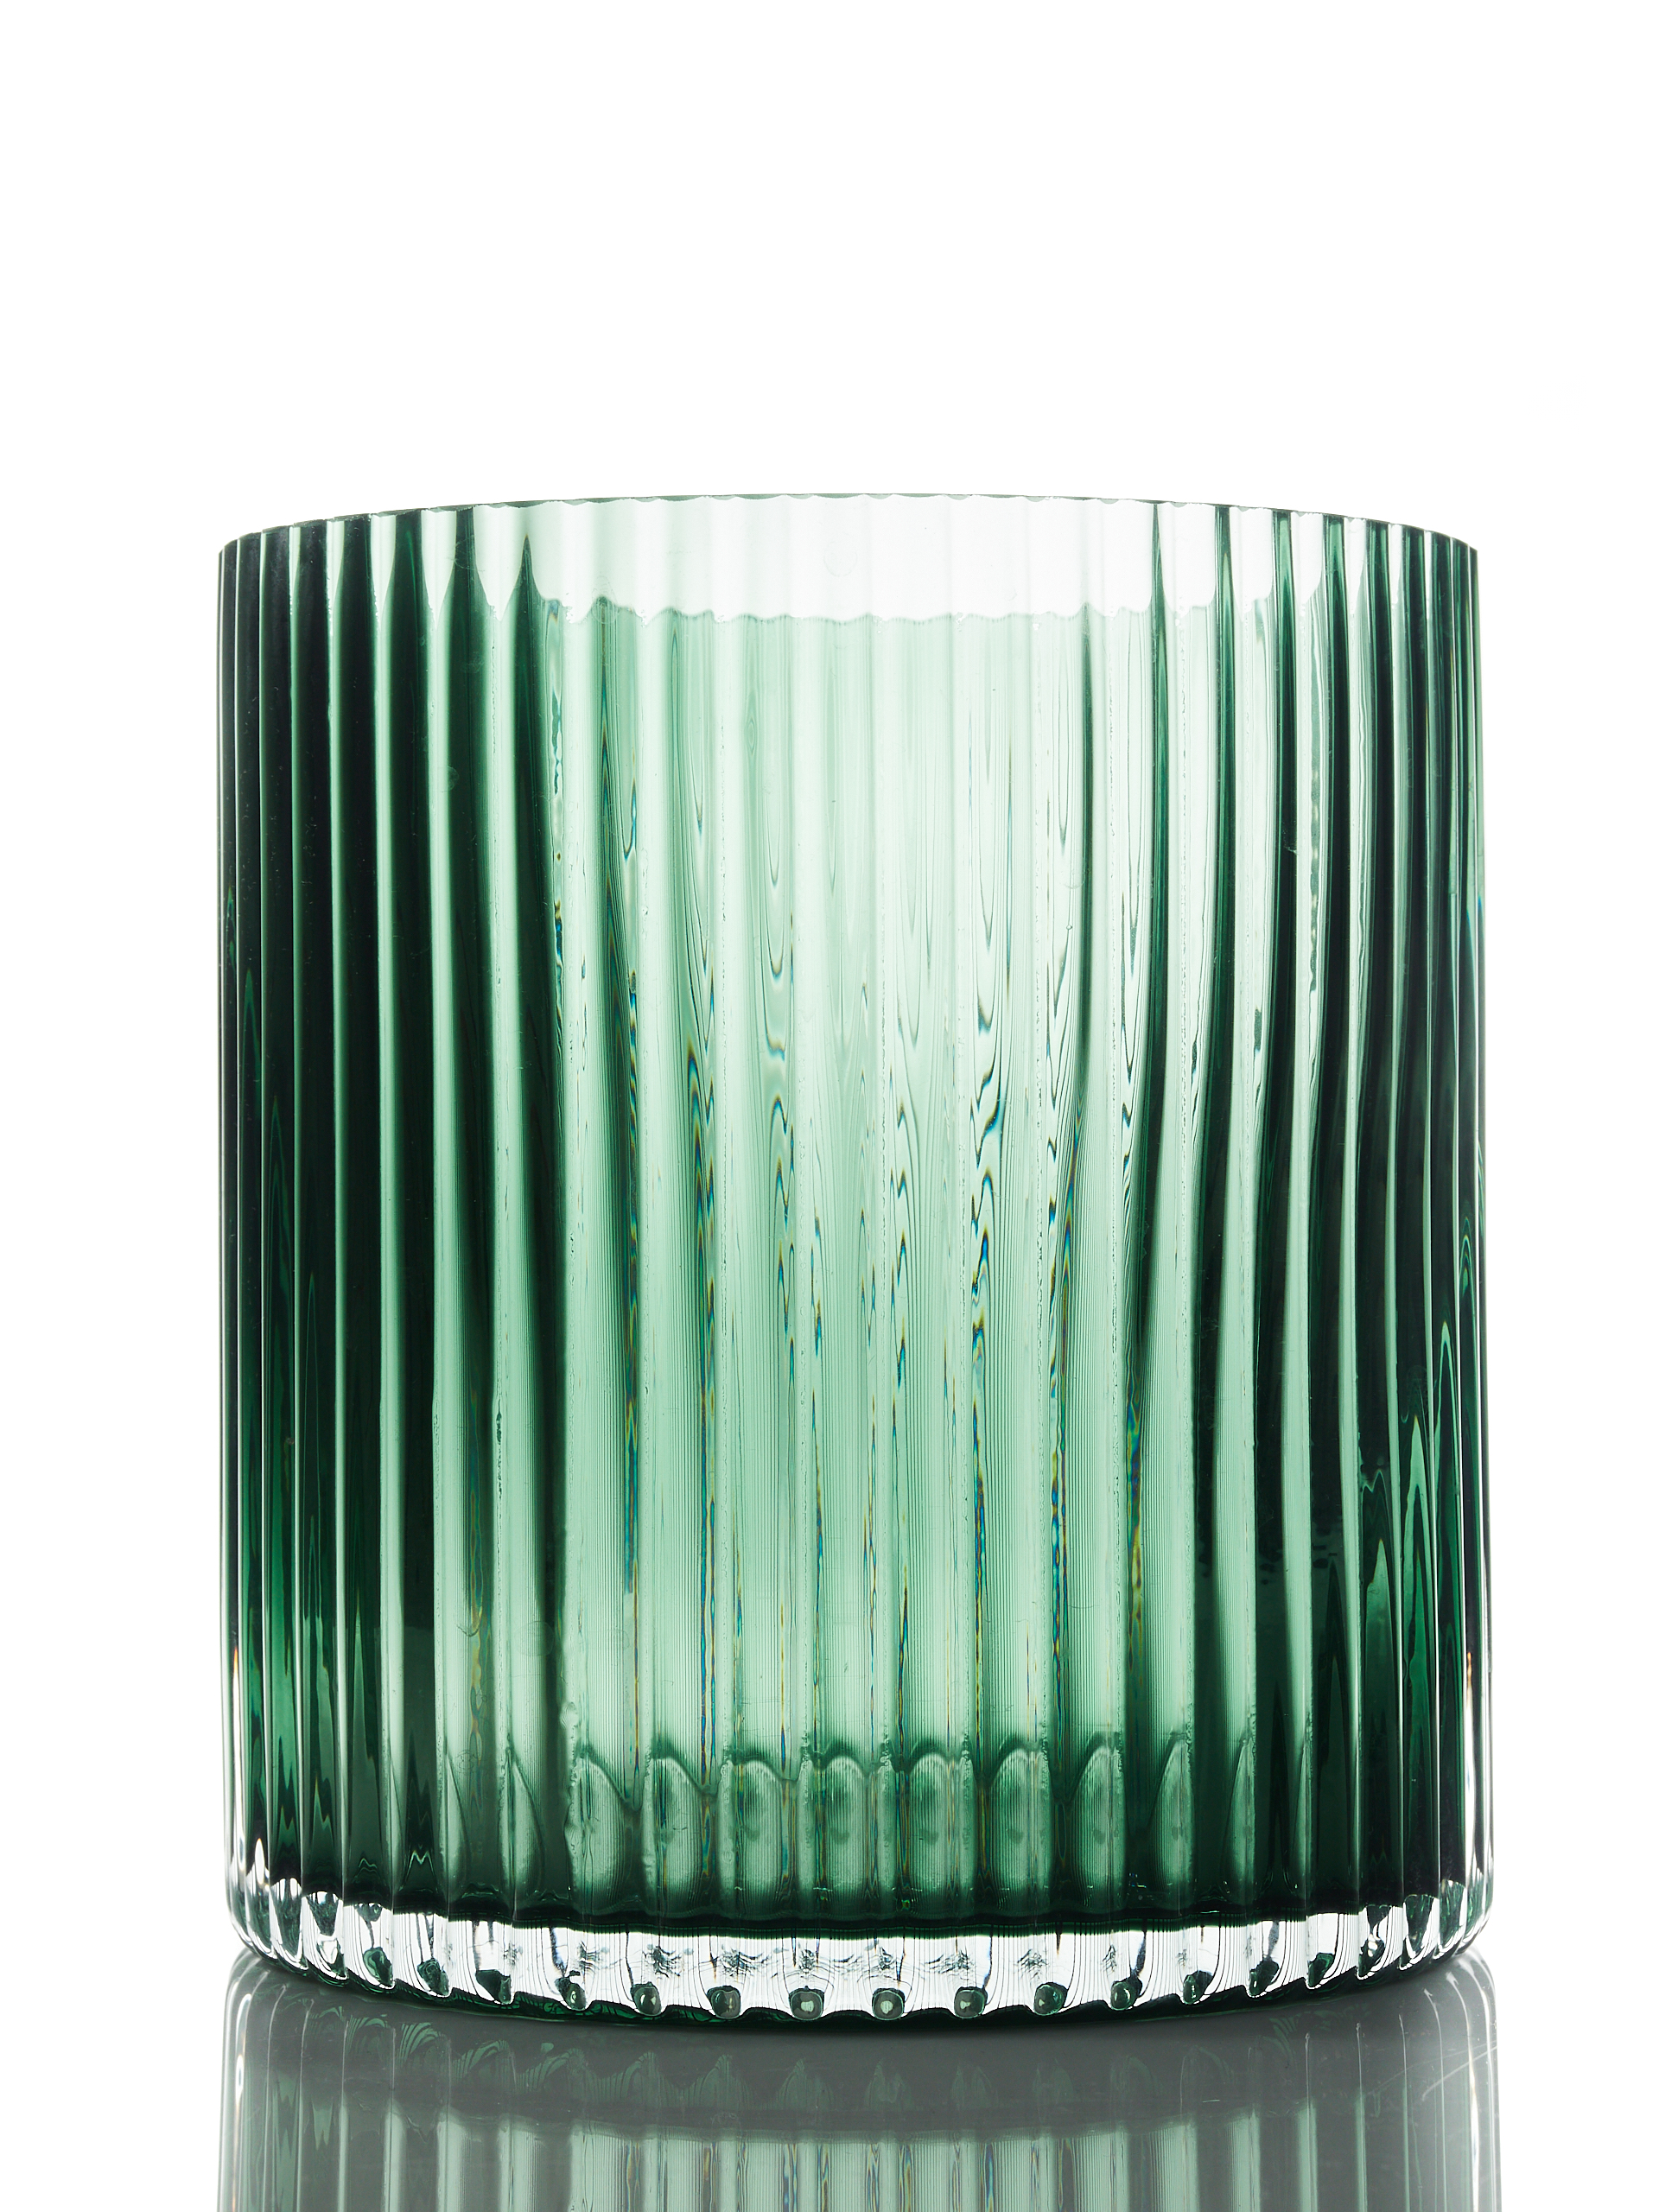
I chose a green glass vase with a strong, repetitive texture. I took three photos sequentially with different lighting, although the base remained the same. The first photo – only with backlighting. Indeed, the vase looks really good, the color is deep, but the reflection is too dark, as are the dark parts.
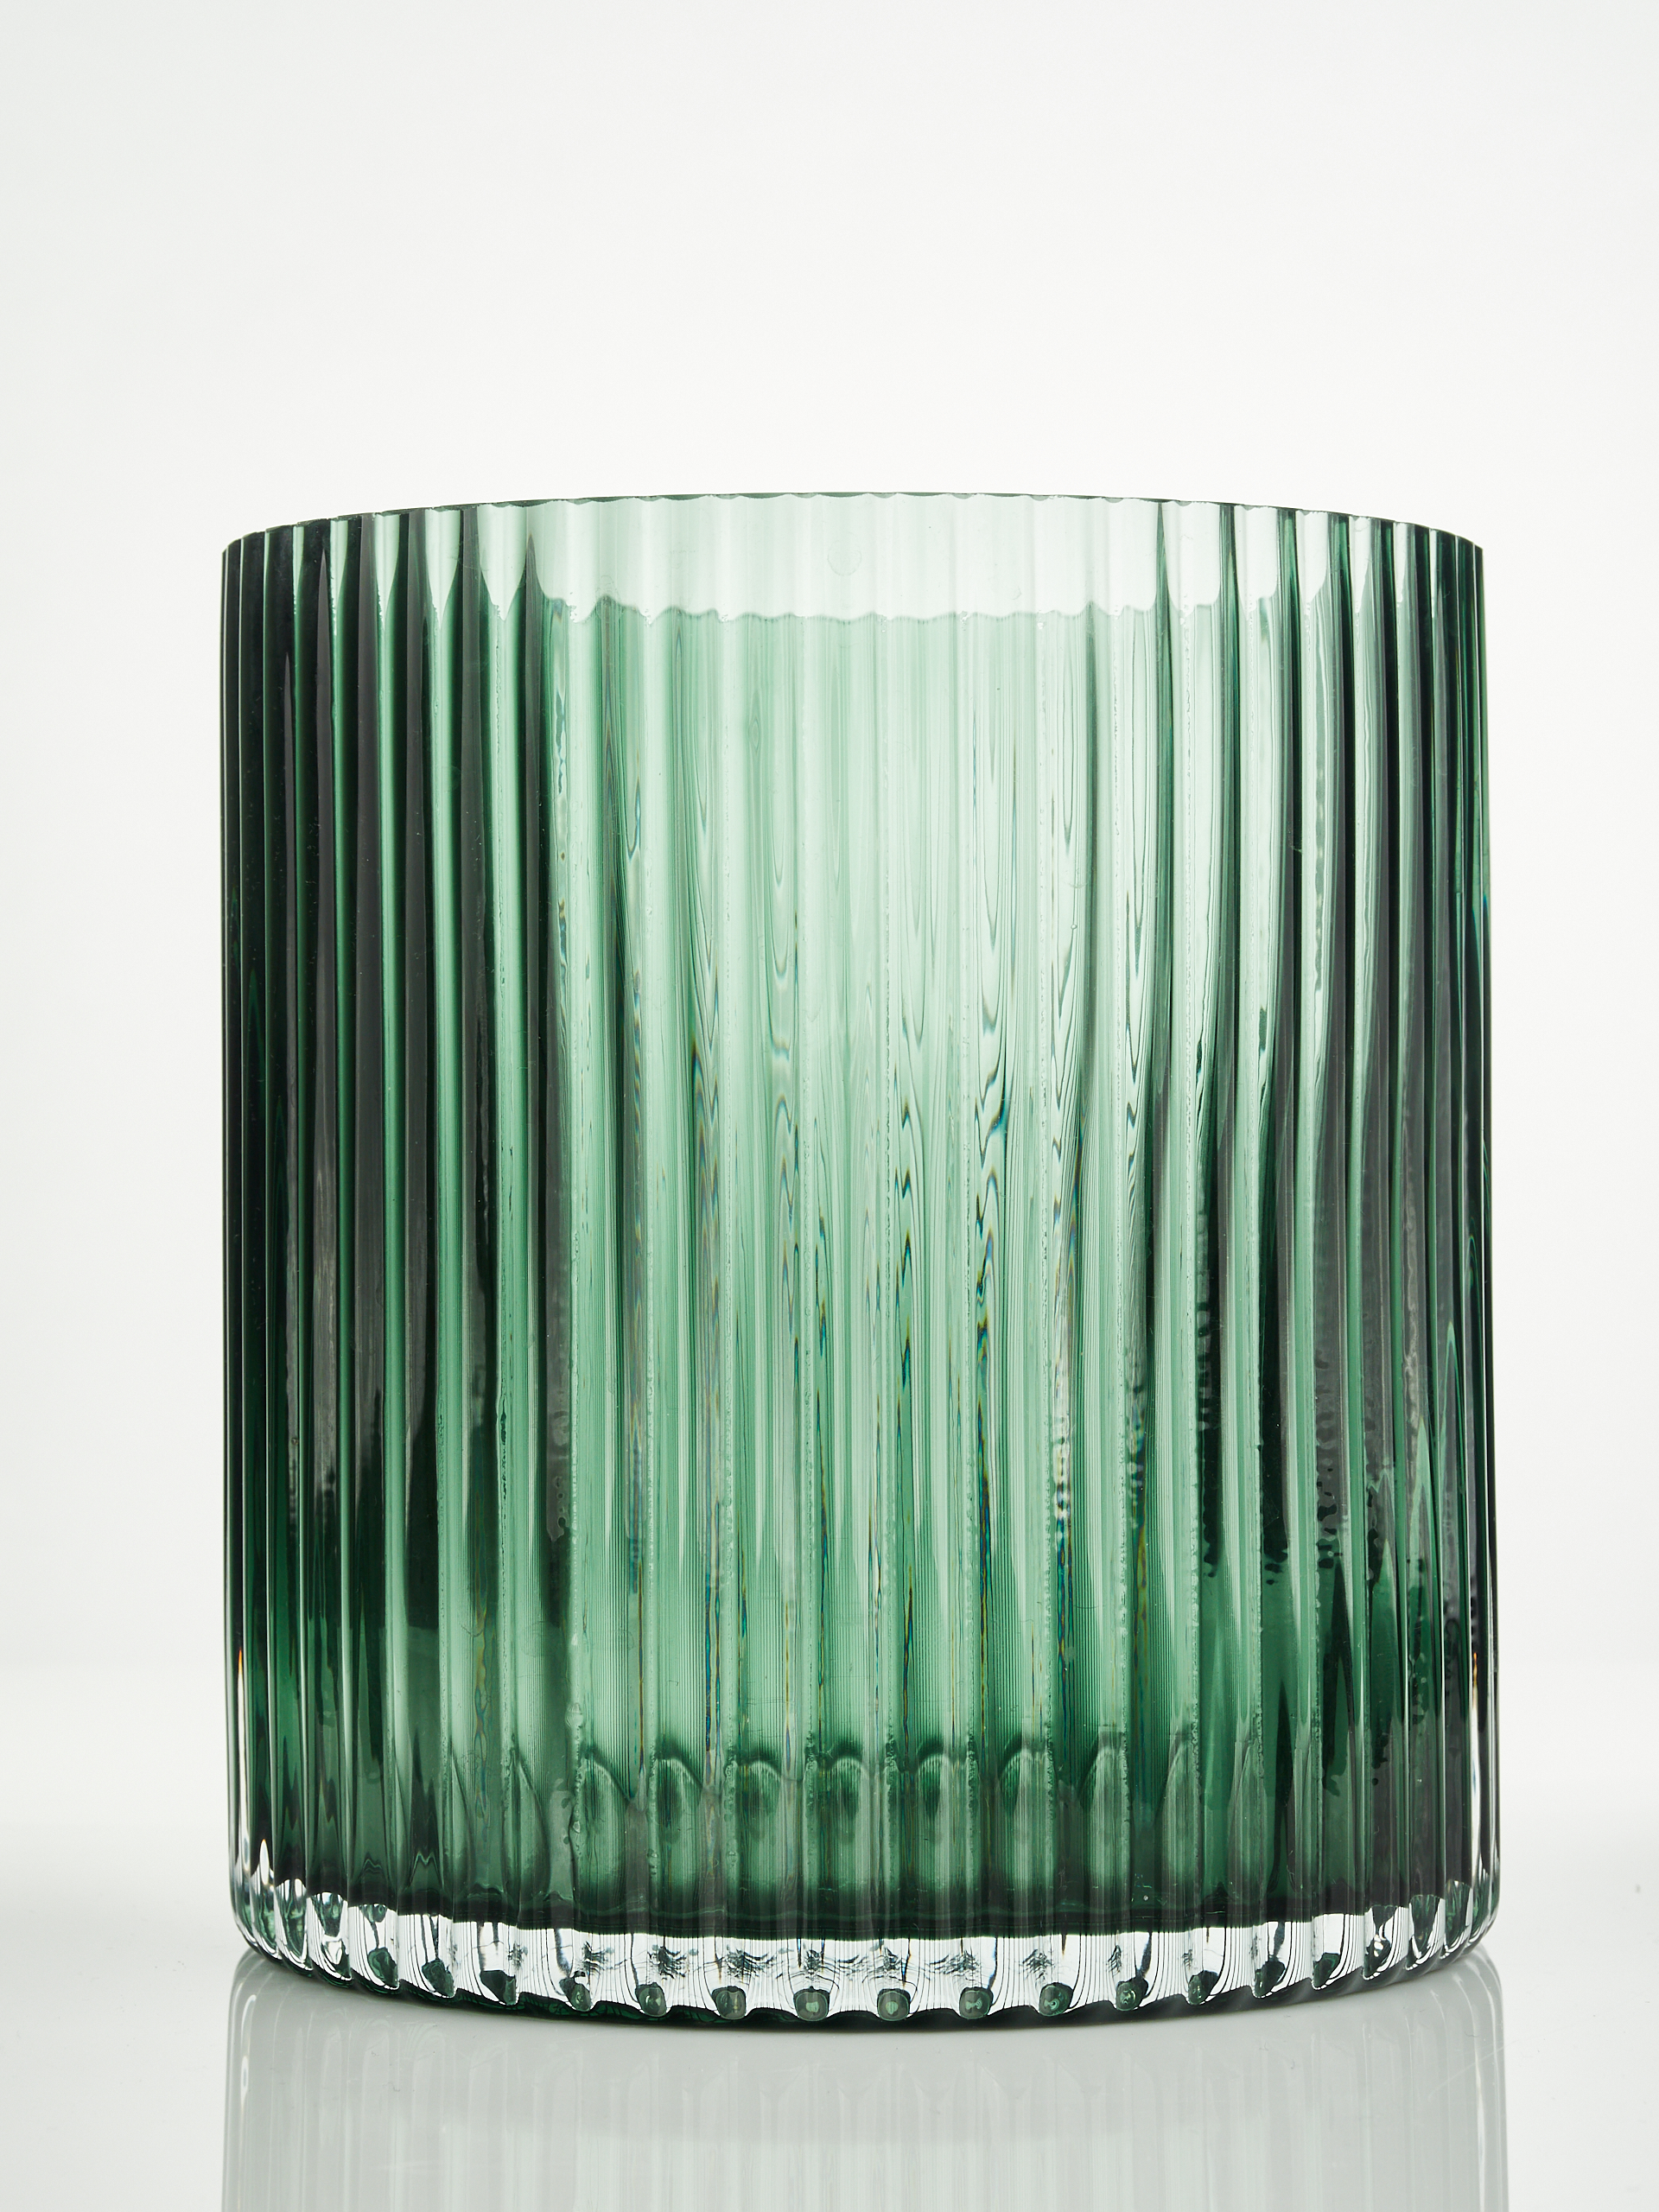
For the second photo, I turned on the GlareOne lamps with softboxes at the front. The vase lost a lot of contrast, the reflections became white, and in my opinion, the photo looks worse than even the one with too dark reflections.
The third photo, in my opinion the best, is balanced – I simply reduced the power of the lamps in the front softboxes by half. The shadows were filled in, the reflection is brighter, but the vase did not lose its character and color.
Product photography of white products
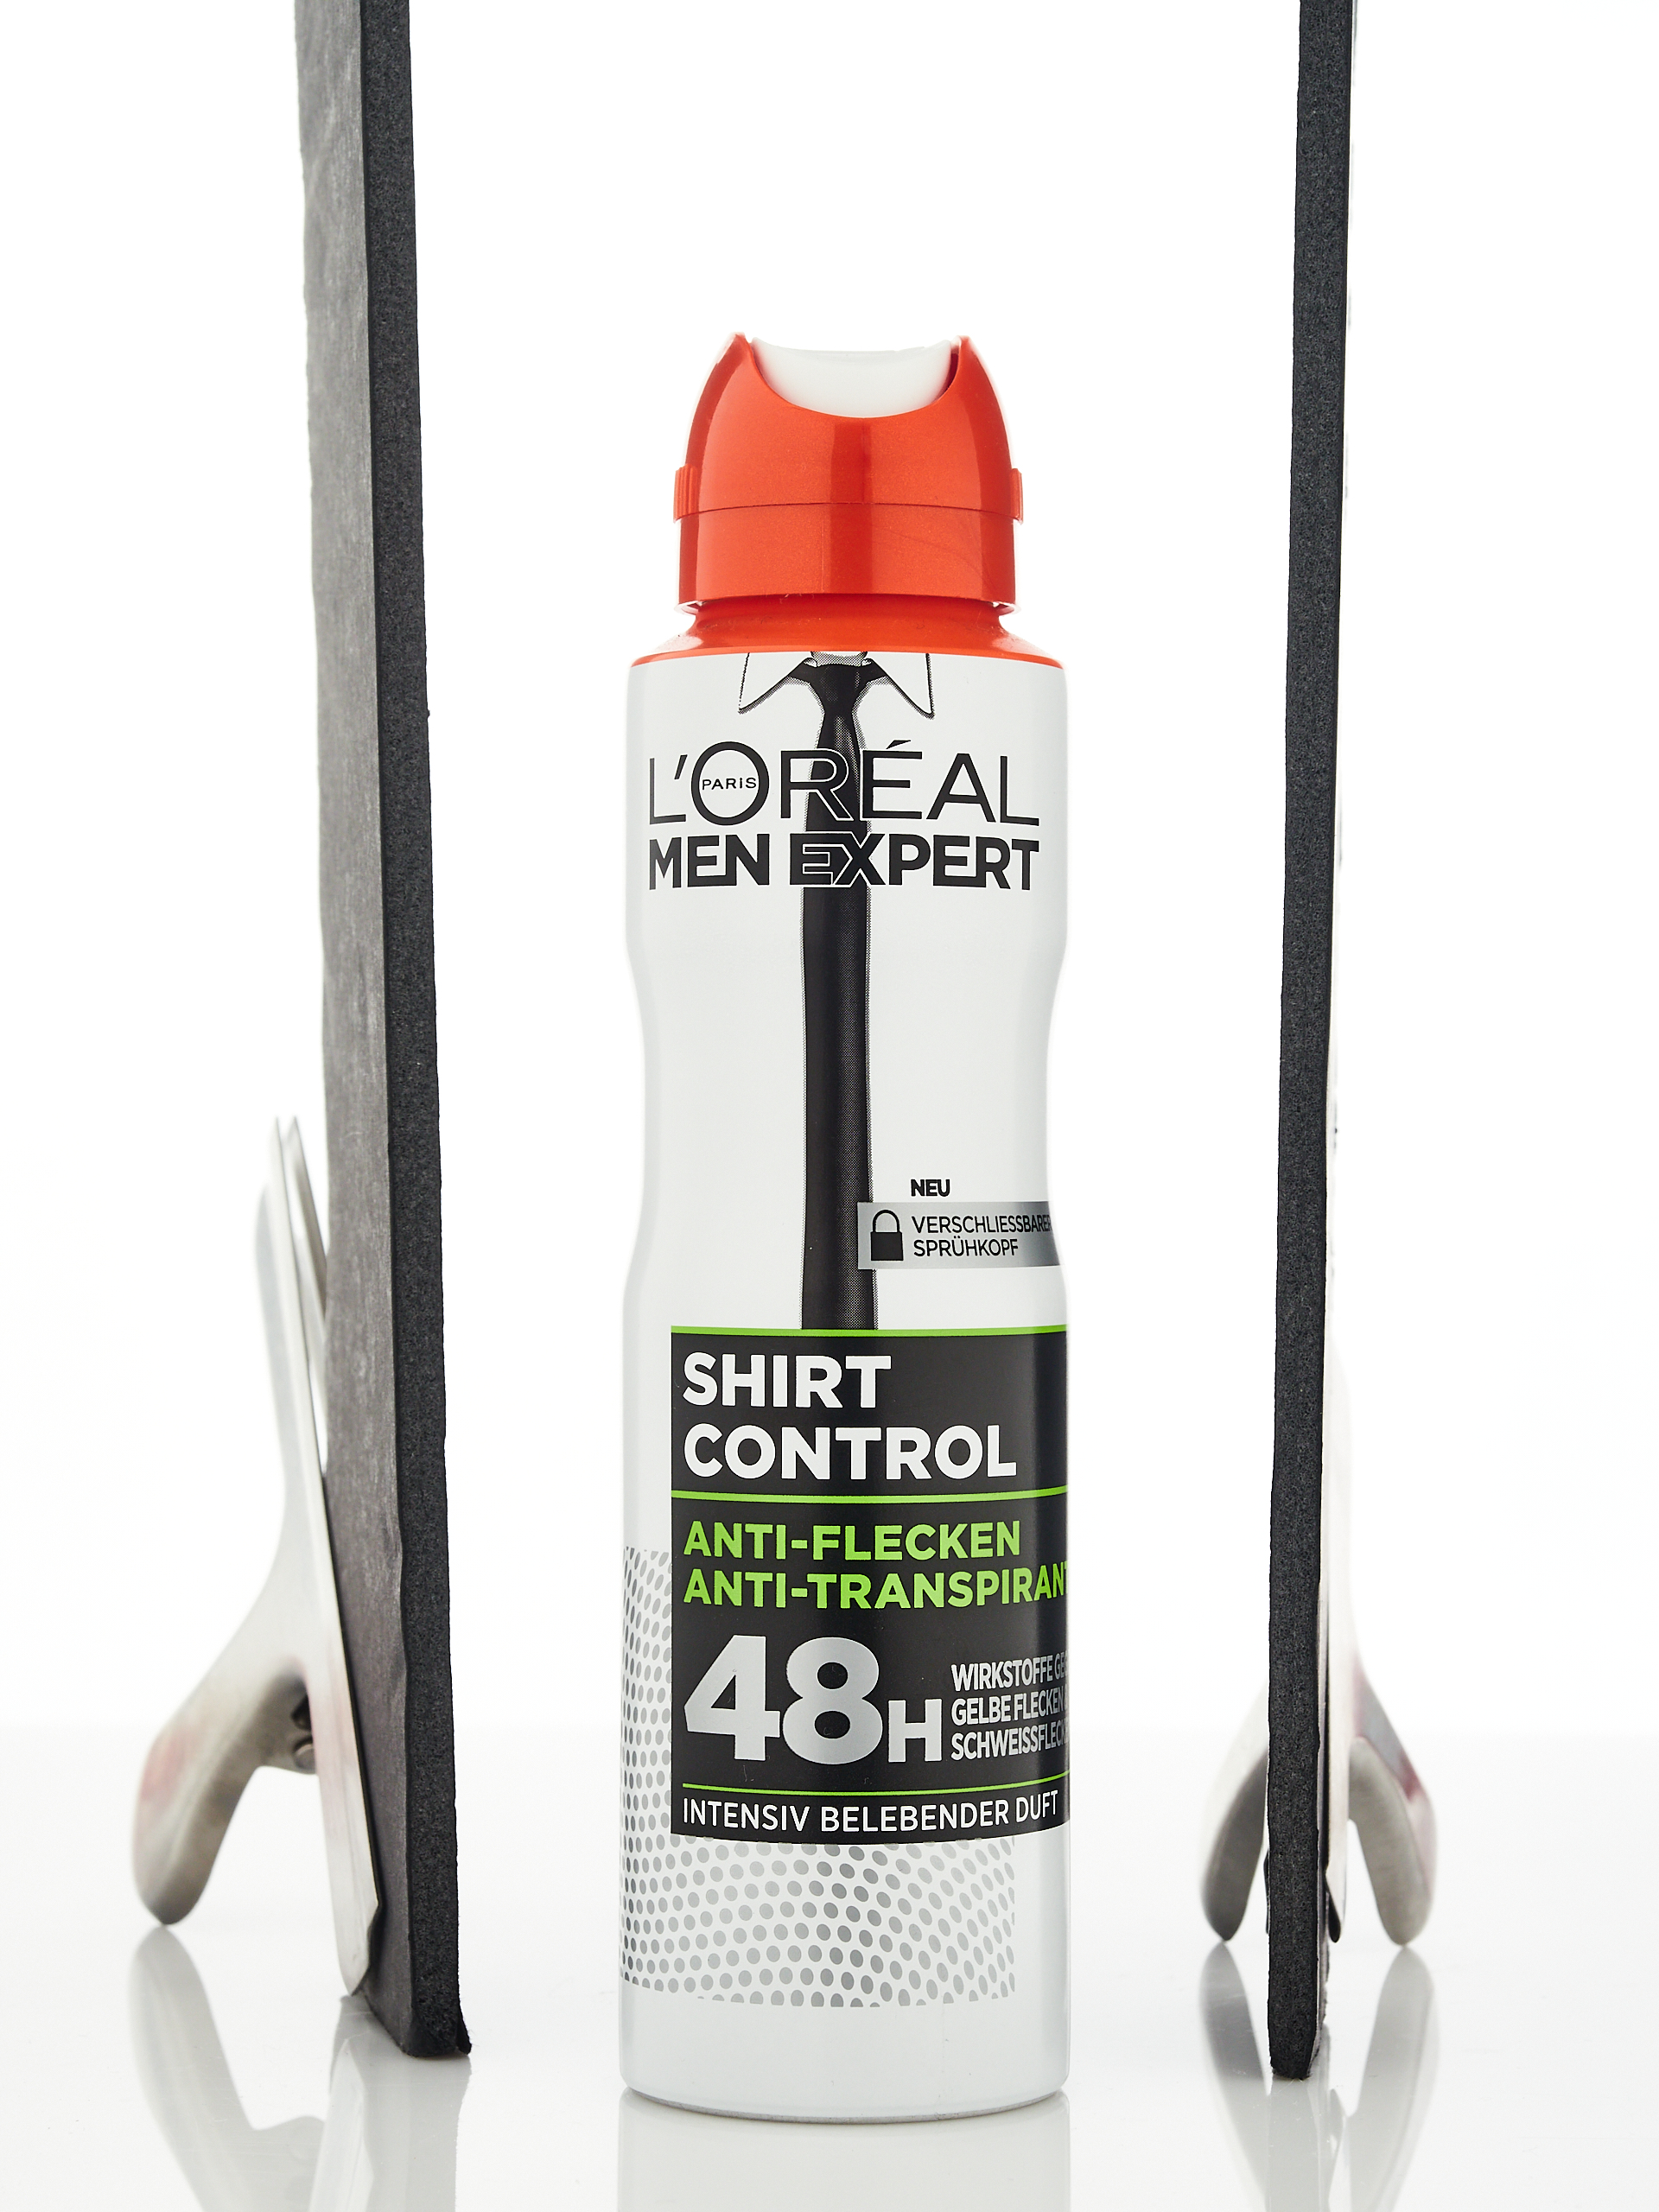
This always presents a challenge. Either the product comes out gray or it disappears against the white background. However, as it turns out, taking a correct photo is not very difficult at all. Here, black cutouts take the lead. I use pieces of black modeling foam, which I cut into various sizes, depending on the size of the product. This solution works perfectly when you need to outline the edge of a product. To set up the foam sheets next to the product, I use woodworking or office clips. You’ll achieve the best results by placing the foam very close to the product. The closer it is, the more sharply you’ll outline the edge. However, you must be careful not to overdo it, as it’s easy to make the product too dark. Tethering and live preview are very helpful here. Thanks to them, you can precisely position the foam.
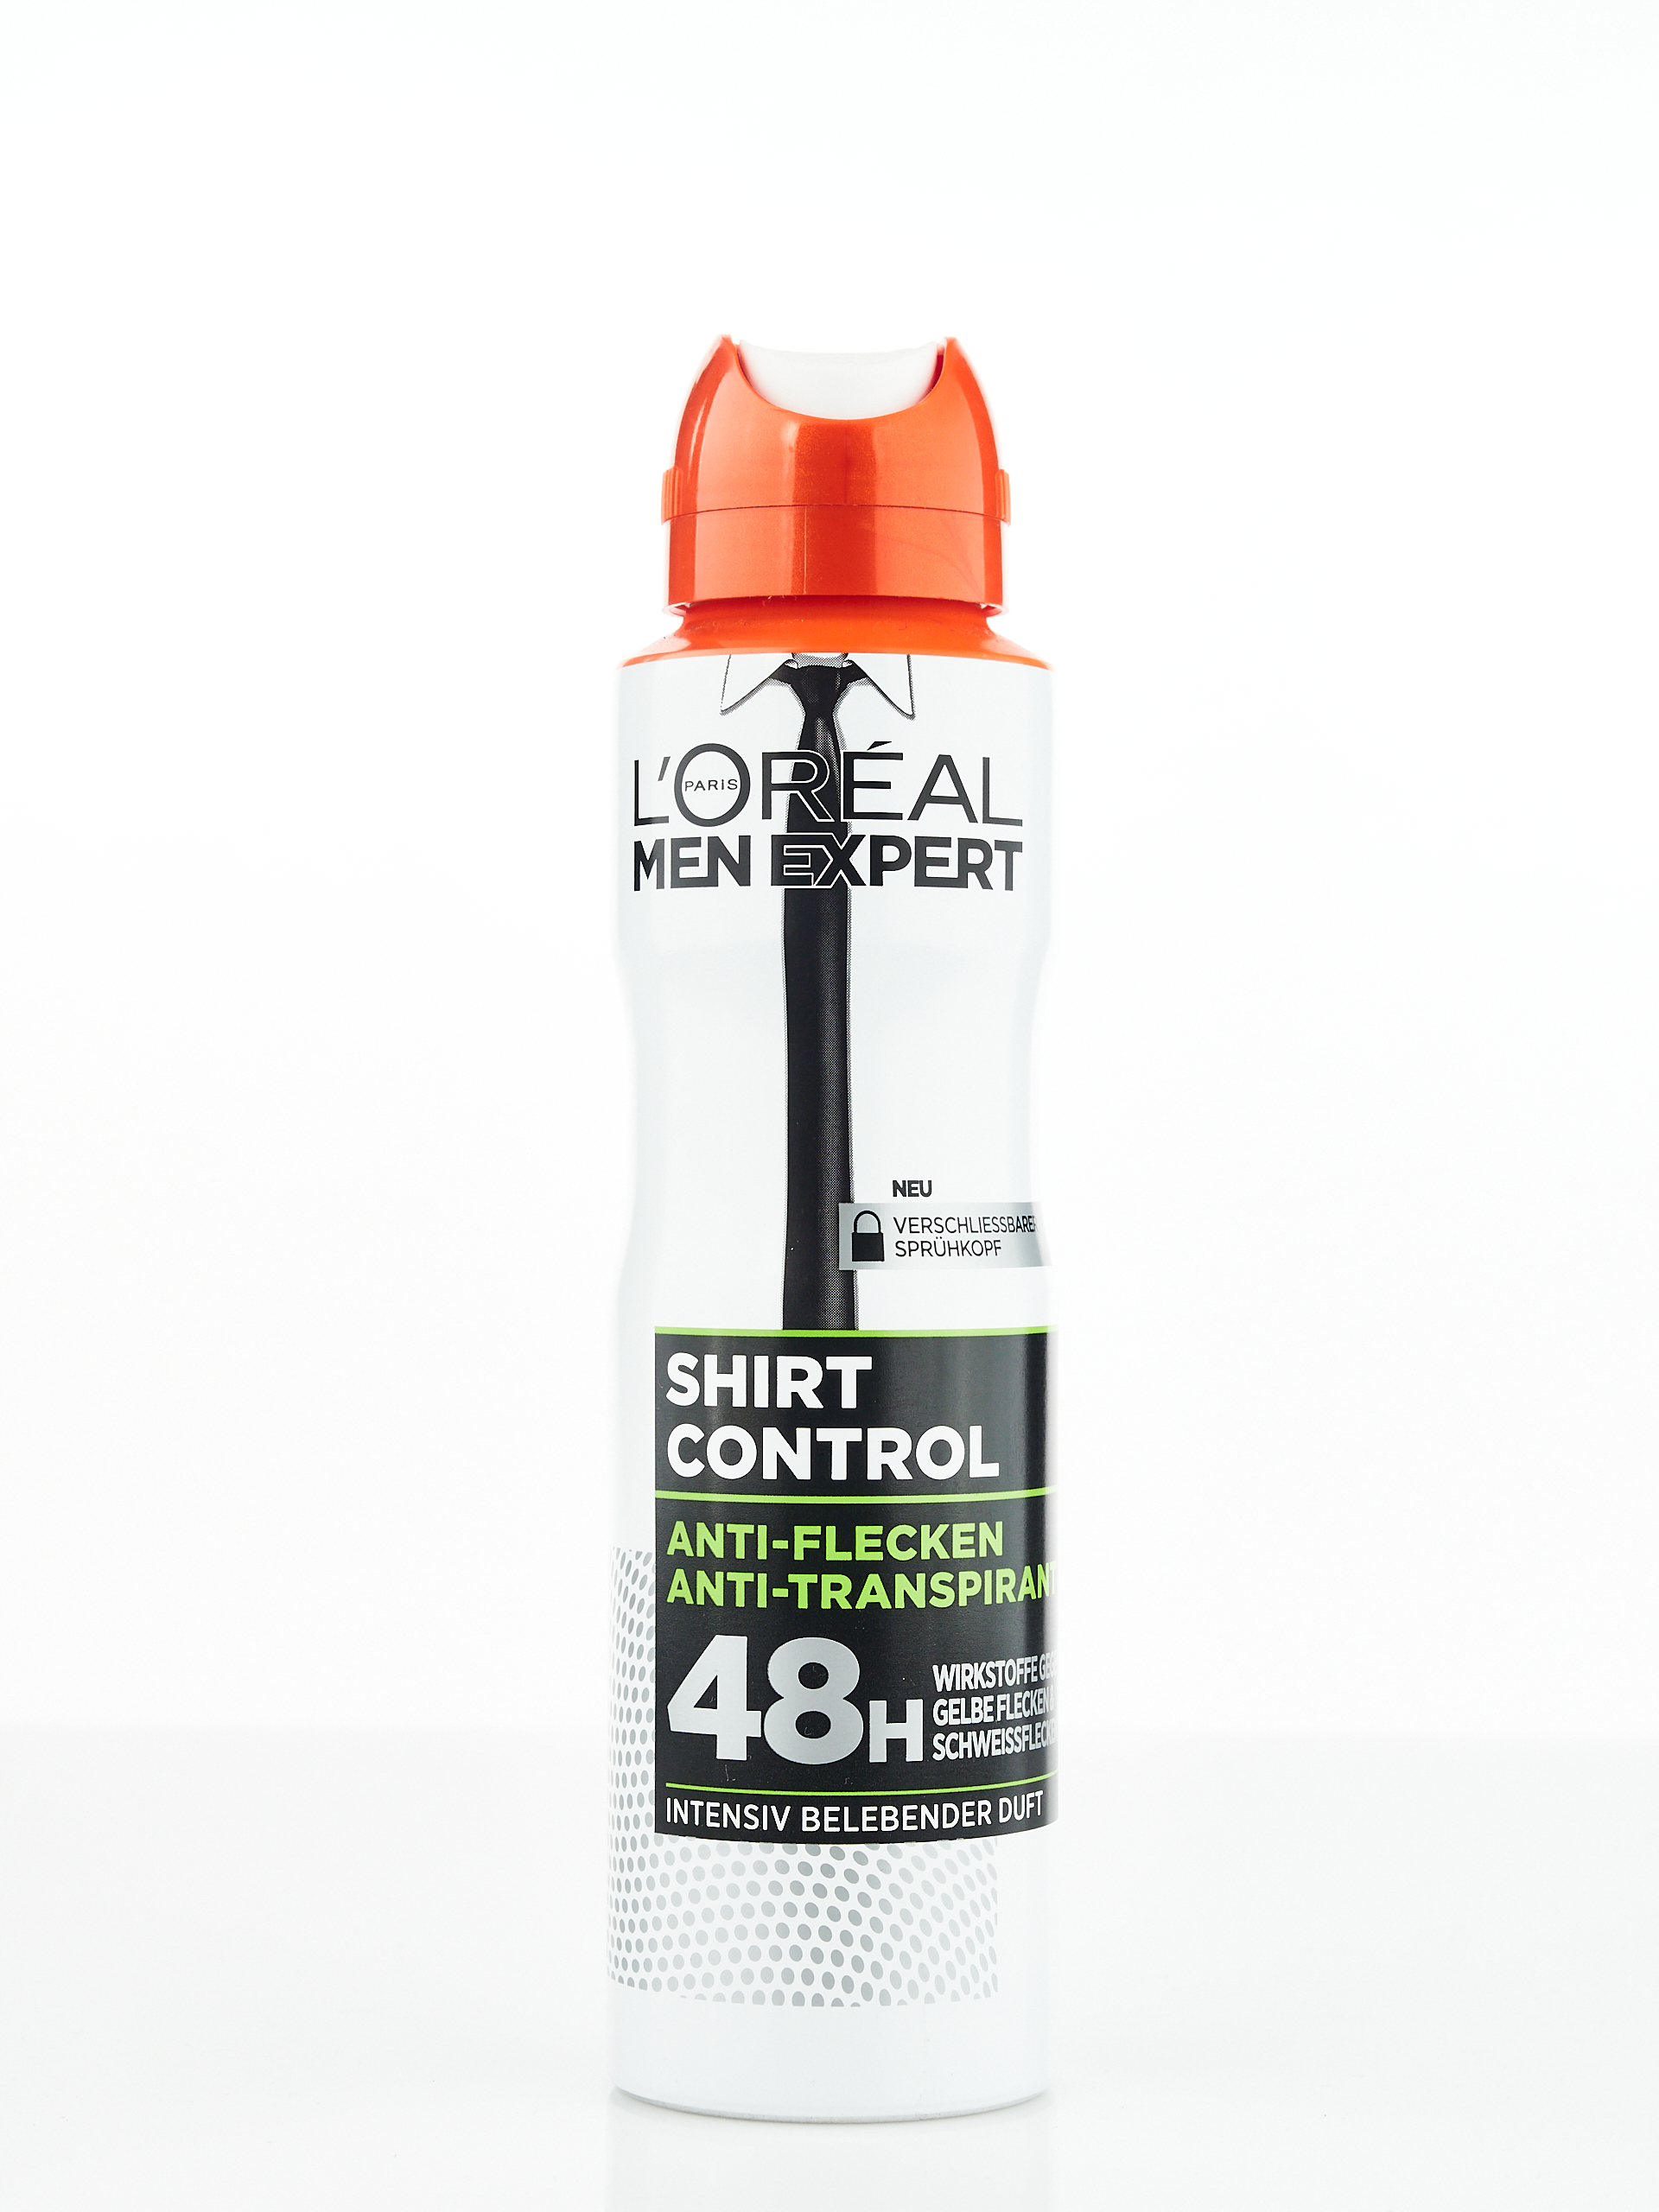
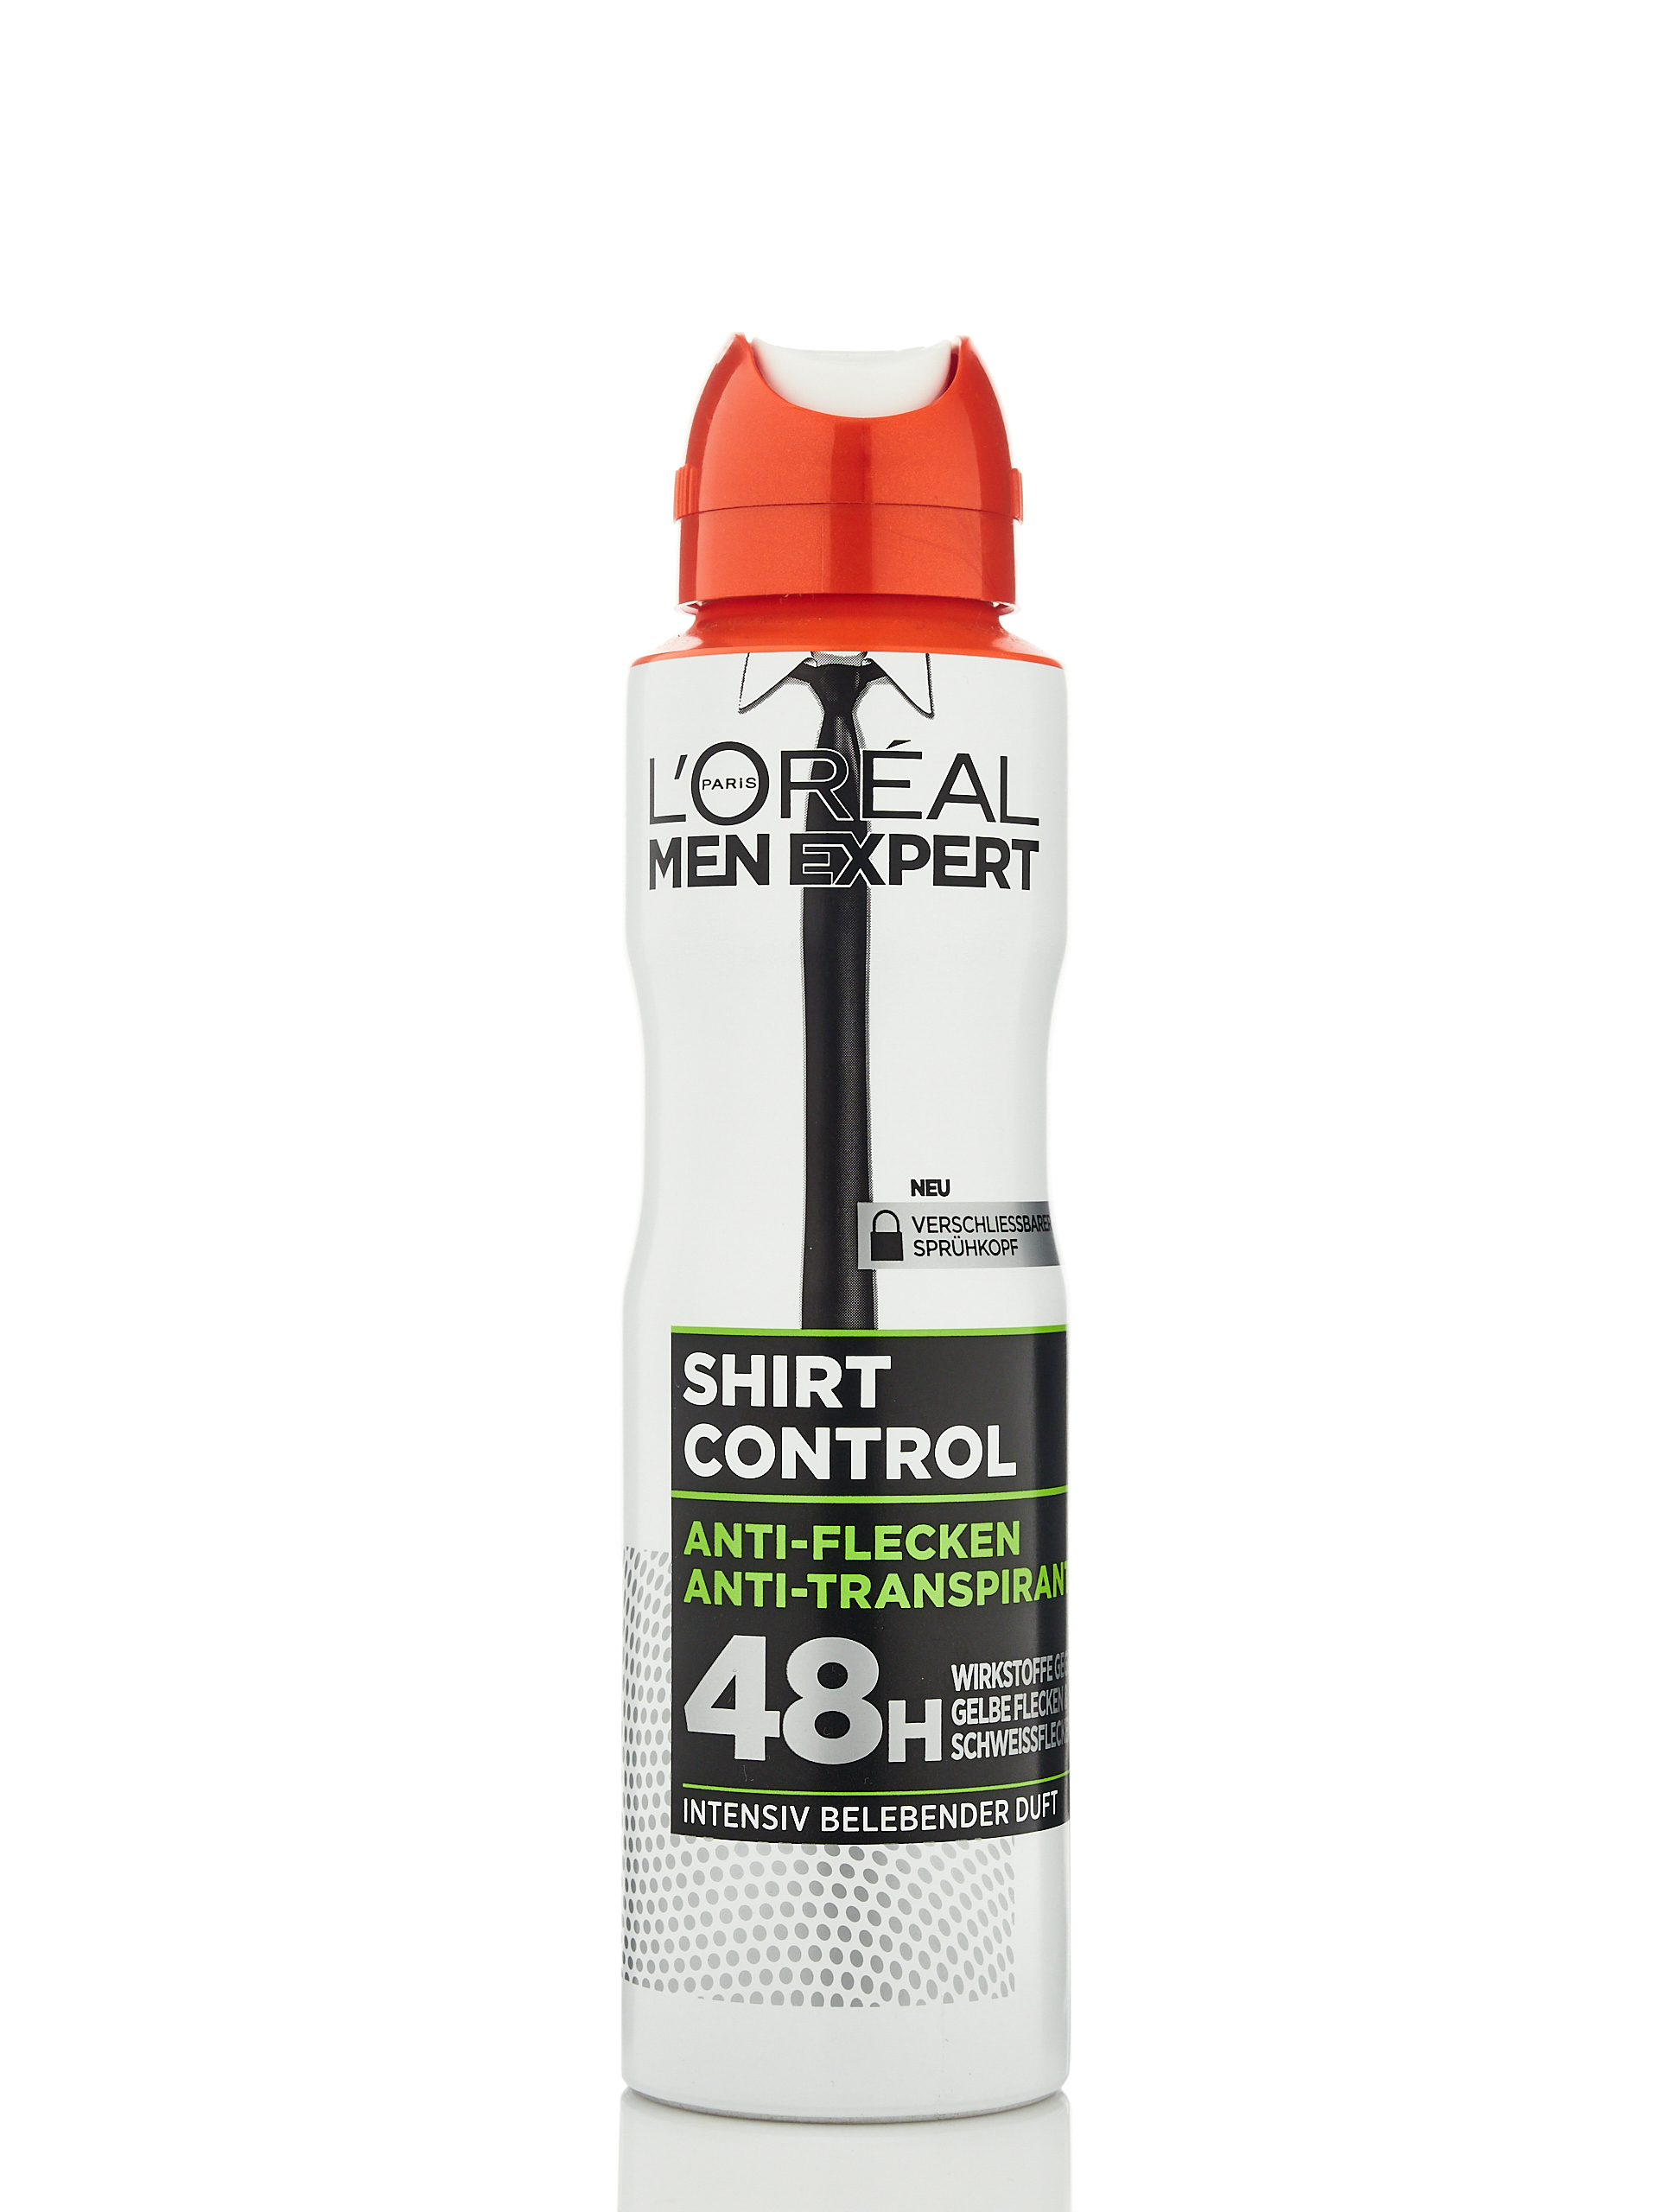
I decided to photograph a deodorant. Additionally, I used the technique I described with the shower gel. The orange cap was very brightly lit due to reflections from the softboxes, so in this case, I also used two additional diffusers made of plexiglass. The whole setup was quite uncomfortable because it was very tight, but the effect is perfectly fine. See the comparison of the two photos – in the first one, the deodorant almost merged with the background, and the reflections on the cap were very glaring. Just two tricks were enough, and the photo is much better. Then a quick removal of the cutouts in Photoshop, and it’s done!
A few words in conclusion
As you can see, product photography, which may seem very straightforward, can sometimes be quite challenging. Not every product is matte, simple, and pleasant to photograph. In this article, I’ve addressed many aspects of this type of photography and provided a handful of tips on how to deal with these more challenging products. Of course, there are more extreme products like jewelry, cutlery, or mirrors, but that’s a topic for another article.
In this article, I also decided not to heavily edit the photos because I wanted you to see how much you can achieve using just light and a camera. Of course, there is post-production involved, but it’s very minor – just global adjustments in Capture One, where I improved contrast, clarity, and boosted whites, and also during local editing, I locally brightened the background where it wasn’t completely white. However, the most important thing is that the vast majority of the work was achieved through proper lighting – diffusing or blocking light to properly highlight the product.
The GlareOne LED 1500 and GlareOne LED 600D lamps performed really well because they allowed me to see the distribution of shadows and highlights precisely, and also enabled me to adjust the polarization strength and position the cutouts accurately. However, it’s important to remember that when working with continuous light and a closed aperture, you need to use a tripod. Happy shooting!
Jakub Kaźmierczyk – profile
My name is Kuba Kaźmierczyk and I have been professionally engaged in photography for over 10 years. It’s something that accompanies me every day during my sessions, but also in my free time. I strive to be a versatile photographer, which is why my portfolio includes photos from various fields of photography. Commercially, I mainly work with companies creating photos for advertising campaigns. I have worked for companies such as Renault, Dacia, Lexus, Grycan, Pizza Hut, KFC, Burger King, Eurobank, Shopee, Acer, Olympus, and many others. I photograph interiors, products, people, and culinary subjects. After hours, I indulge in portrait and fashion photography – it gives me the most pleasure and satisfaction, especially when creating thoughtful sessions with interesting stylizations. I increasingly reach for analog cameras, which make me feel like I’m returning to the roots. I like to challenge myself and try new things – underwater and drone photography, for example. During my numerous trips, I observe the bustling life of the city, photograph landscapes, food, and the local community.
My second area of activity is photographic education, both live and online. I actively manage social media, record videos for my YouTube channel, and engage in preparing training materials for the eduweb.pl platform. Recently, I’ve been developing the photographic path of the ahoy.so platform, a community of photographers, where I create numerous photographic guides. I also conduct live streams, during which I do sessions, edit photos, and provide business advice.
I also collaborate with many companies in the photography industry, leaders in their fields. Mutual support and appreciation of my work are extremely important to me, and thanks to it, I can prepare materials from photo sessions and demonstrate the practical use of equipment. I collaborate, of course, with Peak Design, as well as brands such as GlareOne, Canon, OM-System, Eizo, Wacom, Manfrotto, Acer, Nvidia, WD, Sandisk.

