The world of film and photography couldn’t exist without light, which is undeniably one of the most important elements in any production.
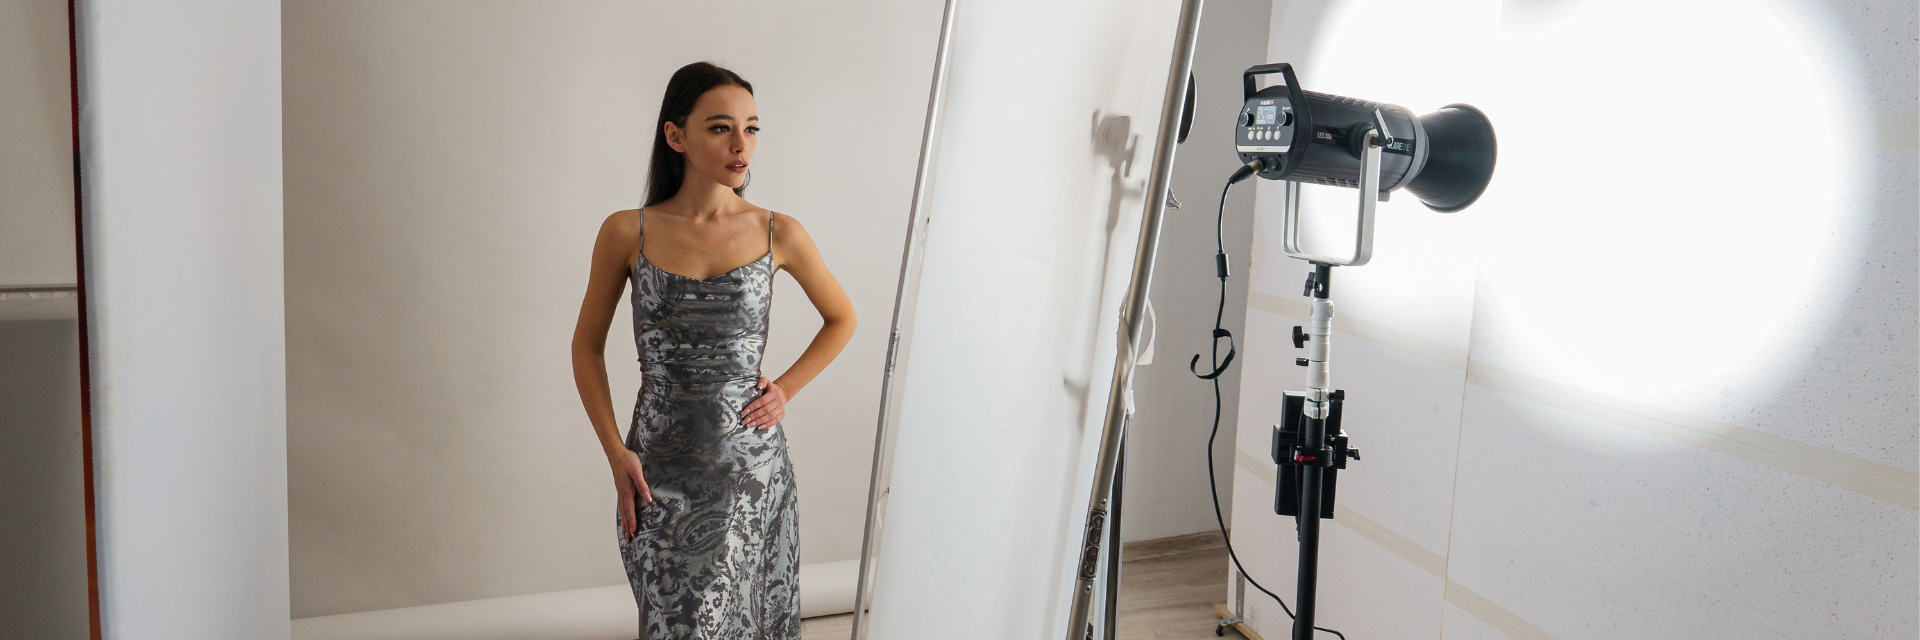
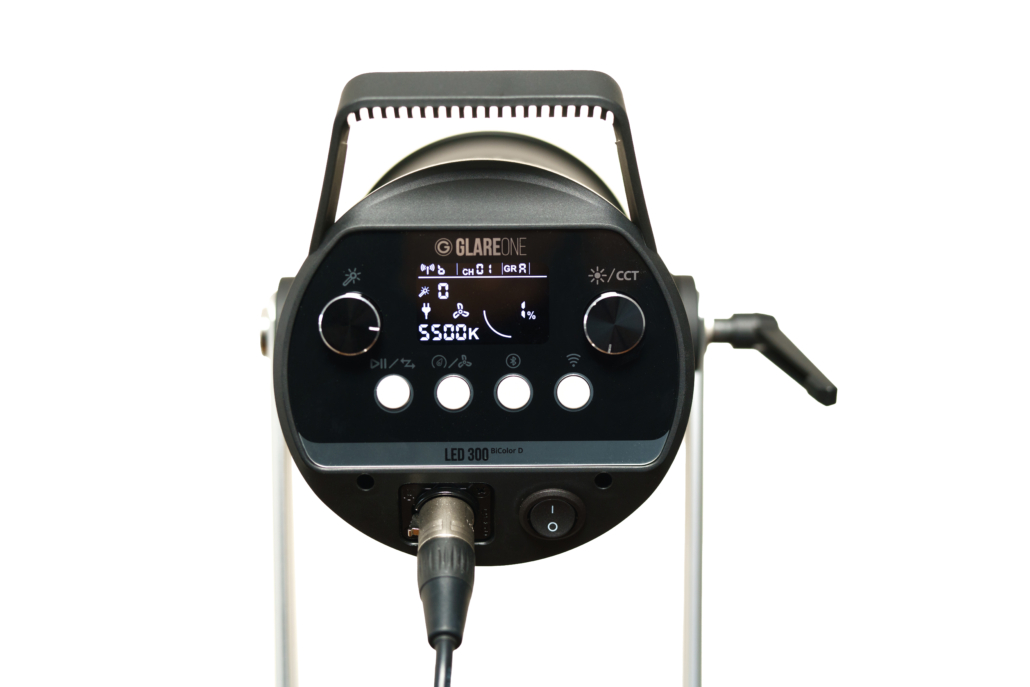
In this article, I will show you three different film lighting setups adapted to portrait photography. But first, let me introduce you to the new GlareOne LED 300 BiColor D lamp, which we will use to build these lighting setups.
LED lighting has become a staple in various film and photography productions because it has become more powerful, smaller, and of better quality. My journey with photography began in a photo studio with flash lamps, which I used for over 14 years. Today, however, I more often reach for LED lamps, or continuous lighting, during studio and commercial sessions. Their great advantage is that we can see exactly how the light spreads and adjust it perfectly to our needs, illuminating even the smallest part of the scene.
Let’s start with what the GlareOne LED 300 BiColor D lamps offers.
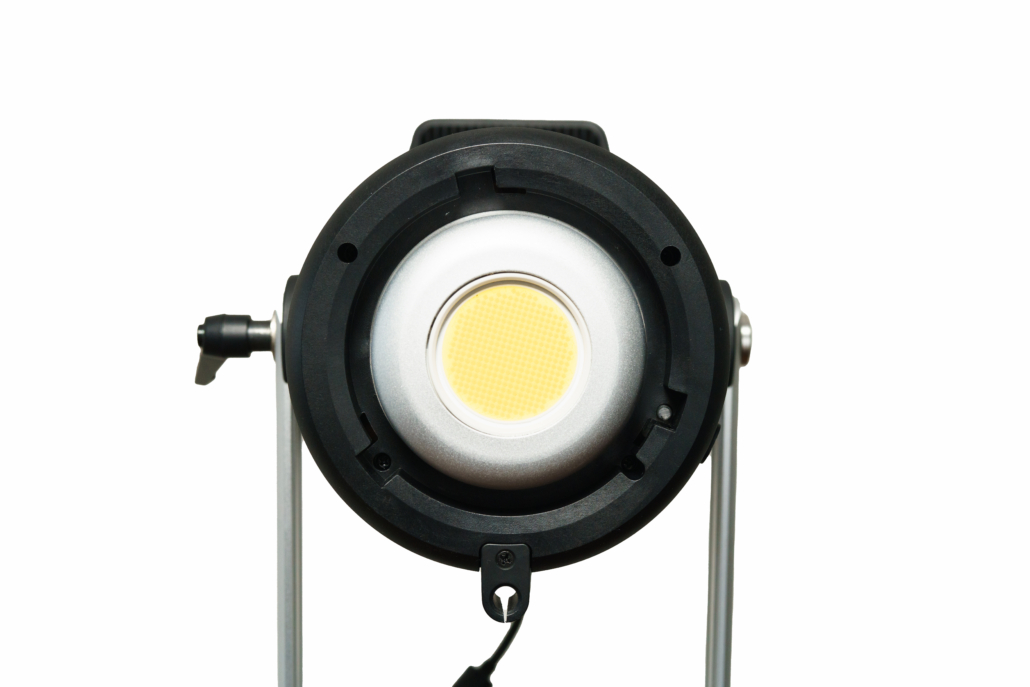
Bowens Mount
The Bowens mount is based on a bayonet system, ensuring quick and easy mounting and dismounting of all accessories, such as softboxes, grids, barn doors, Fresnel modifiers, and lenses. It is very popular in both flash and LED lamps, allowing us to use the same accessories for both types of lamps.
Power supply
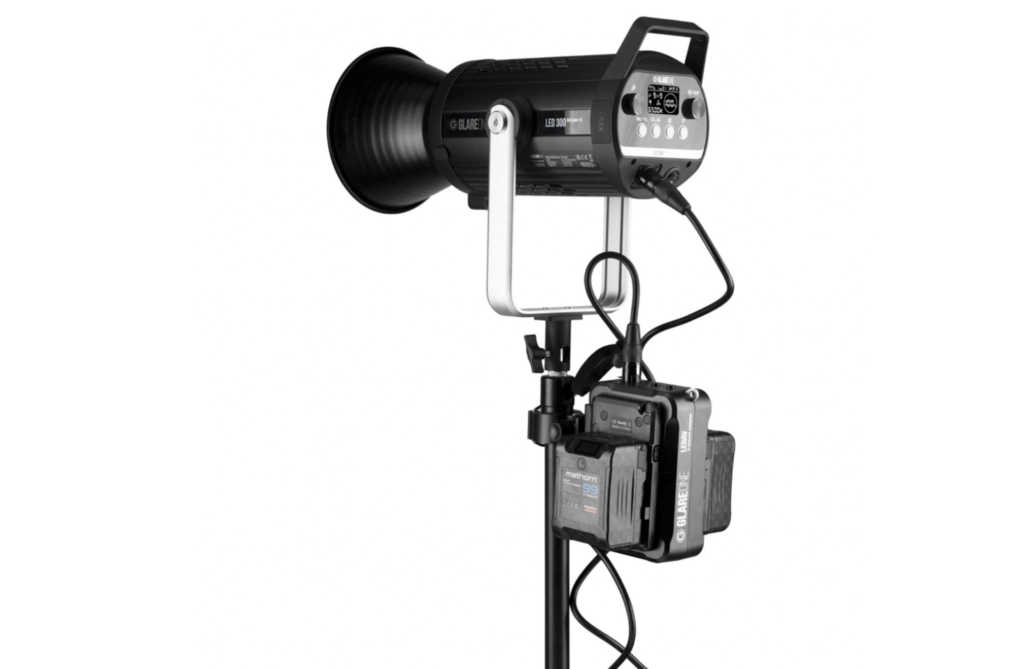
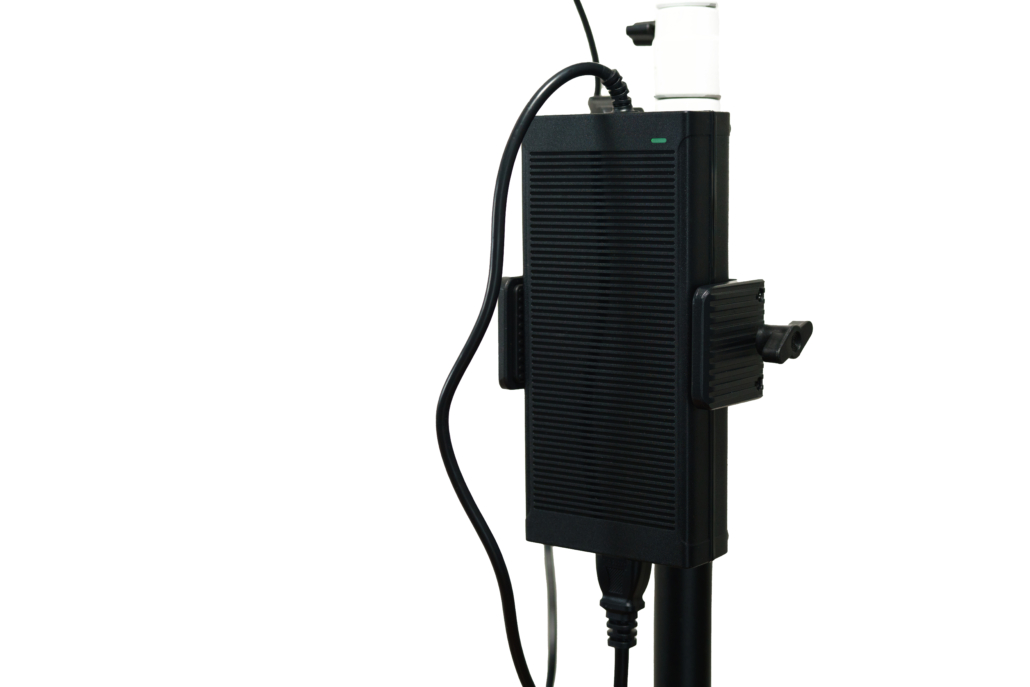
The type of power supply is very important when choosing equipment. The GlareOne LED 300 BiColor D lamp offers the possibility of power from both the mains and batteries using V-Mount batteries, which are widely available on the Polish market. To power the lamp with batteries, you need to purchase the GlareOne LEDAV adapter. With a single V-Mount battery of 14.8 V and a capacity of 190 Wh, you can power the lamp at full power for 30 minutes. This lamp has 300 watts of power, which is quite significant.
Adjustable Color Temperature
In this class of lighting, we have adjustable color temperature in the range of 2700-6500 K. This allows us to adapt the lamp’s light color to the environment. Changing the color temperature can affect the mood in photos or films. For example, warm light around 3000 K can mimic sunrise and create a more cozy and relaxing atmosphere. Adjusting the temperature also allows for matching the lamp’s color to other artificial light sources, eliminating the problem of uneven lighting. Setting the right color is a remarkable advantage of the GlareOne LED 300 D lamp.
TLCI and CRI – What Are They and Why Are They Important?
High TLCI (Television Lighting Consistency Index) and CRI (Color Rendering Index) values are desirable in lamps, especially in photography, filming, television production, and other applications where accurate color reproduction is crucial. Here’s why high values are important:
- TLCI: Measures how accurately light renders colors for television cameras. A TLCI value above 90 is considered very good, meaning colors will be rendered precisely and faithfully in television conditions. The GlareOne LED 300 D lamp has a TLCI above 98.
- CRI: A more general index of color rendering accuracy, widely used. A CRI value above 90 is considered high. The light can accurately render colors compared to a reference light source. The GlareOne LED 300 D lamp has a CRI above 97.
In summary, the GlareOne LED 300 BiColor D lamp excels in light quality, offering parameters at the highest currently available level.
Useful Features for Filming
No Flicker Effect: You can use the GlareOne LED 300 BiColor D lamp with various shutter speeds, and the scenes will be perfectly lit without flickering.
Special Effects: There are 9 different effects to choose from, simulating popular light sources such as a flash or TV screen.
Quiet Operation: The lamp’s noise is only 30 dB, thanks to a high-quality radiator and a quiet fan, allowing you to record audio without unwanted background noise.
Remote Control: The GlareOne LED 300 BiColor D lamp can be remotely controlled with additional remotes: GlareOne LED RC or the new RC II, making it easy to adjust the settings without having to physically reach the lamp.
Additional Features: The lamp includes a handle for umbrellas, a grip for holding the lamp, and a large tripod mount, making it versatile and user-friendly.
Set 1 – 100% Cotton
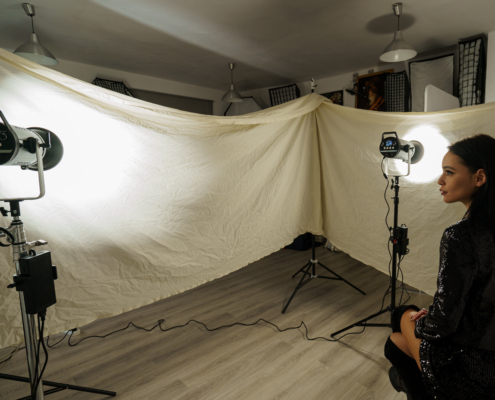
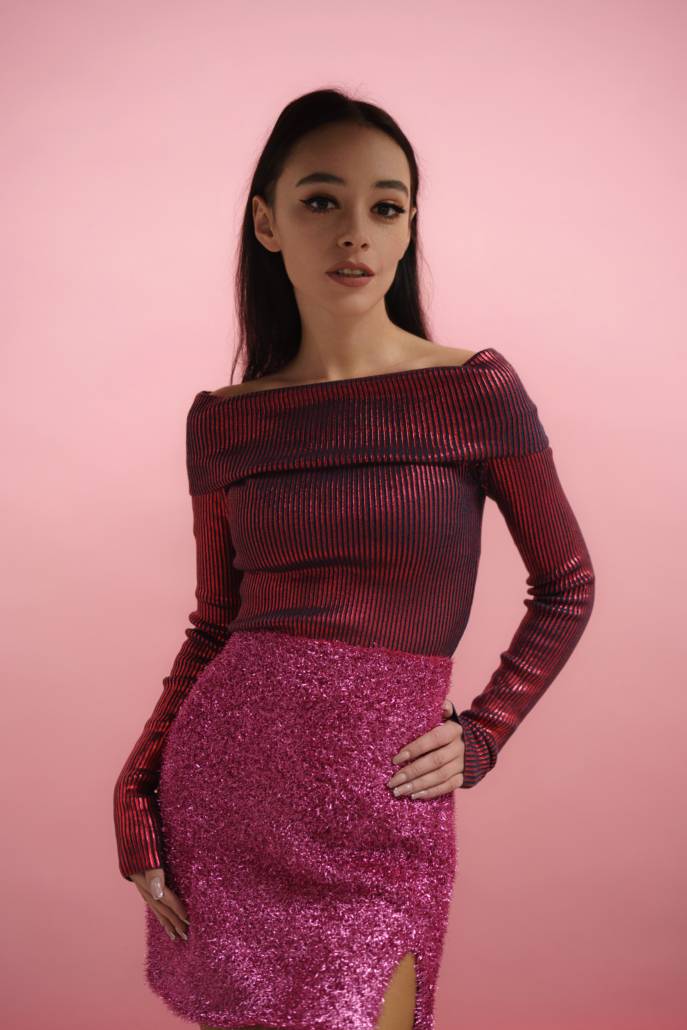
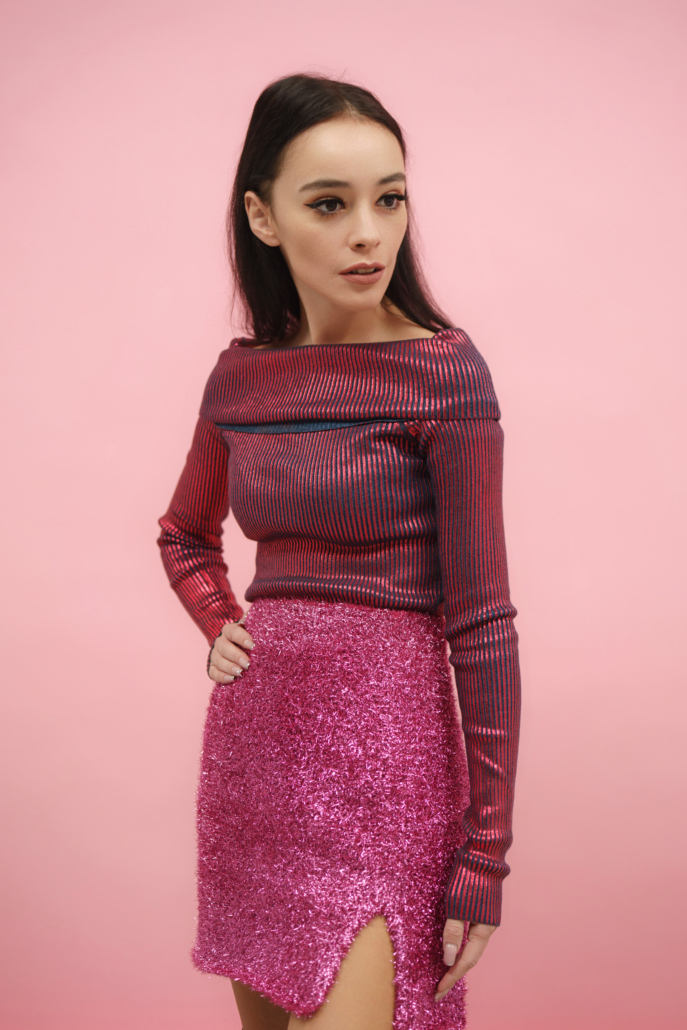
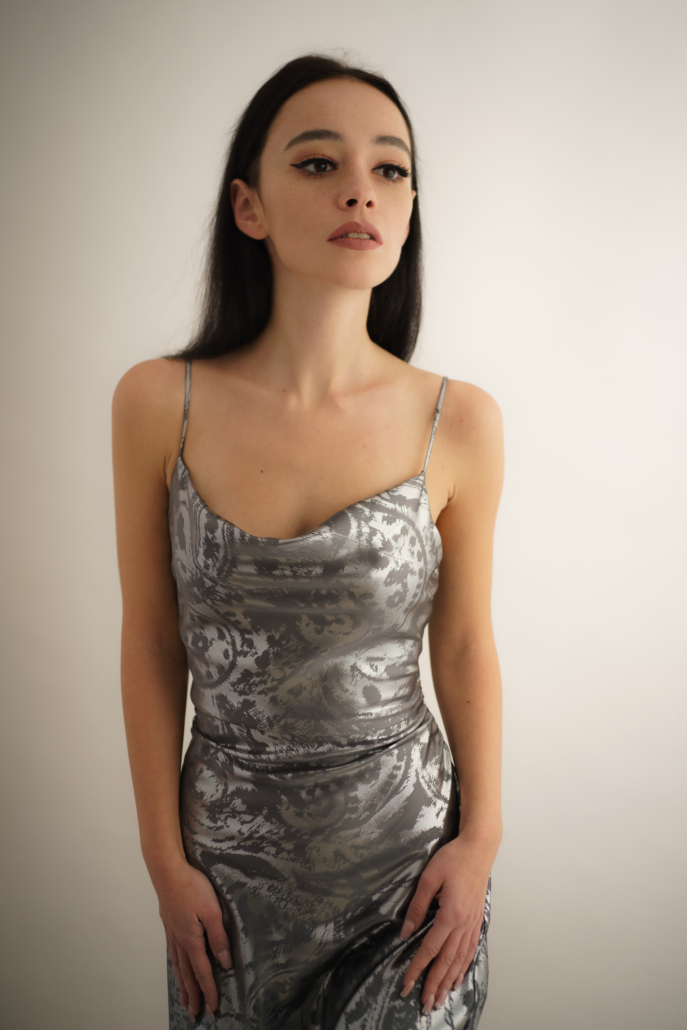
In the first setup, I used two GlareOne LED 300 BiColor D lamps at full power and a color temperature of 5600 K. My goal was to achieve very soft and delicate light enveloping the model.
For comparison, I took two different photos with the same settings, changing only the surface from which the light was reflected. In the warmer, more pleasant version (in my opinion), I reflected the light from the lamps off raw, unbleached natural cotton fabric, which I purchased from a fabric wholesaler. The dimensions of the fabric I used were 7×1.5 meters.
I wanted to show you how little it takes to achieve a cinematic look in portrait photography. Of course, we can also reduce the exposure of the photographed scene to further enhance the cinematic feel. This is one of the ways to reflect light. In filmmaking, it’s often said, “Light places, not faces,” meaning “Light the space, not the people.”
As accessories for the lamps, I used two reflectors included with the lamp sets. These are very important lighting accessories that are often overlooked and forgotten.
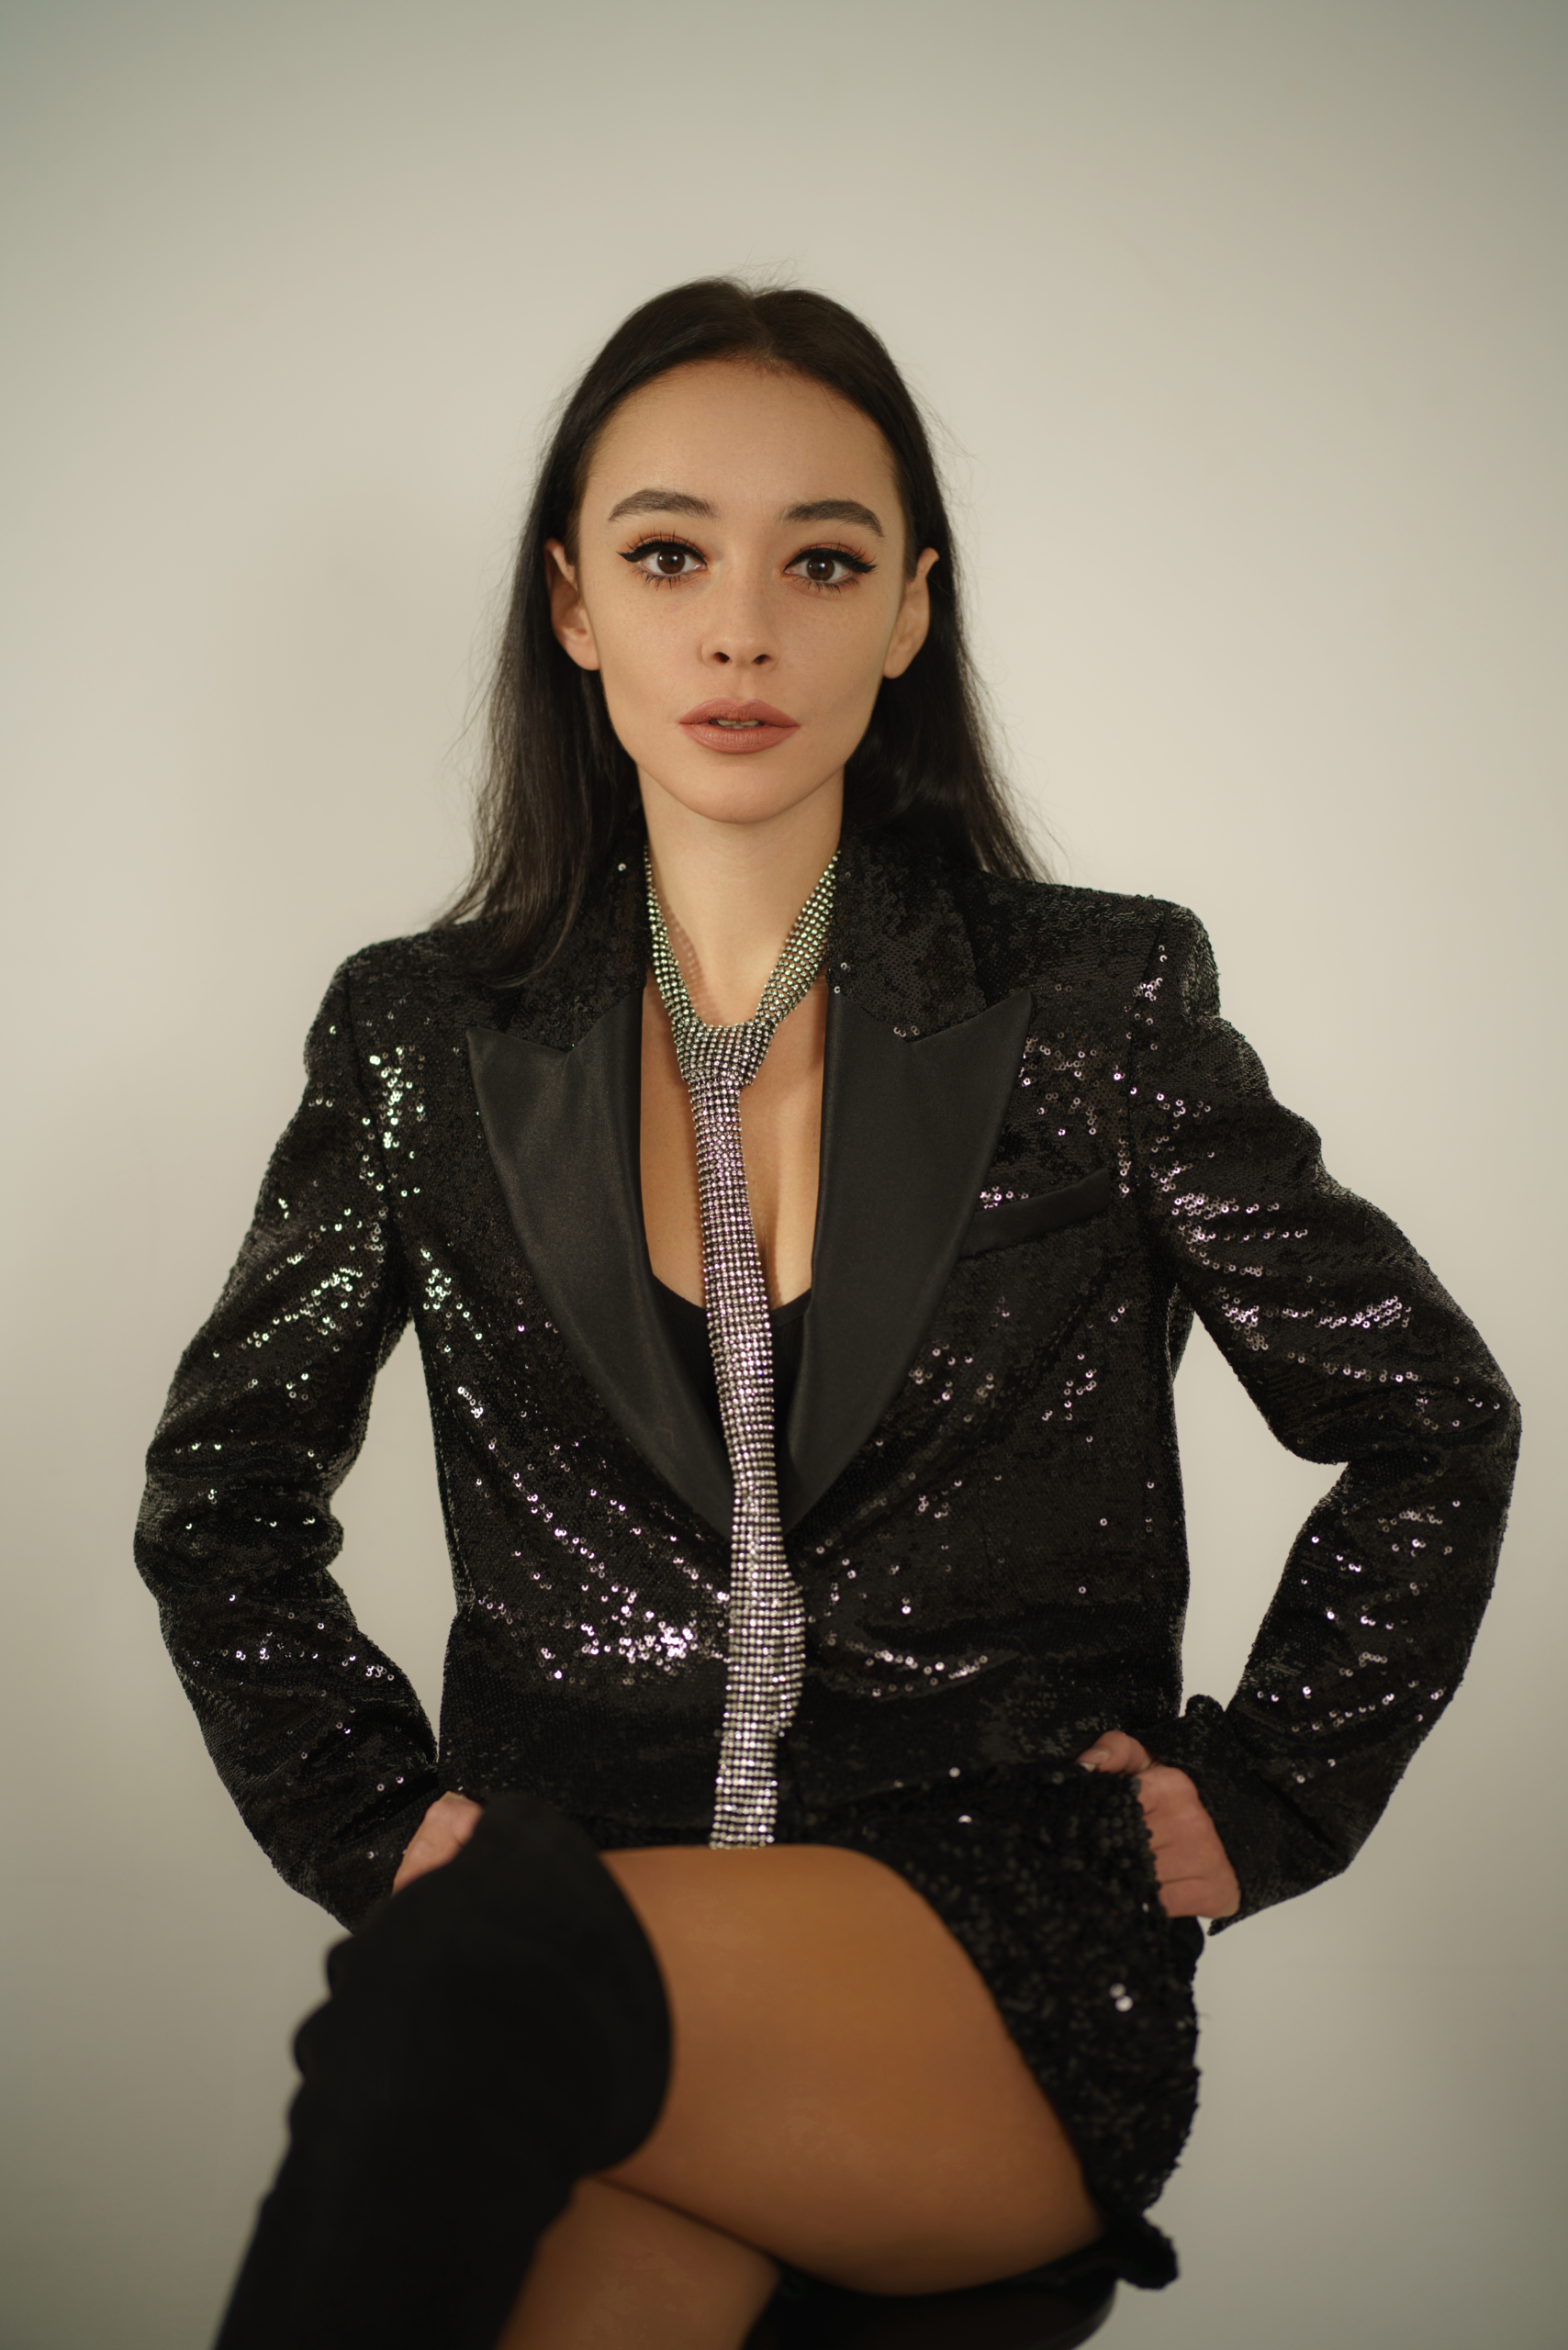
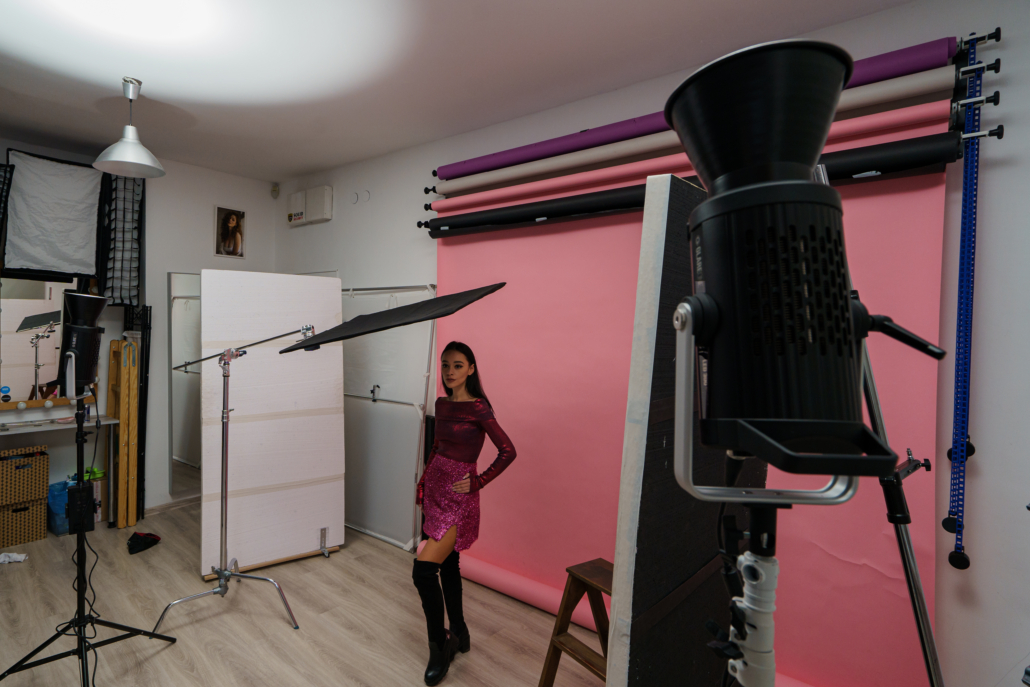
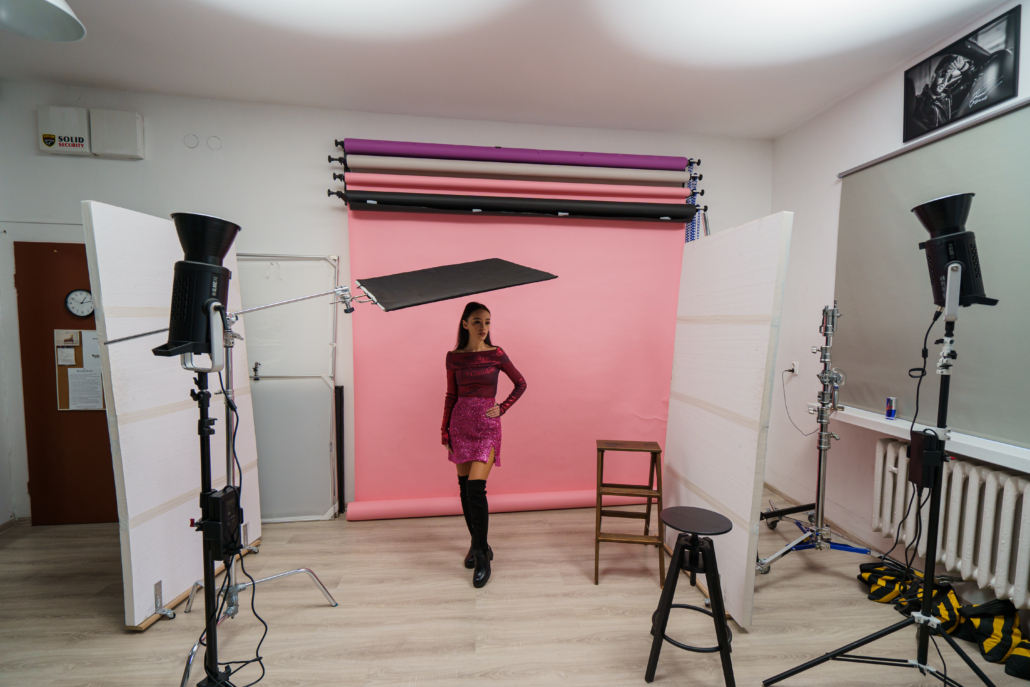
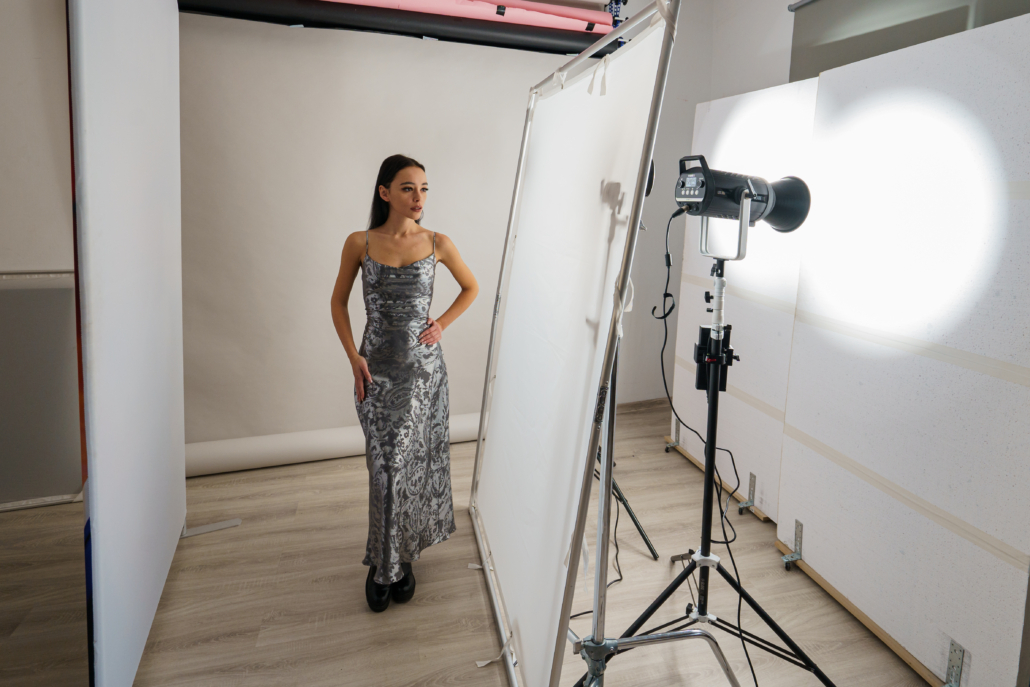
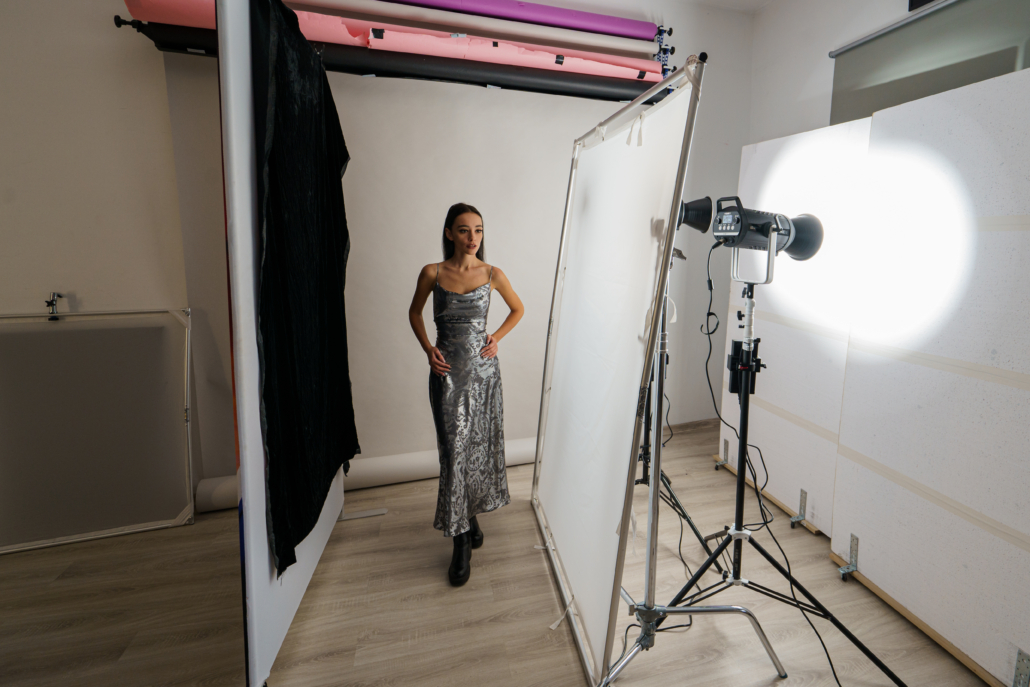
Below, I have included backstage photos of the two lighting setups and the final effects we can achieve by lighting in this way. I hope that from today you will start experimenting more with color and light reflection.
Set 2 – Three-dimensional reflection
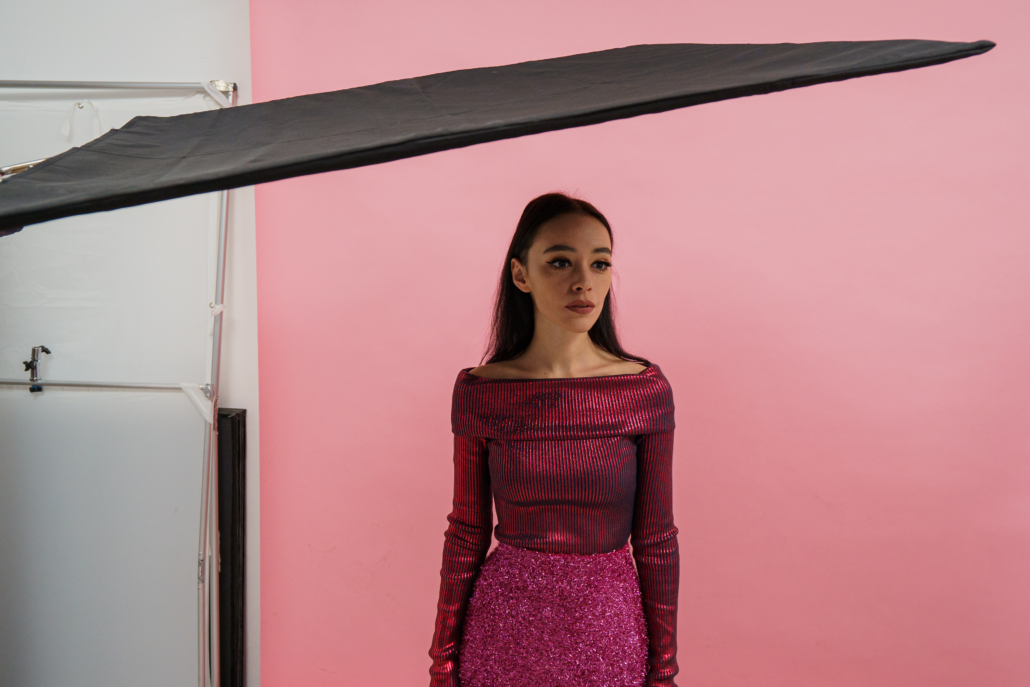
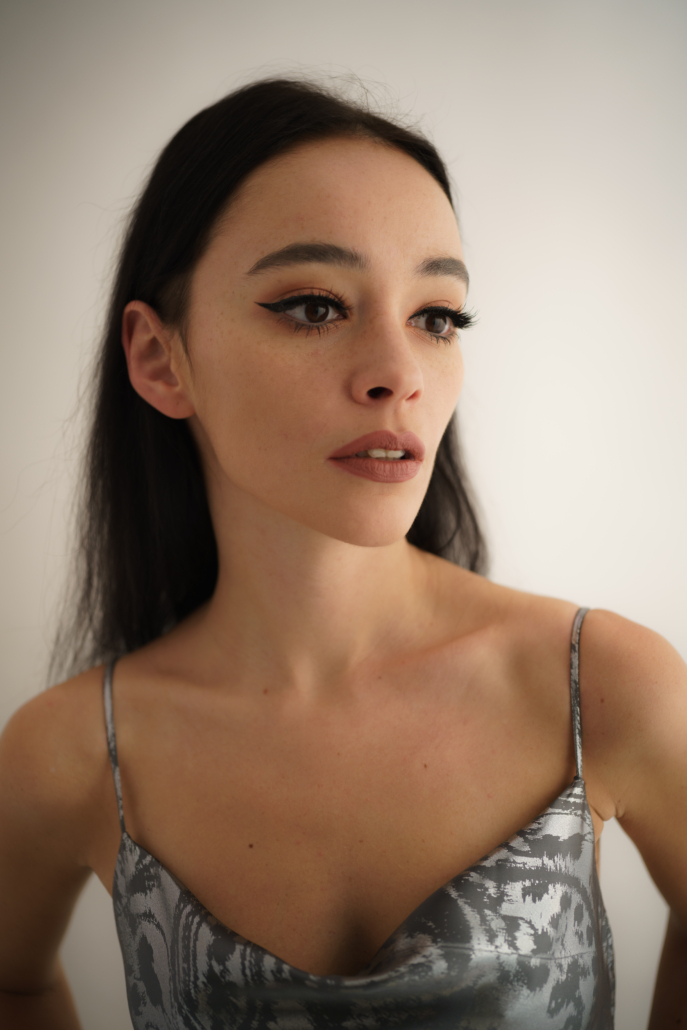
In the second lighting setup, we will also reflect light, but we’ll give it a three-dimensional effect using a black flag from GlareOne. This trick is frequently used by top portrait photographers around the world, yet it’s not widely known or implemented in lighting setups.
I positioned two GlareOne LED 300 BiColor D lamps at full power and a color temperature of 5600 K, with the reflectors facing upward to bounce light off the white ceiling. It is crucial in this setup to ensure that the lamps are neither too low nor too high. If they are too low, the light will spill onto the model, resulting in a different effect than desired. Conversely, if they are too high, there won’t be enough space for the light to diffuse evenly and envelop the model.
Another important aspect is placing the lamps in front of the subject at a distance of at least 1-2 meters to achieve the desired effect. Not using the flag or positioning the light too close can cause unattractive shadows under the eyes, as seen in the second example.
We position the flag above the model and adjust its height and angle depending on the shadow effect we want to achieve. With the proper arrangement of the flag and lamps, we get a three-dimensional, atmospheric portrait photo. This setup is perfect for photographing both women and men of various ages.
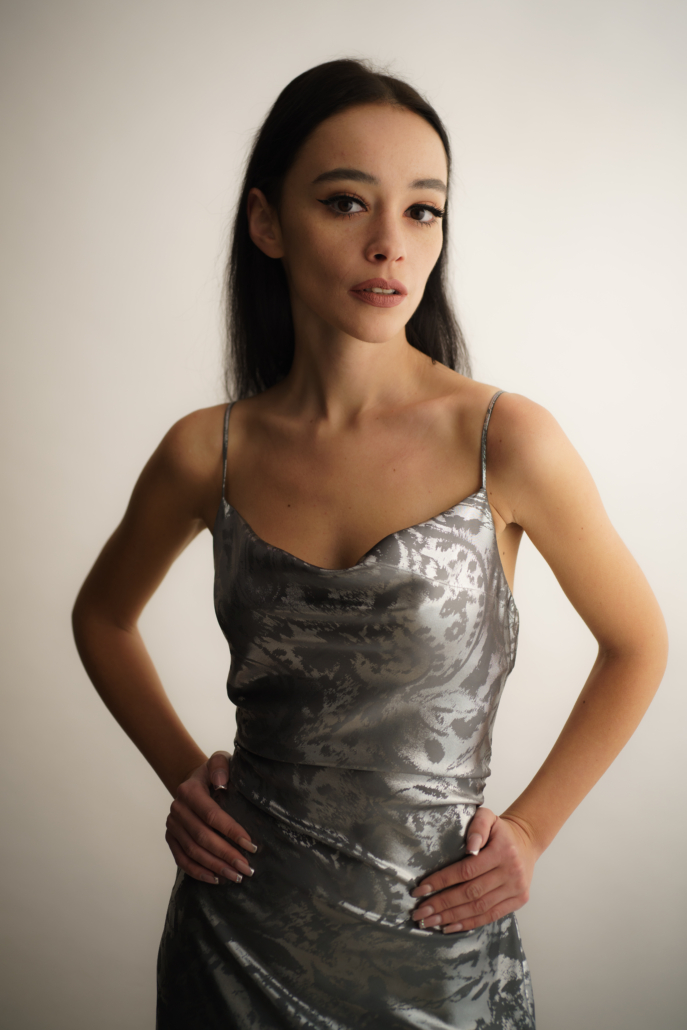
In the second example, I demonstrated the effect of a photo without the flag, which can also be desirable, for instance, in lookbook or e-commerce photography. The lighting setup is exactly the same. With just two lamps, we have beautifully illuminated the model and the background.
Set 3 – Ultra soft side light
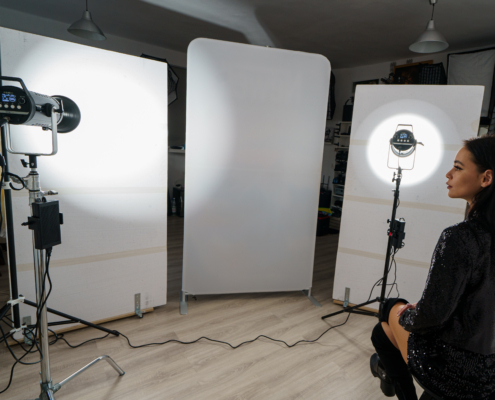
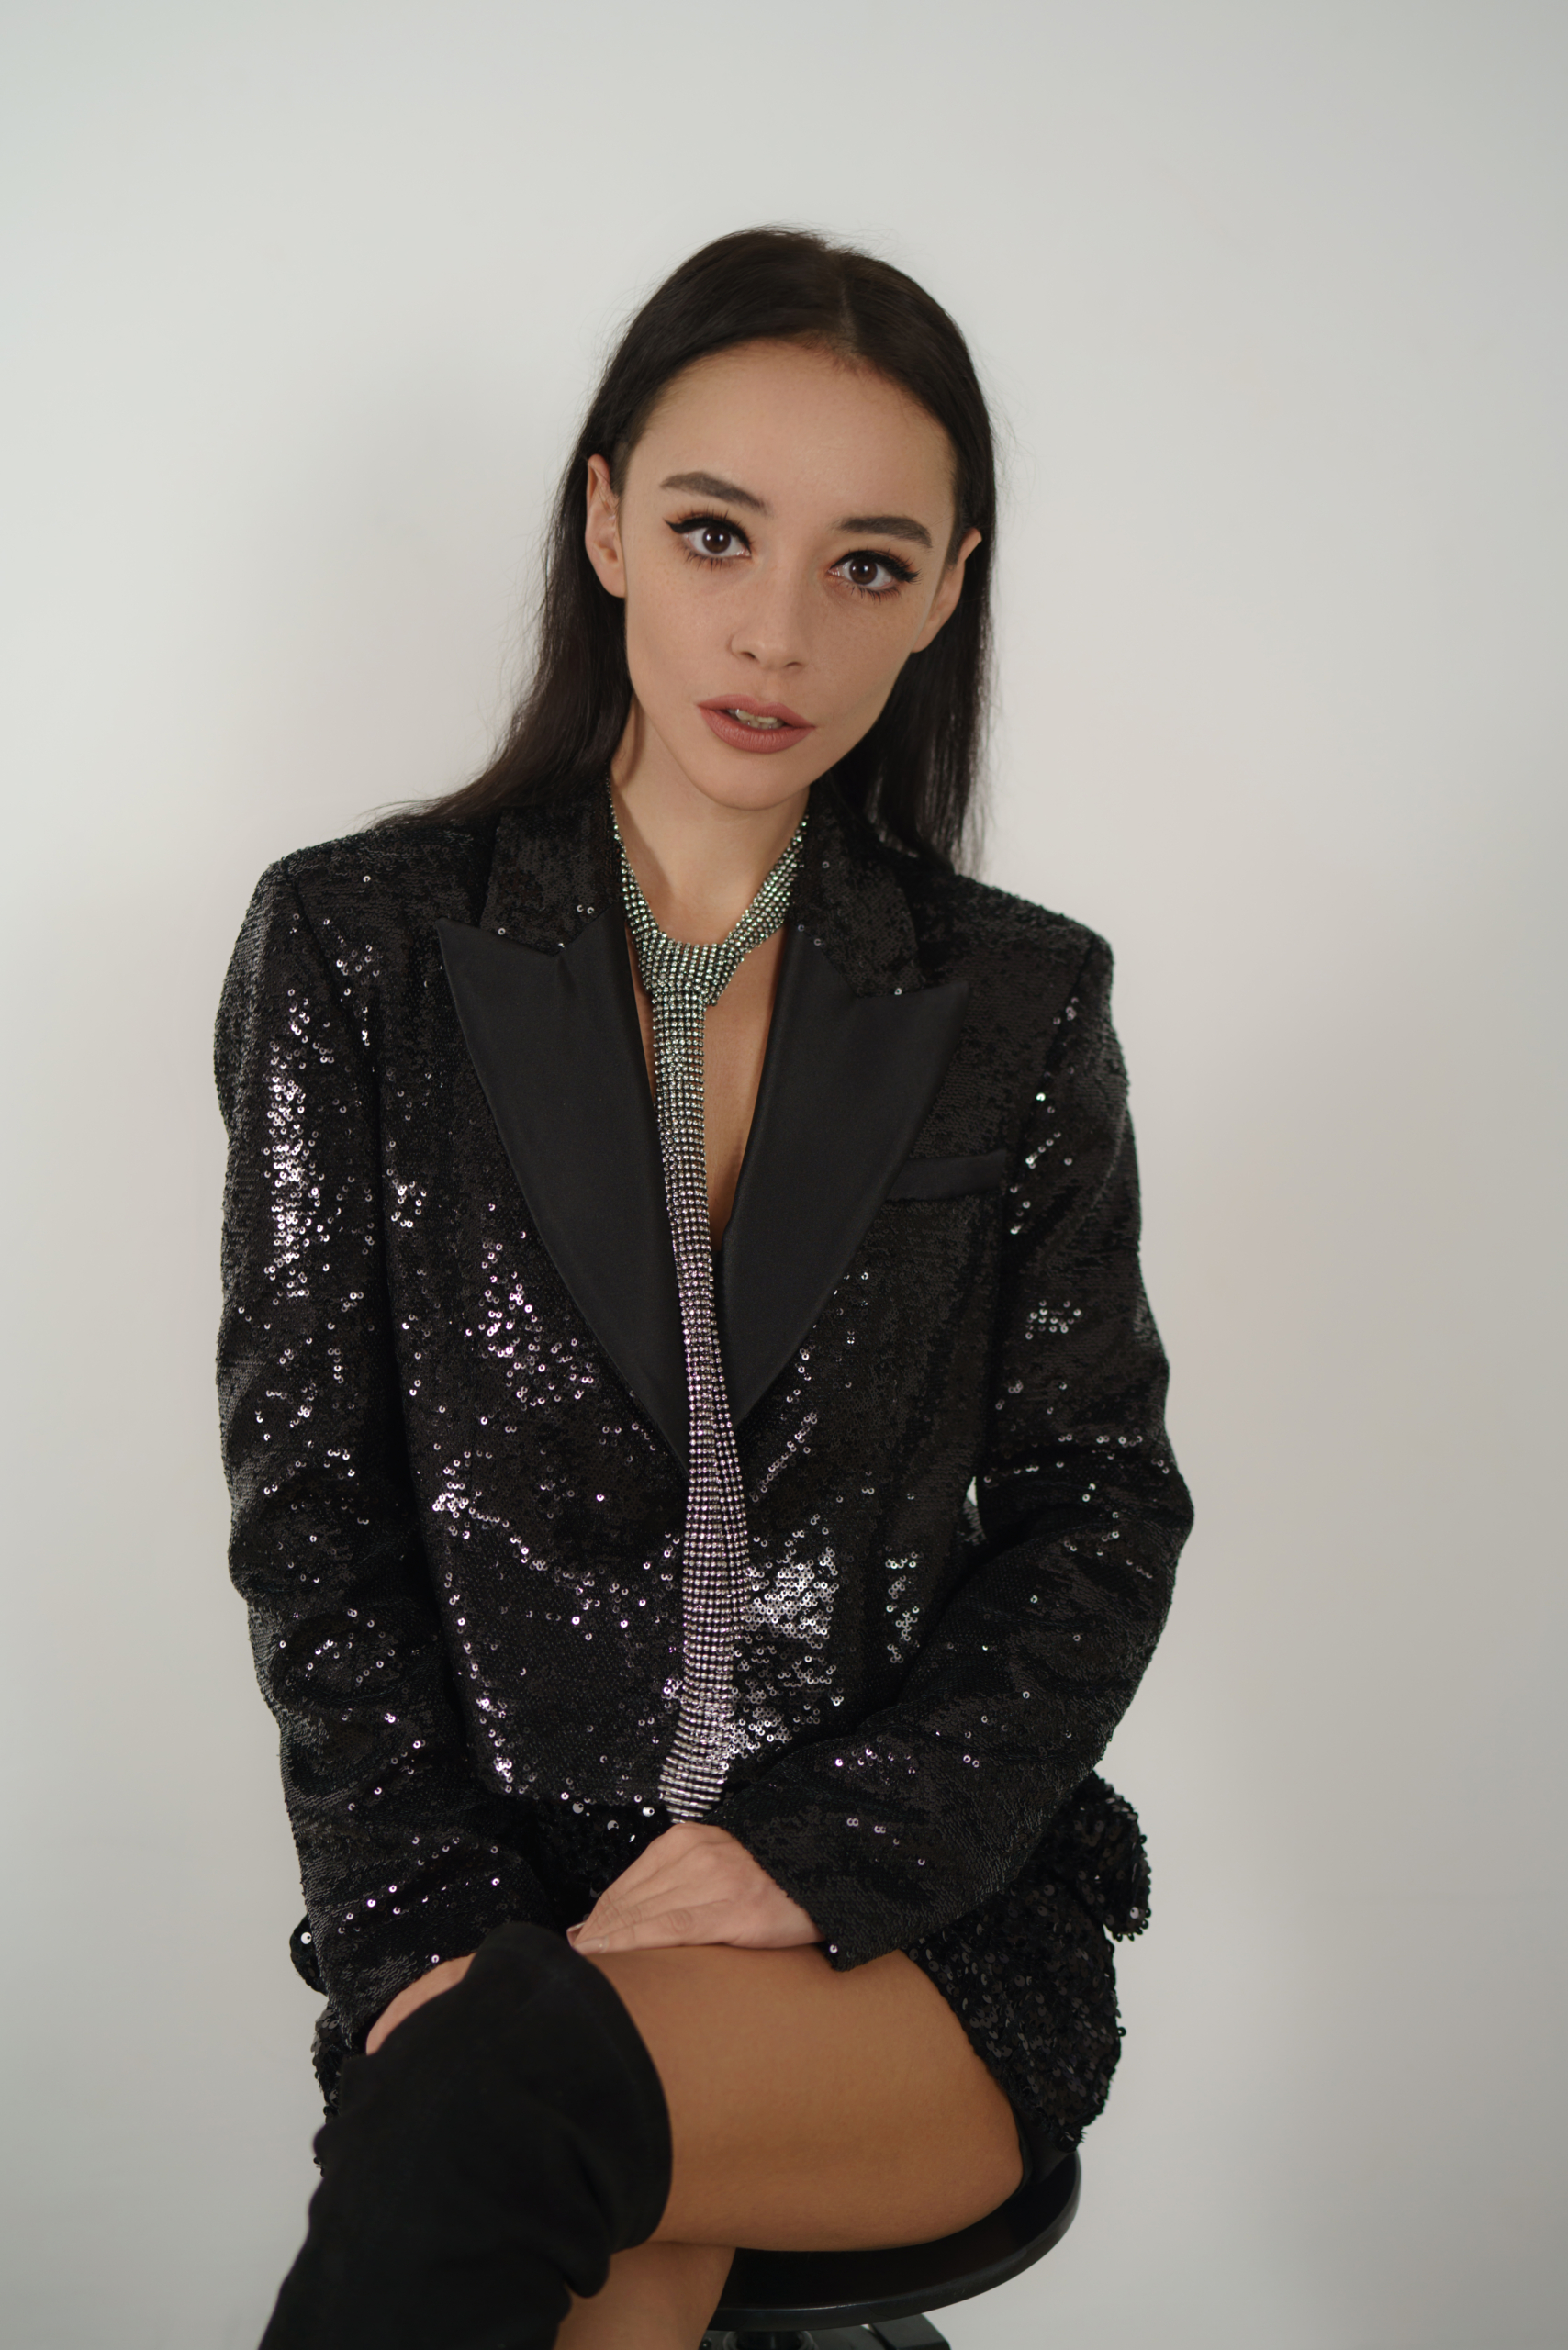
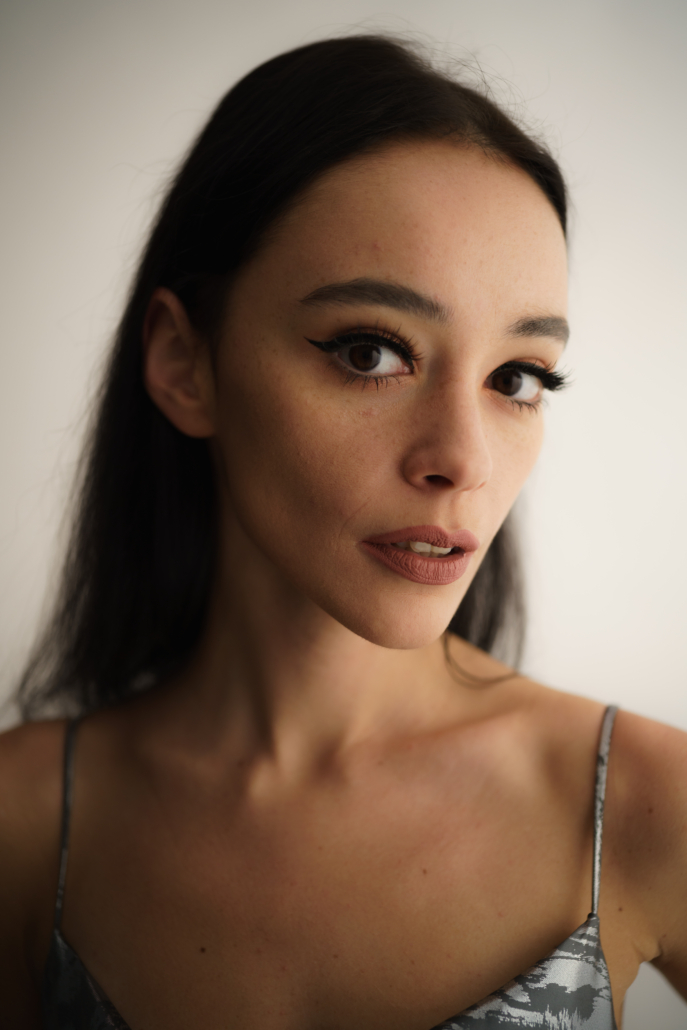
In the third example, I’ll show you how to achieve super soft, cinematic light in a portrait. Many filmmakers consistently use this type of lighting setup to create atmospheric, soft light that envelops actors. They play with color and the distance of the light source from the actors. I recreated this lighting while taking portraits of Ola.
I used two GlareOne LED 300 BiColor D lamps at full power and a color temperature of 5600 K, though a single light source could also suffice. I reflected the light from the lamps off styrofoam white surfaces and then positioned a diffusion screen from GlareOne in front of the model to break up the light. This added extra softness and diffusion, resulting in side lighting that is ultra-soft and wraps around the model. On Ola’s left side, I set up an additional white surface to reflect light. Here, we can also experiment by deepening shadows with a black surface or brightening them with a white one. The distance of this surface from the model also affects the final result.
You can see the entire setup and results in a video on my YouTube channel by clicking the following link:
Conclusion
ANDBERY – https://www.youtube.com/@ANDBERY
ROB ELLIES – https://www.youtube.com/@RobEllisCinematographer
MATTI HAAPOJA – https://www.youtube.com/@mattih/videos
Play with lighting, colors, experiment, and make mistakes because very often, they lead us to create even better photos. Be sure to let me know in the comments what you think of the new GlareOne LED 300 continuous light and the lighting setups presented. Of course, I am rooting for your growth and every subsequent photoshoot!
For more information about GlareOne lamps, check out the GlareOneTV profile on YouTube.
Piotr Werner – profile
With over 13 years of professional photography experience, Piotr Werner specializes in fashion and portrait photography, as well as advertising campaigns. He is an ambassador for brands like GlareOne, Calibrite, Voigtländer, TetherTools, and Newell. He also conducts photography workshops and individual training sessions. His work has been published in several renowned magazines worldwide. Piotr is the author of the photography handbook “In the Light of Inspiration,” published in 2021.

